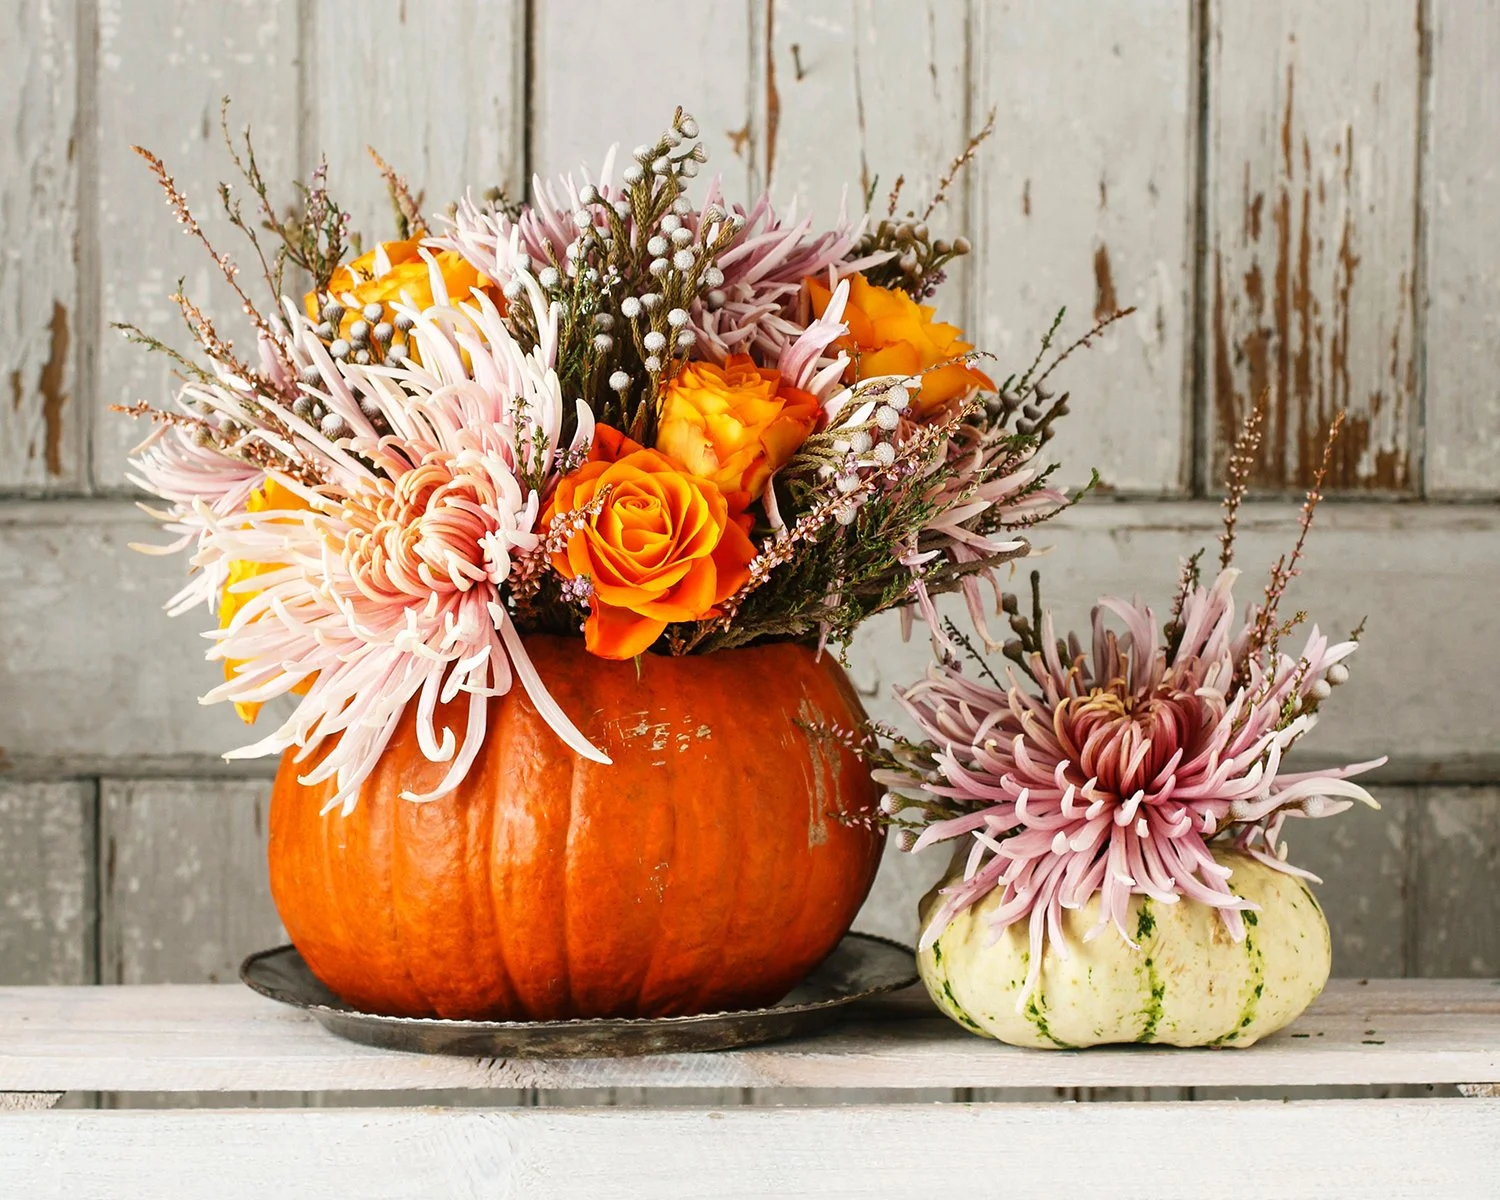
The air turns crisp, leaves paint the streets with hues of red and gold (at least we can hope it will in Dallas), and the scent of pumpkin spice fills the air—it's autumn, the season of cozy gatherings and creative crafts. One delightful way to embrace the fall spirit is by crafting a stunning floral arrangement nestled within a hollowed-out pumpkin. It's a unique centerpiece that captures the essence of the season. In this step-by-step guide, we'll show you how to transform an ordinary pumpkin into a captivating floral centerpiece that will undoubtedly be the star of your next gathering.
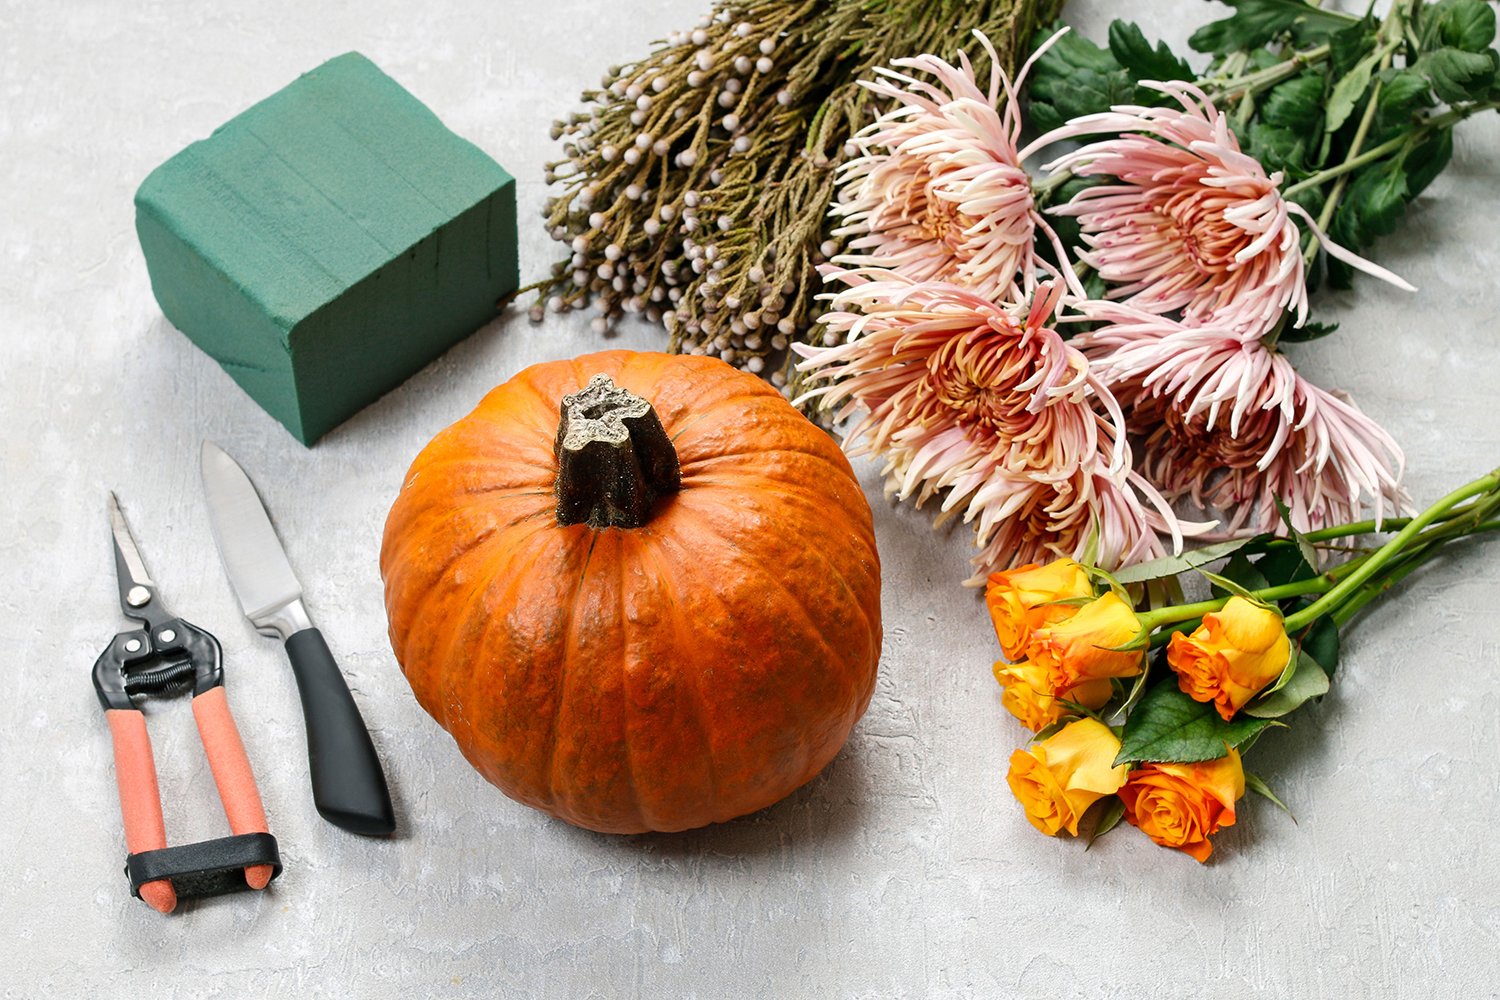
To get started, make sure you have the following supplies ready:
A Medium-Sized Pumpkin: Choose a pumpkin that's in good shape, with no soft spots or blemishes.
Flowers: Opt for a mix of fall blooms in various colors and sizes. Think chrysanthemums, mums, and marigolds, or roses in seasonal colors.
Foliage: Gather some greenery like eucalyptus or even herbs like lavender or basil to add texture and volume.
A Sharp Knife and Spoon: You'll use these to hollow out the pumpkin.
Floral Foam: This will help secure your flowers in place.
Floral Shears: These are handy for trimming stems.
A Small Container or water-tight plastic bag: You'll use this to hold water for your arrangement.
Set up a clean, well-lit workspace where you can comfortably carve your pumpkin and arrange your flowers. Lay down some newspaper or a plastic tablecloth to catch any mess.
Using a sharp knife, carefully cut a lid from the top of your pumpkin. Make sure the opening is large enough to access the inside easily. If you are using a bowl, make sure your bowl snugly fits into the hole. Angle your cuts slightly inward, so the lid doesn't fall into the pumpkin. With a spoon, scoop out all the seeds and stringy bits from inside the pumpkin. You want a clean, smooth interior to work with.
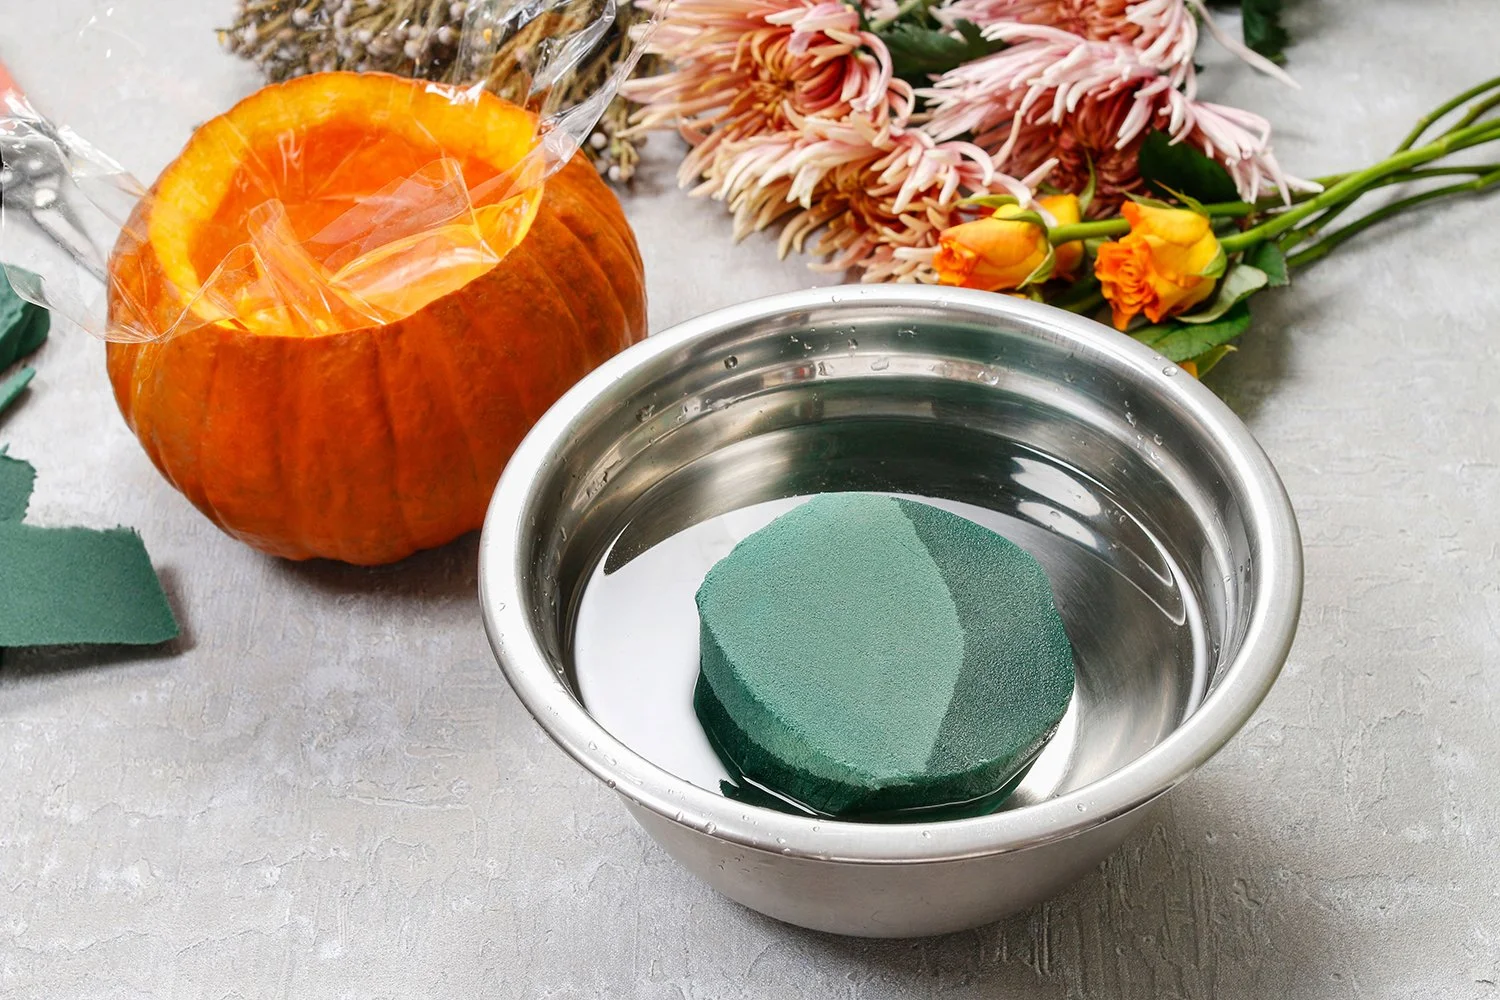
Cut a piece of floral foam to fit snugly inside your pumpkin and/or water bowl. You may need to take your knife and shave down the sides to get a perfect fit. You want to avoid wiggle room so your arrangement stays in place and doesn’t tip over. If not using a bowl, place your plastic bag in the hollowed out pumpkin first to avoid the foam breaking apart.
Soak your foam in water. Use the float-soak method to hydrate floral foam with water that includes flower food. Lay the floral foam atop a basin of water and let it sink into the water by its own weight. Allow foam to fully saturate, which will take approximately 2 minutes. Place your fully soaked foam into your hollowed out pumpkin.
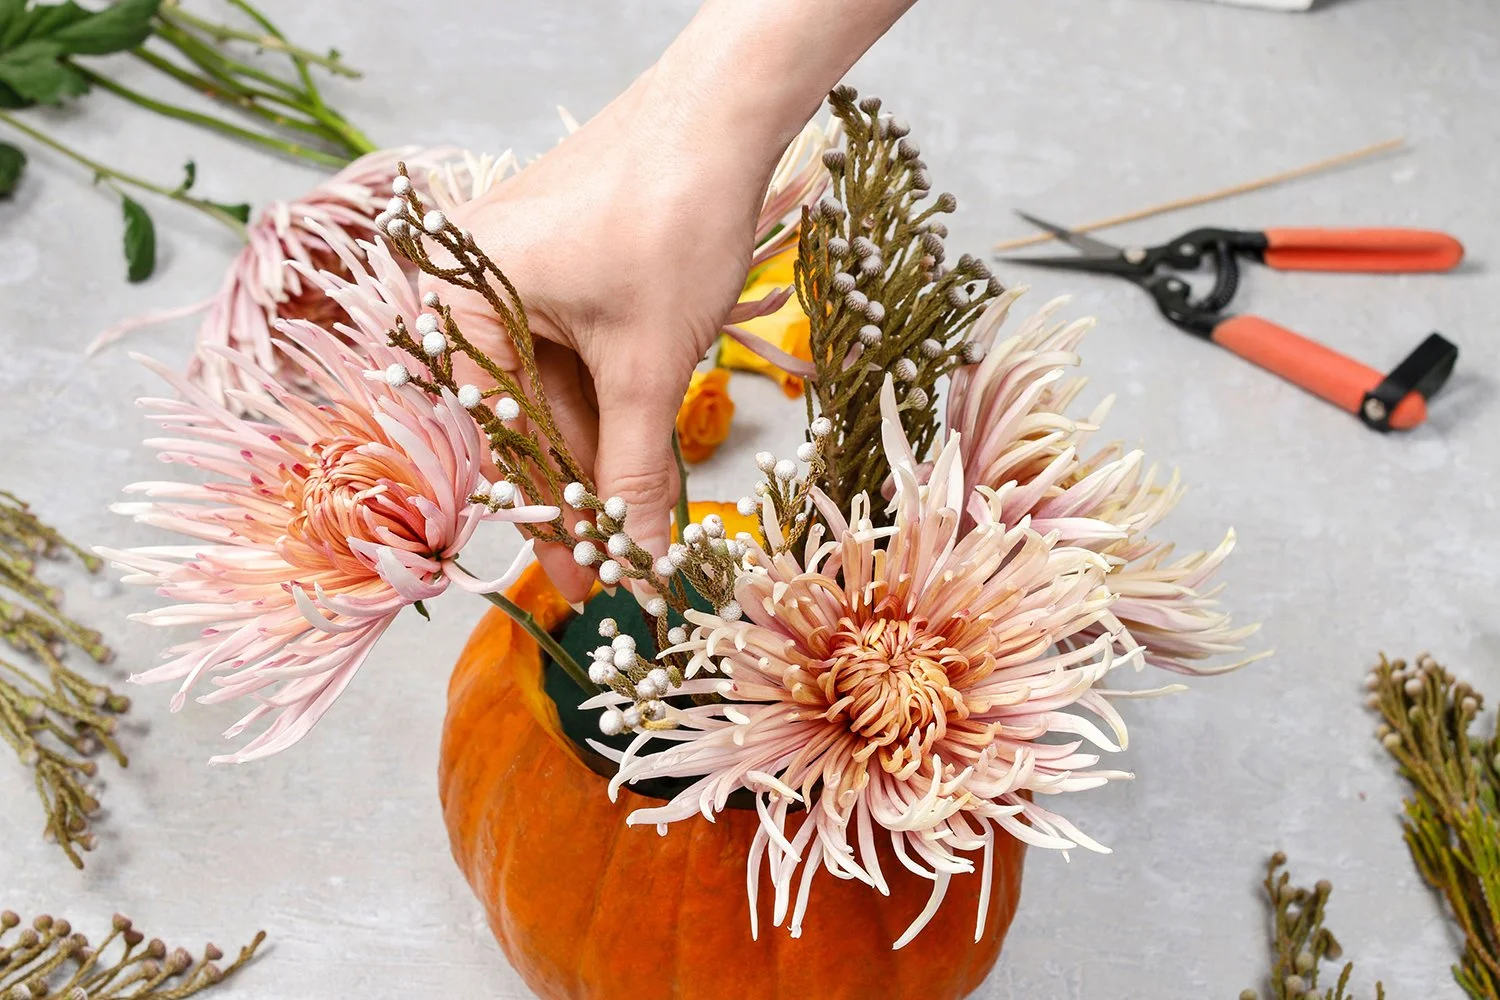
Now it’s time to start arranging your flowers. Begin by adding some greenery to create a foundation for your arrangement. Trim your greenery stems at an angle and insert them into the floral foam to create a pleasing shape.
Next, add your larger blooms. Mums and chrysanthemums are great choices for a fall-themed arrangement. Trim their stems and place them evenly around the foam.
Now, fill in any gaps with smaller blooms like roses or marigolds. These can add pops of color and variety to your arrangement.
Step back and assess your arrangement. Ensure its balanced and visually appealing. Trim any stems that are too long or out of place.
Find the perfect spot to display your arrangement. Whether as a centerpiece for your dining table or a charming addition to your porch, your floral pumpkin is sure to impress!
There you have it—a beautiful floral pumpkin arrangement that's sure to be the talk of your gatherings. It's a delightful way to embrace the season's beauty and showcase your creative flair, yet really easy and fun to put together!


