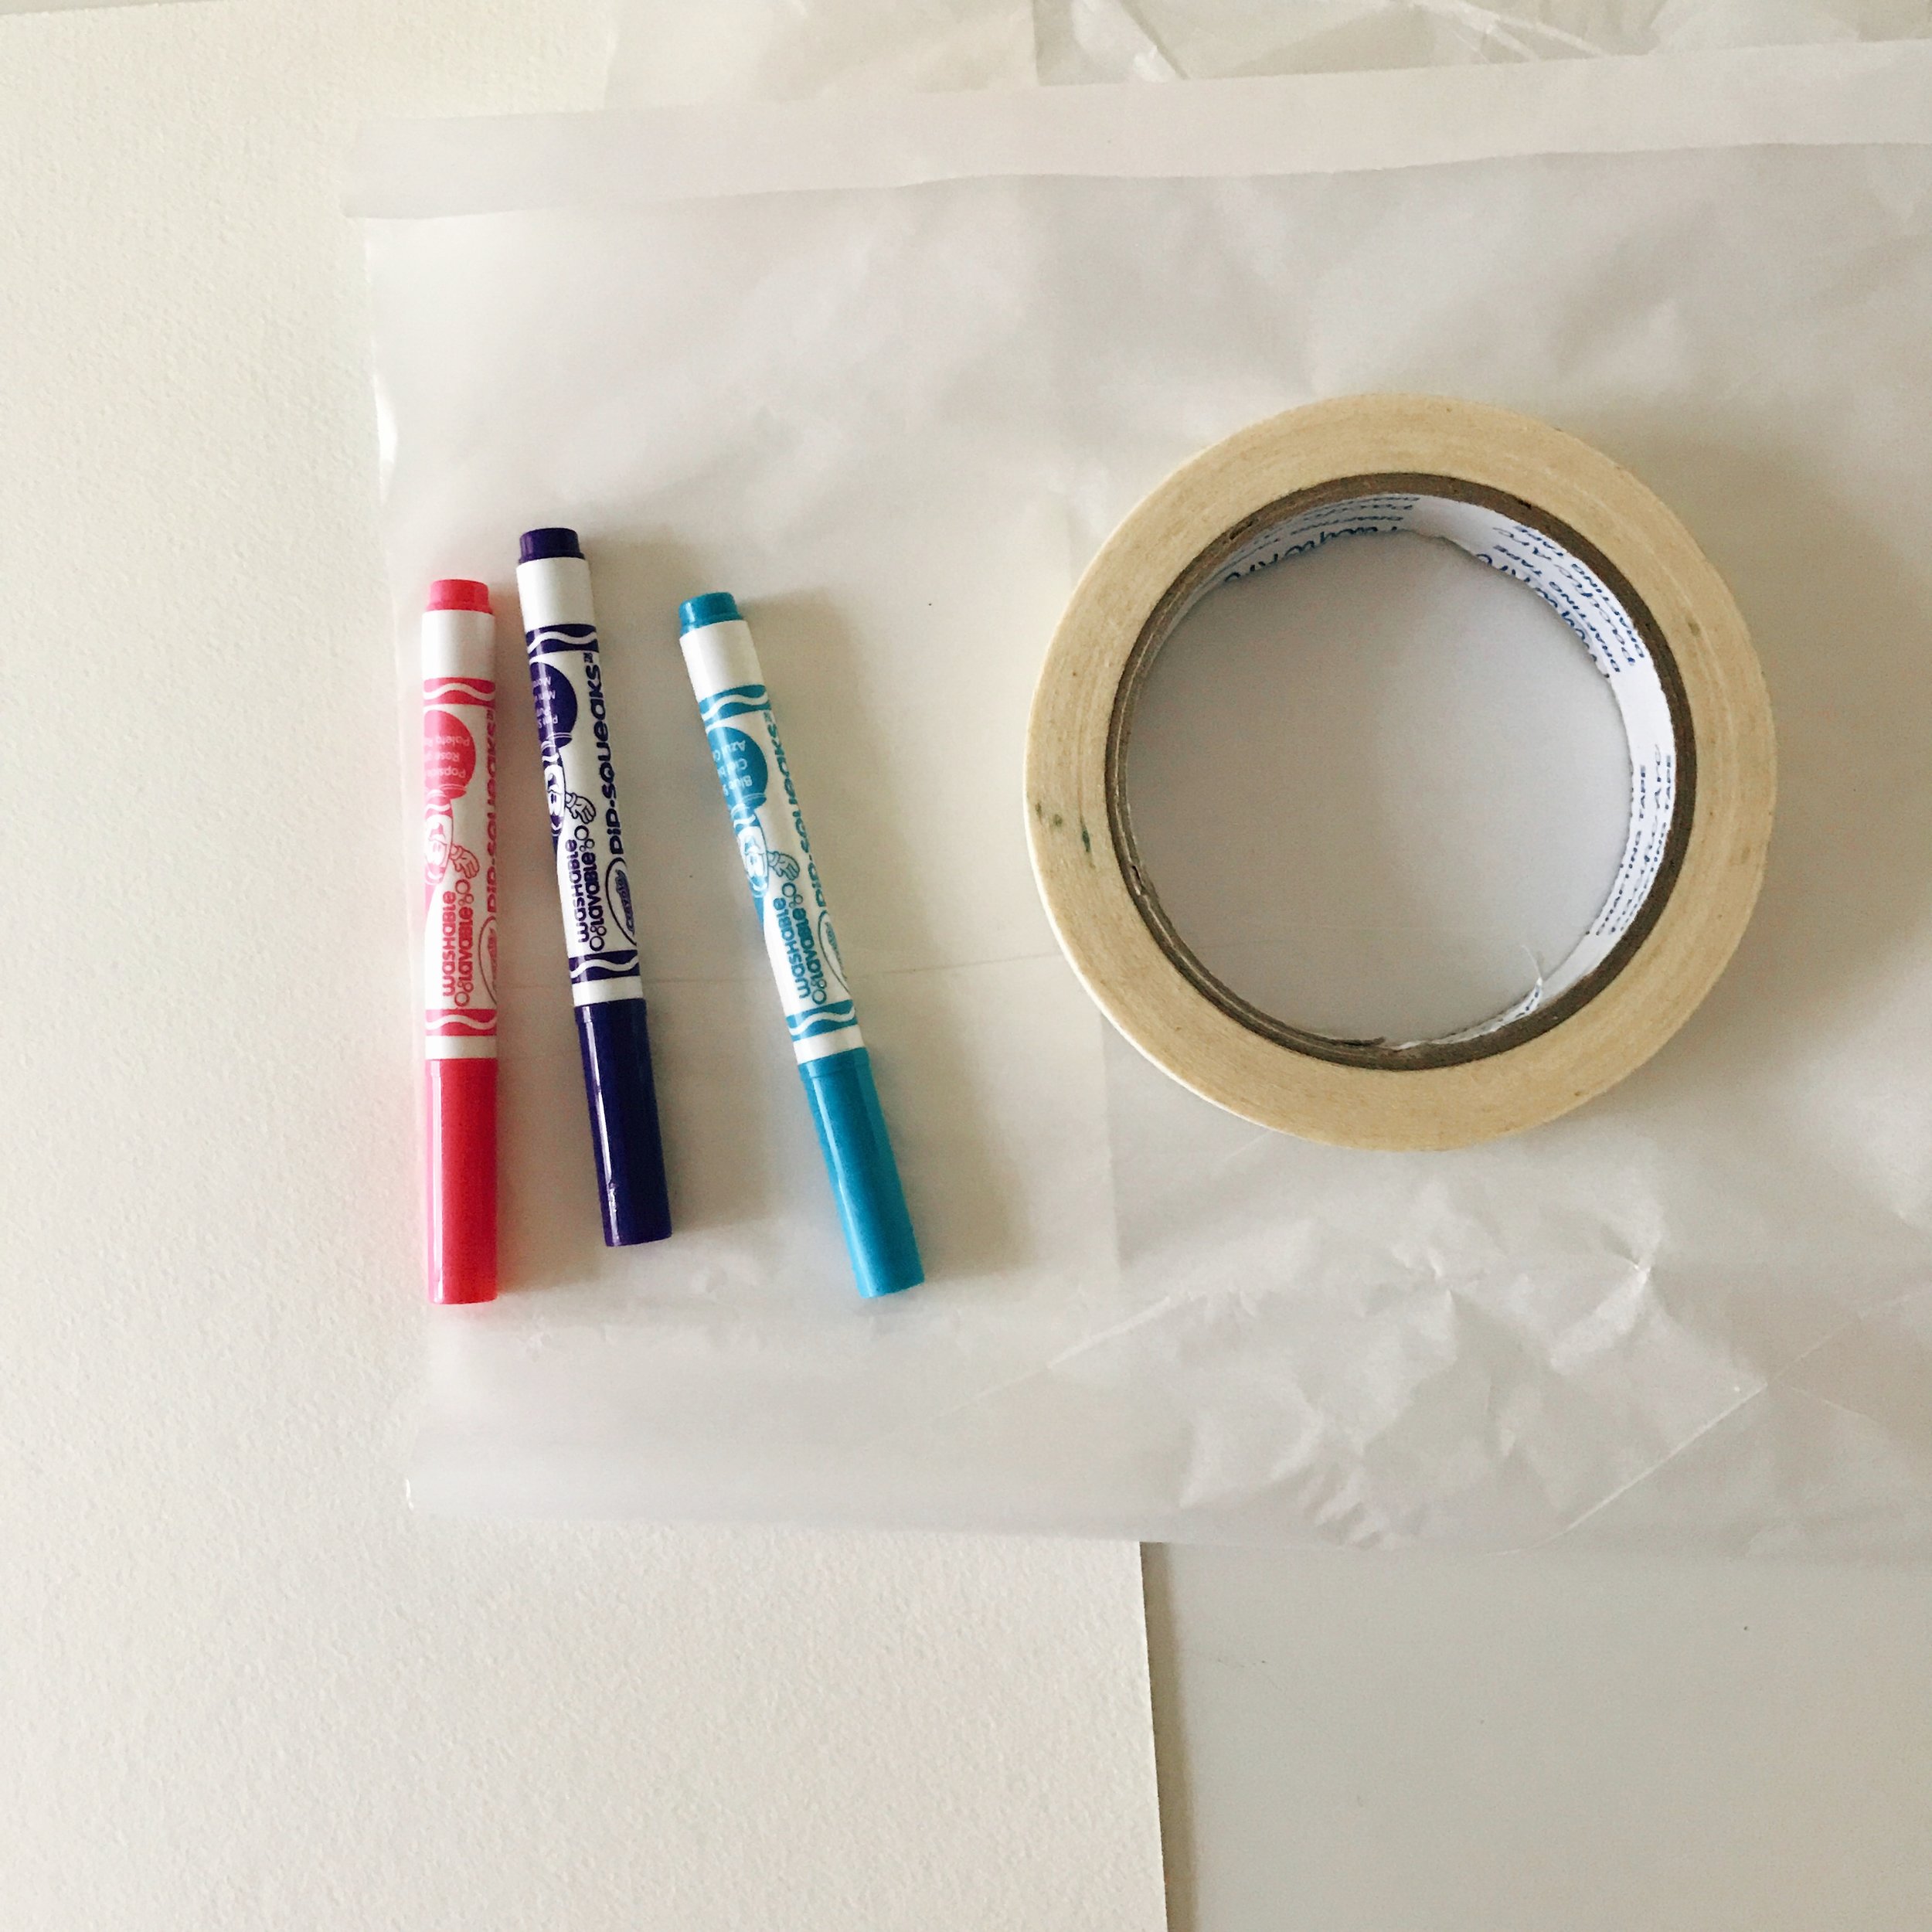
Hello! Welcome back to our Creativity Camp. I hope you are enjoying this series, and that you and your kiddos are feeling inspired! Today, we are beating the rainy day blues with some colorful faux watercolor paintings. All you need is some watercolor paper (or heavy paper), tissue paper, tape, washable markers, and a water spritzer. Follow along!
Wrap your watercolor paper with the tissue paper, and tape on the back.
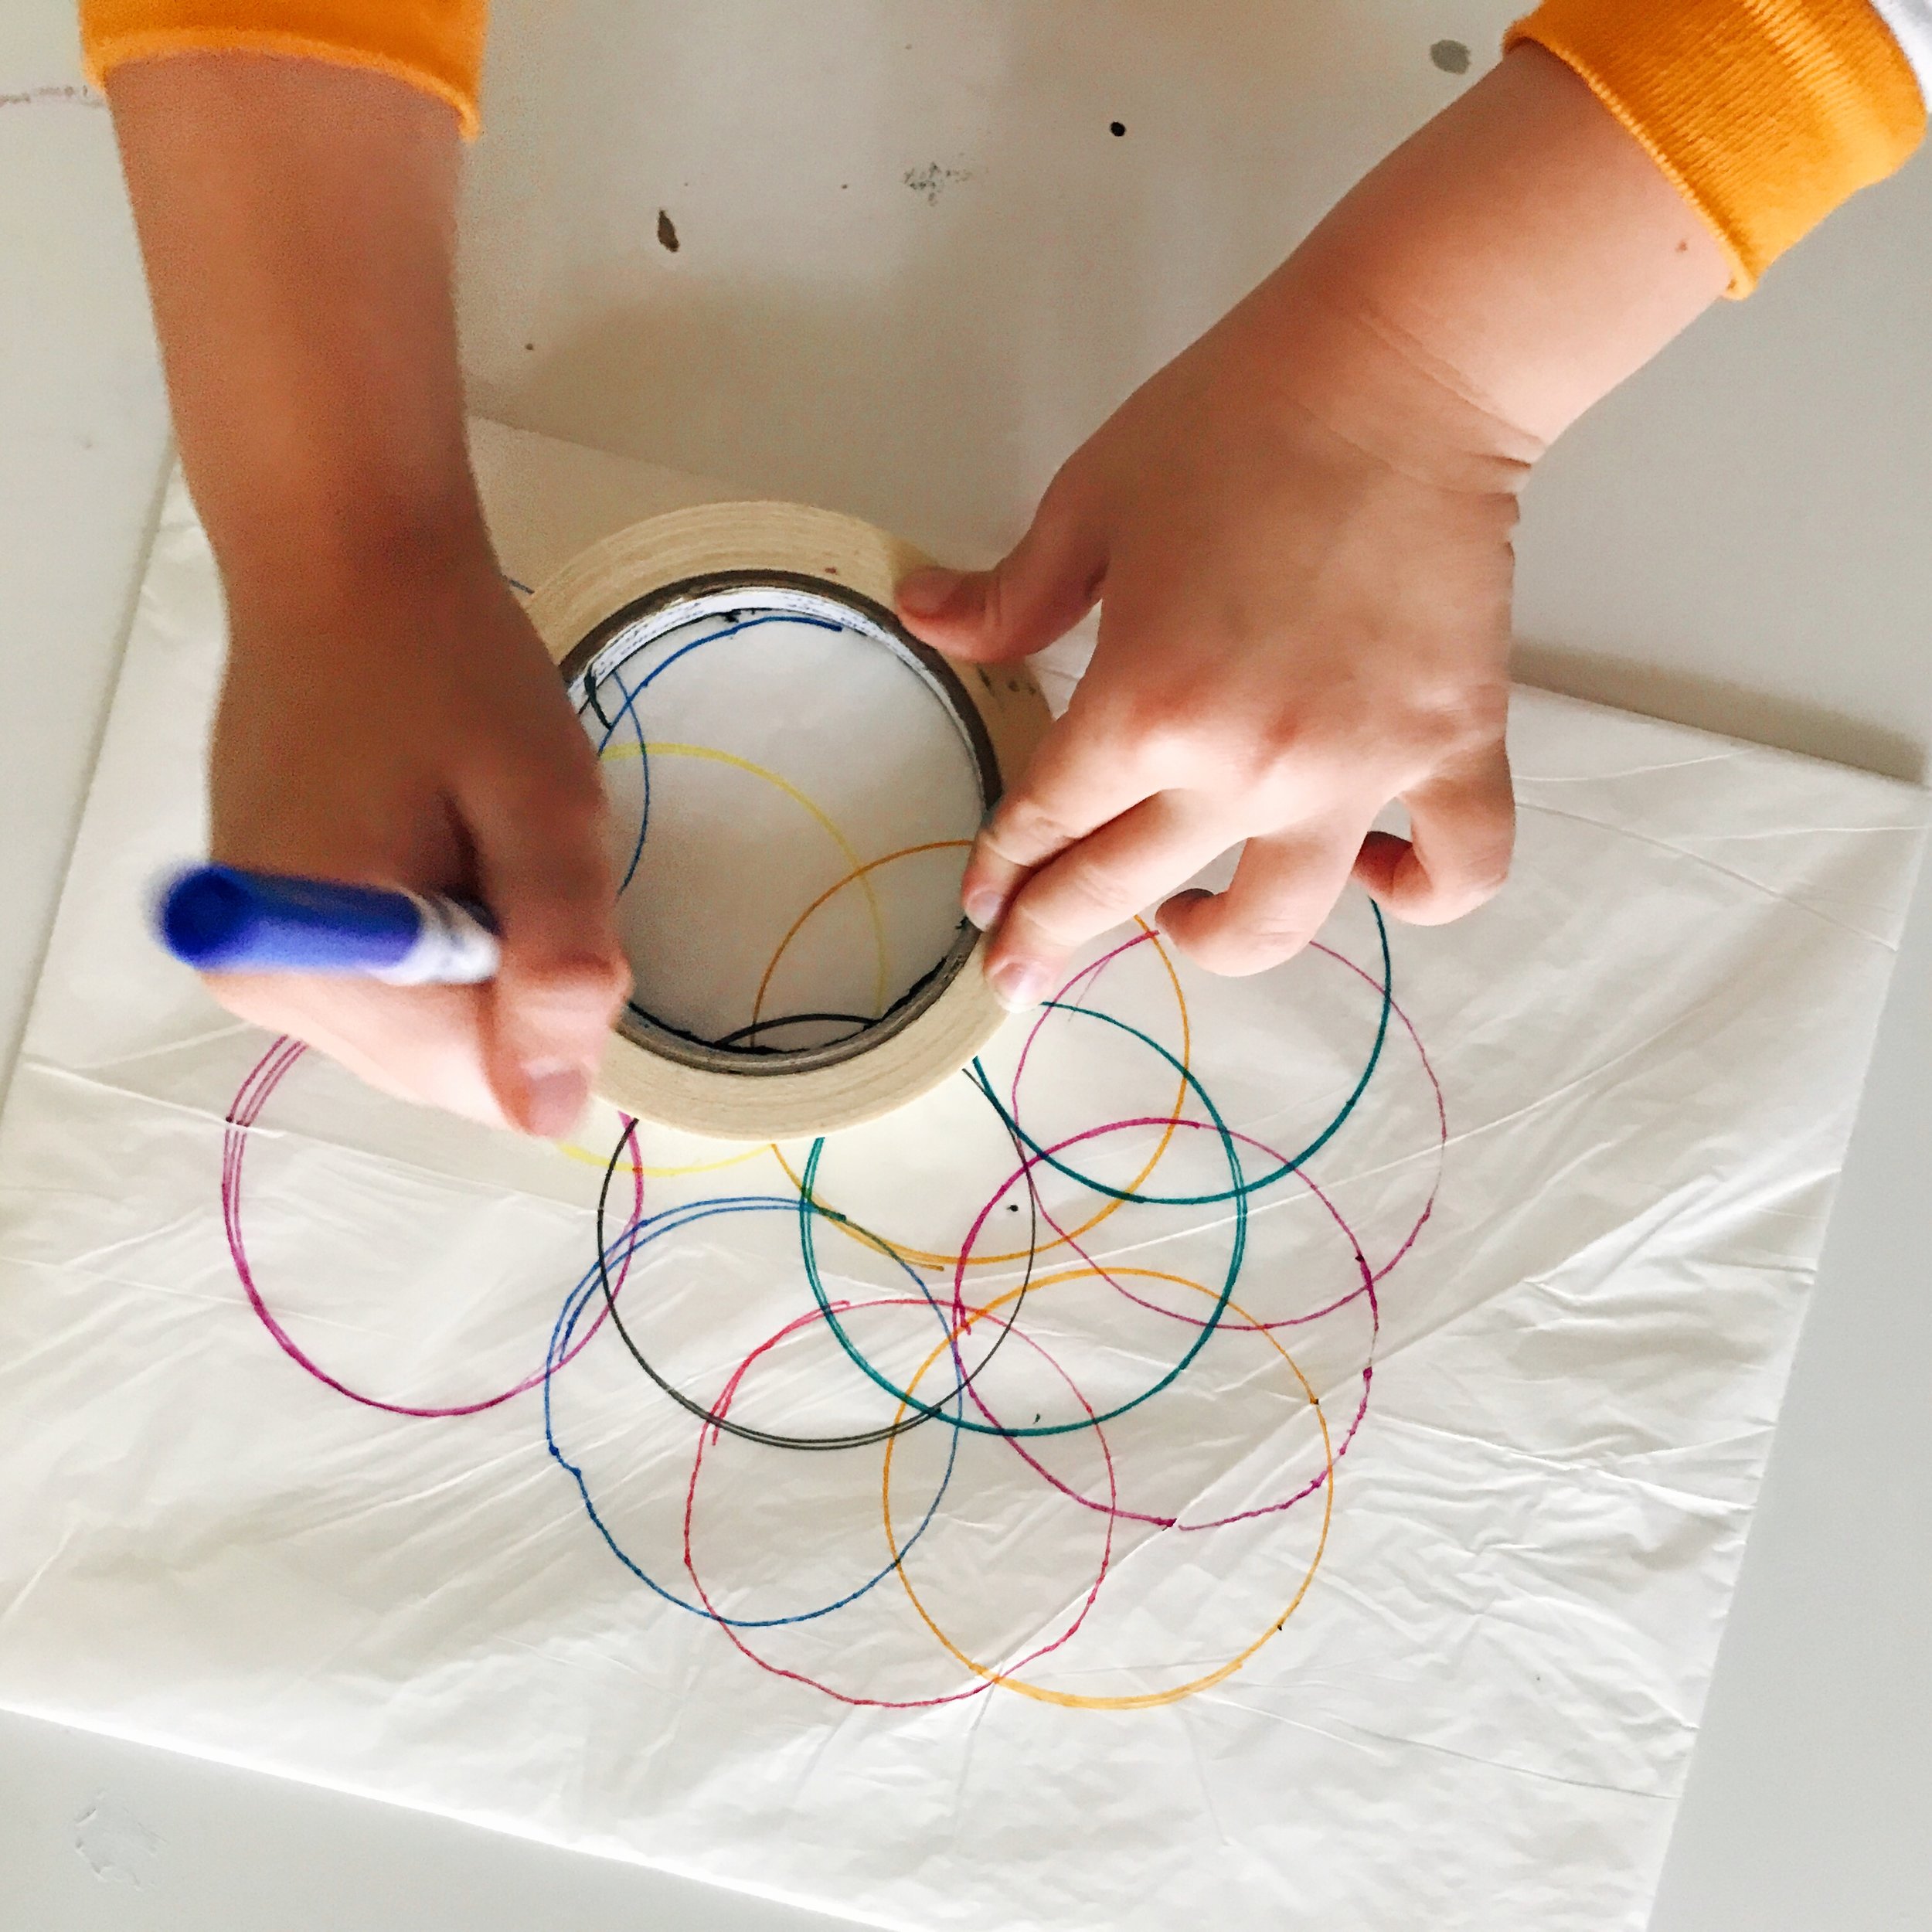
Use the markers and tape to draw circles in all different colors around the paper. Leave a little bit of white space for a more interesting composition.
Once you have finished, it is time for some color theory magic! Use the water spritzer to lightly spray the colored tissue paper. Watch the colors merge and change!
Try not to over-wet the paper, or it will muddy the vibrancy of the colors. Tap it down, and allow your piece to dry.
Once the water has dried, you get to unwrap your painting like a present.
Surprise! Check out your abstract watercolor painting! The areas where the tissue paper was lifting off the paper remained white.
This is an easy technique for such sophisticated results. You can frame it as is, use it as a background for drawing, or use shaped punches to make scrapbooking or card making elements. I decided to frame mine, after she signed of course. Pretty good for a five year old!
If you give this project a try, be sure to share with us @etsydallas #EDCreativityCamp. See you next week!


