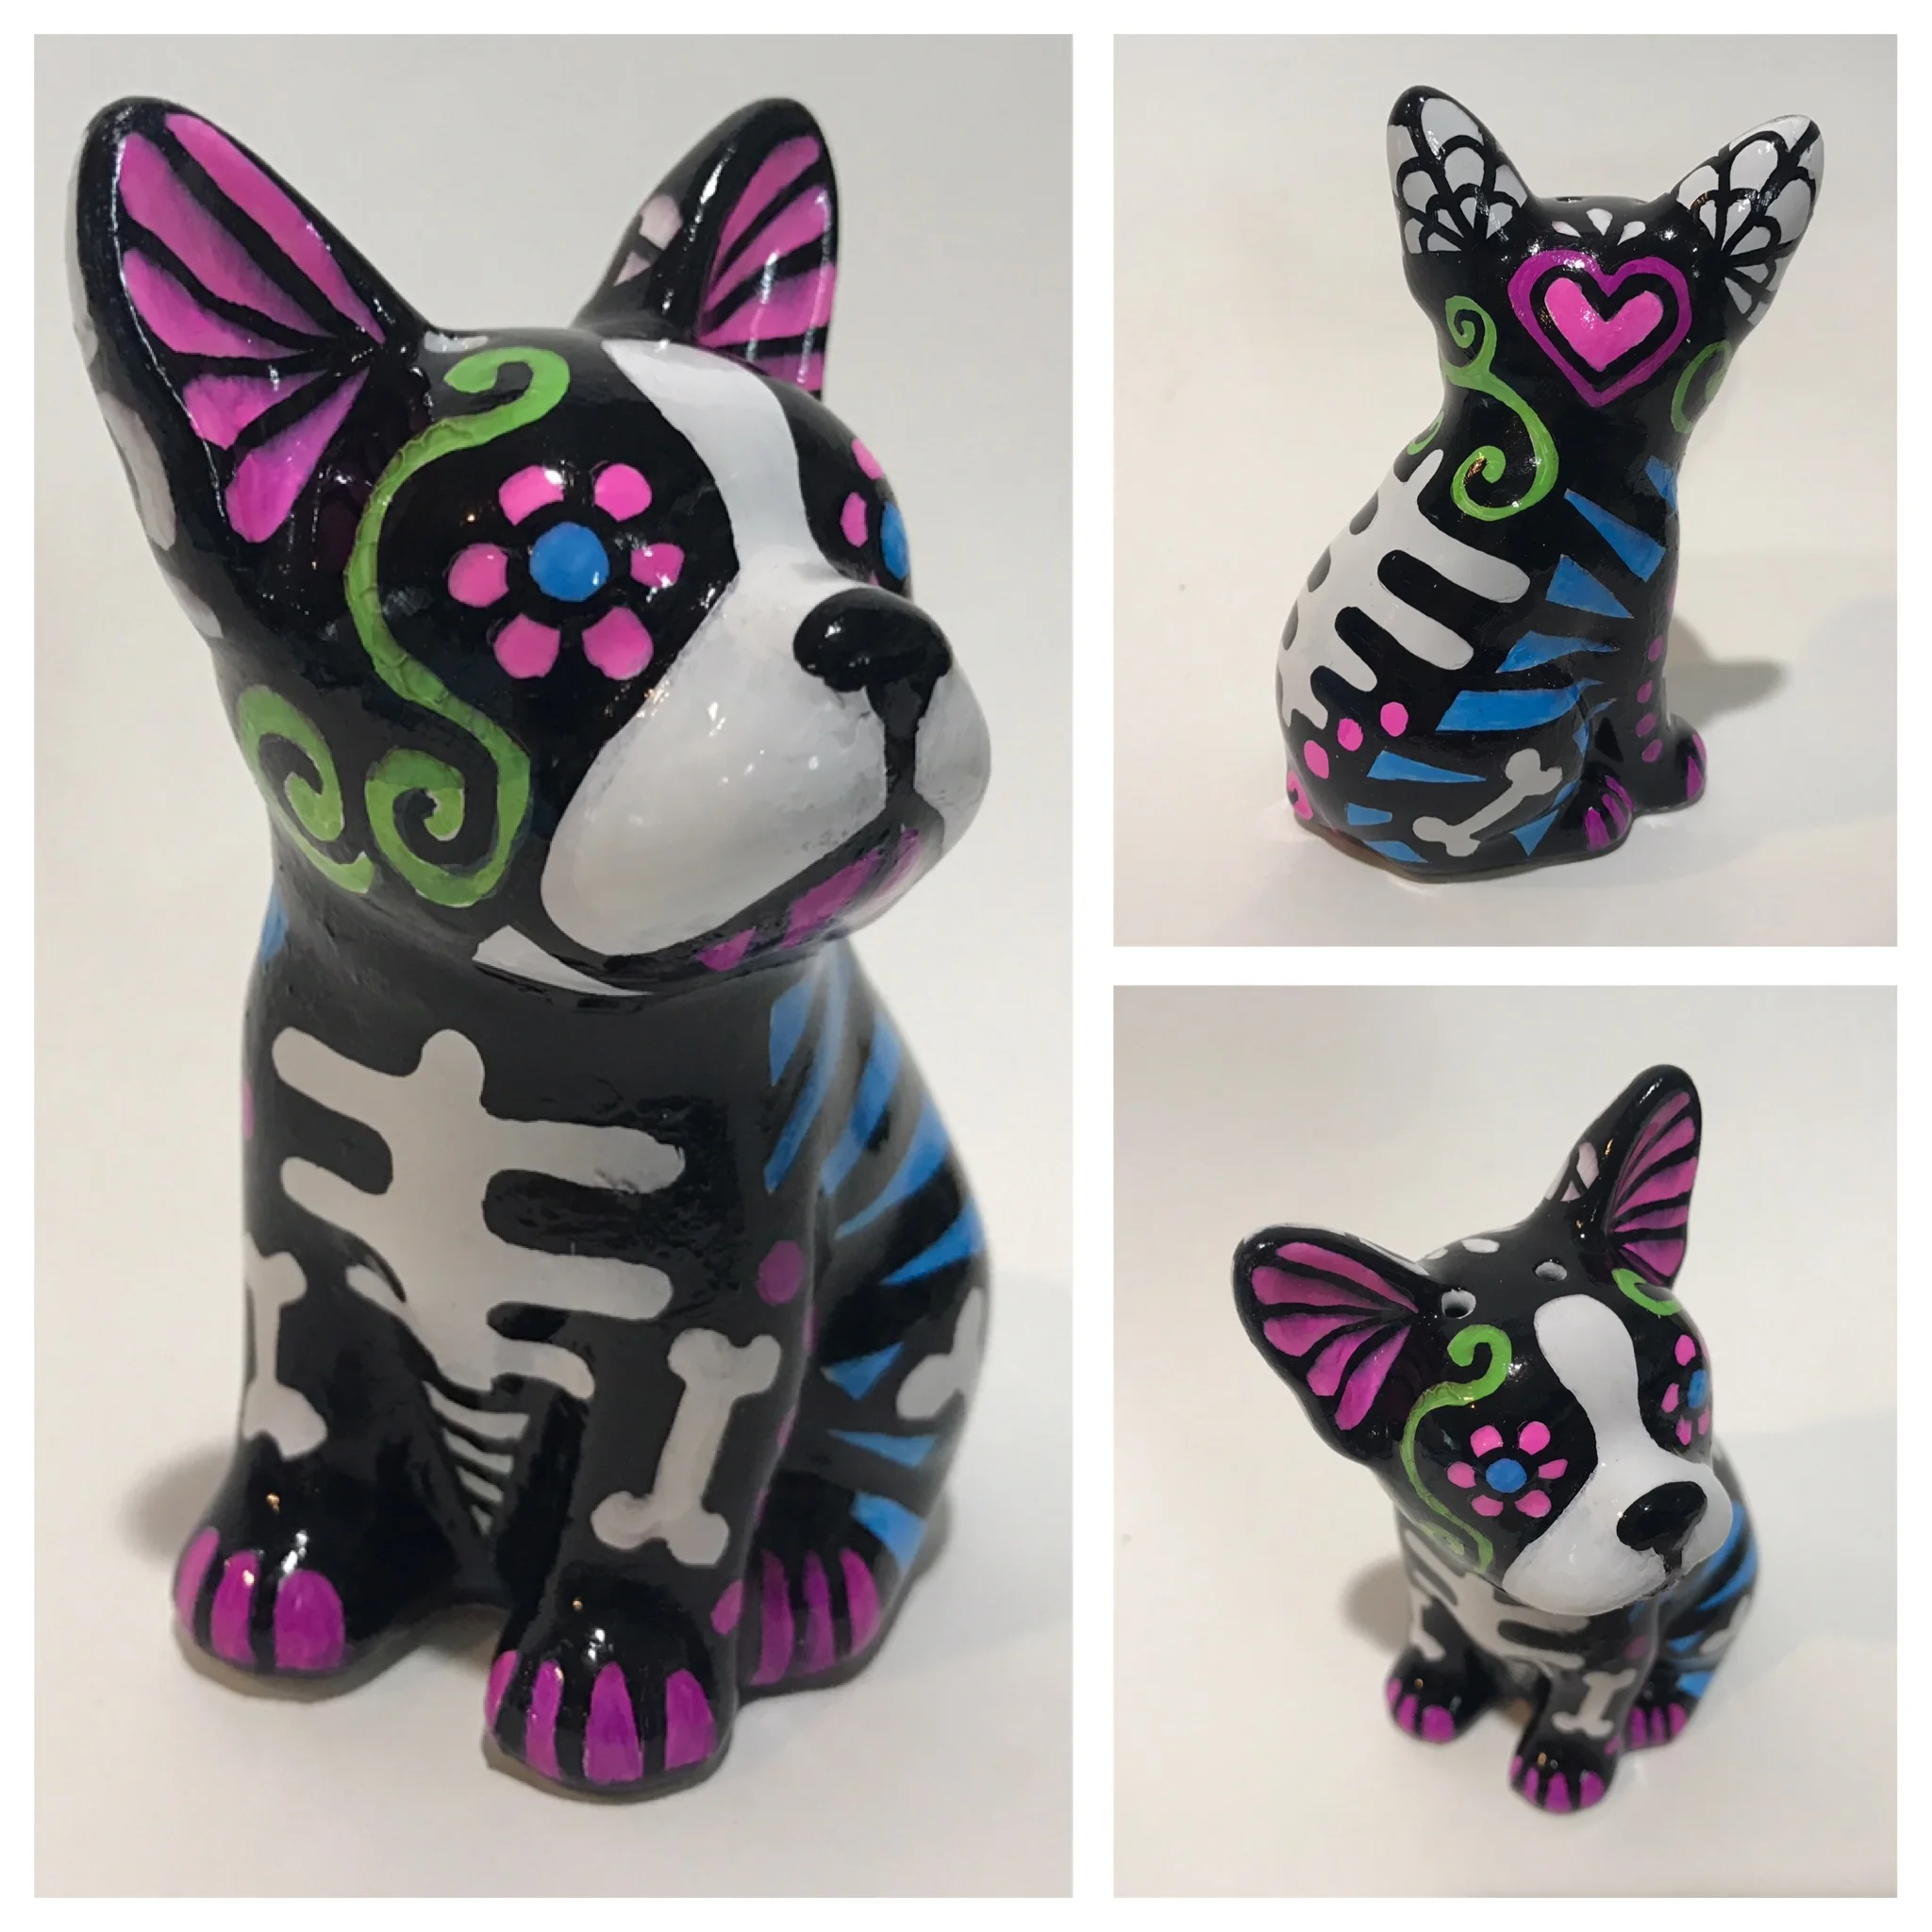
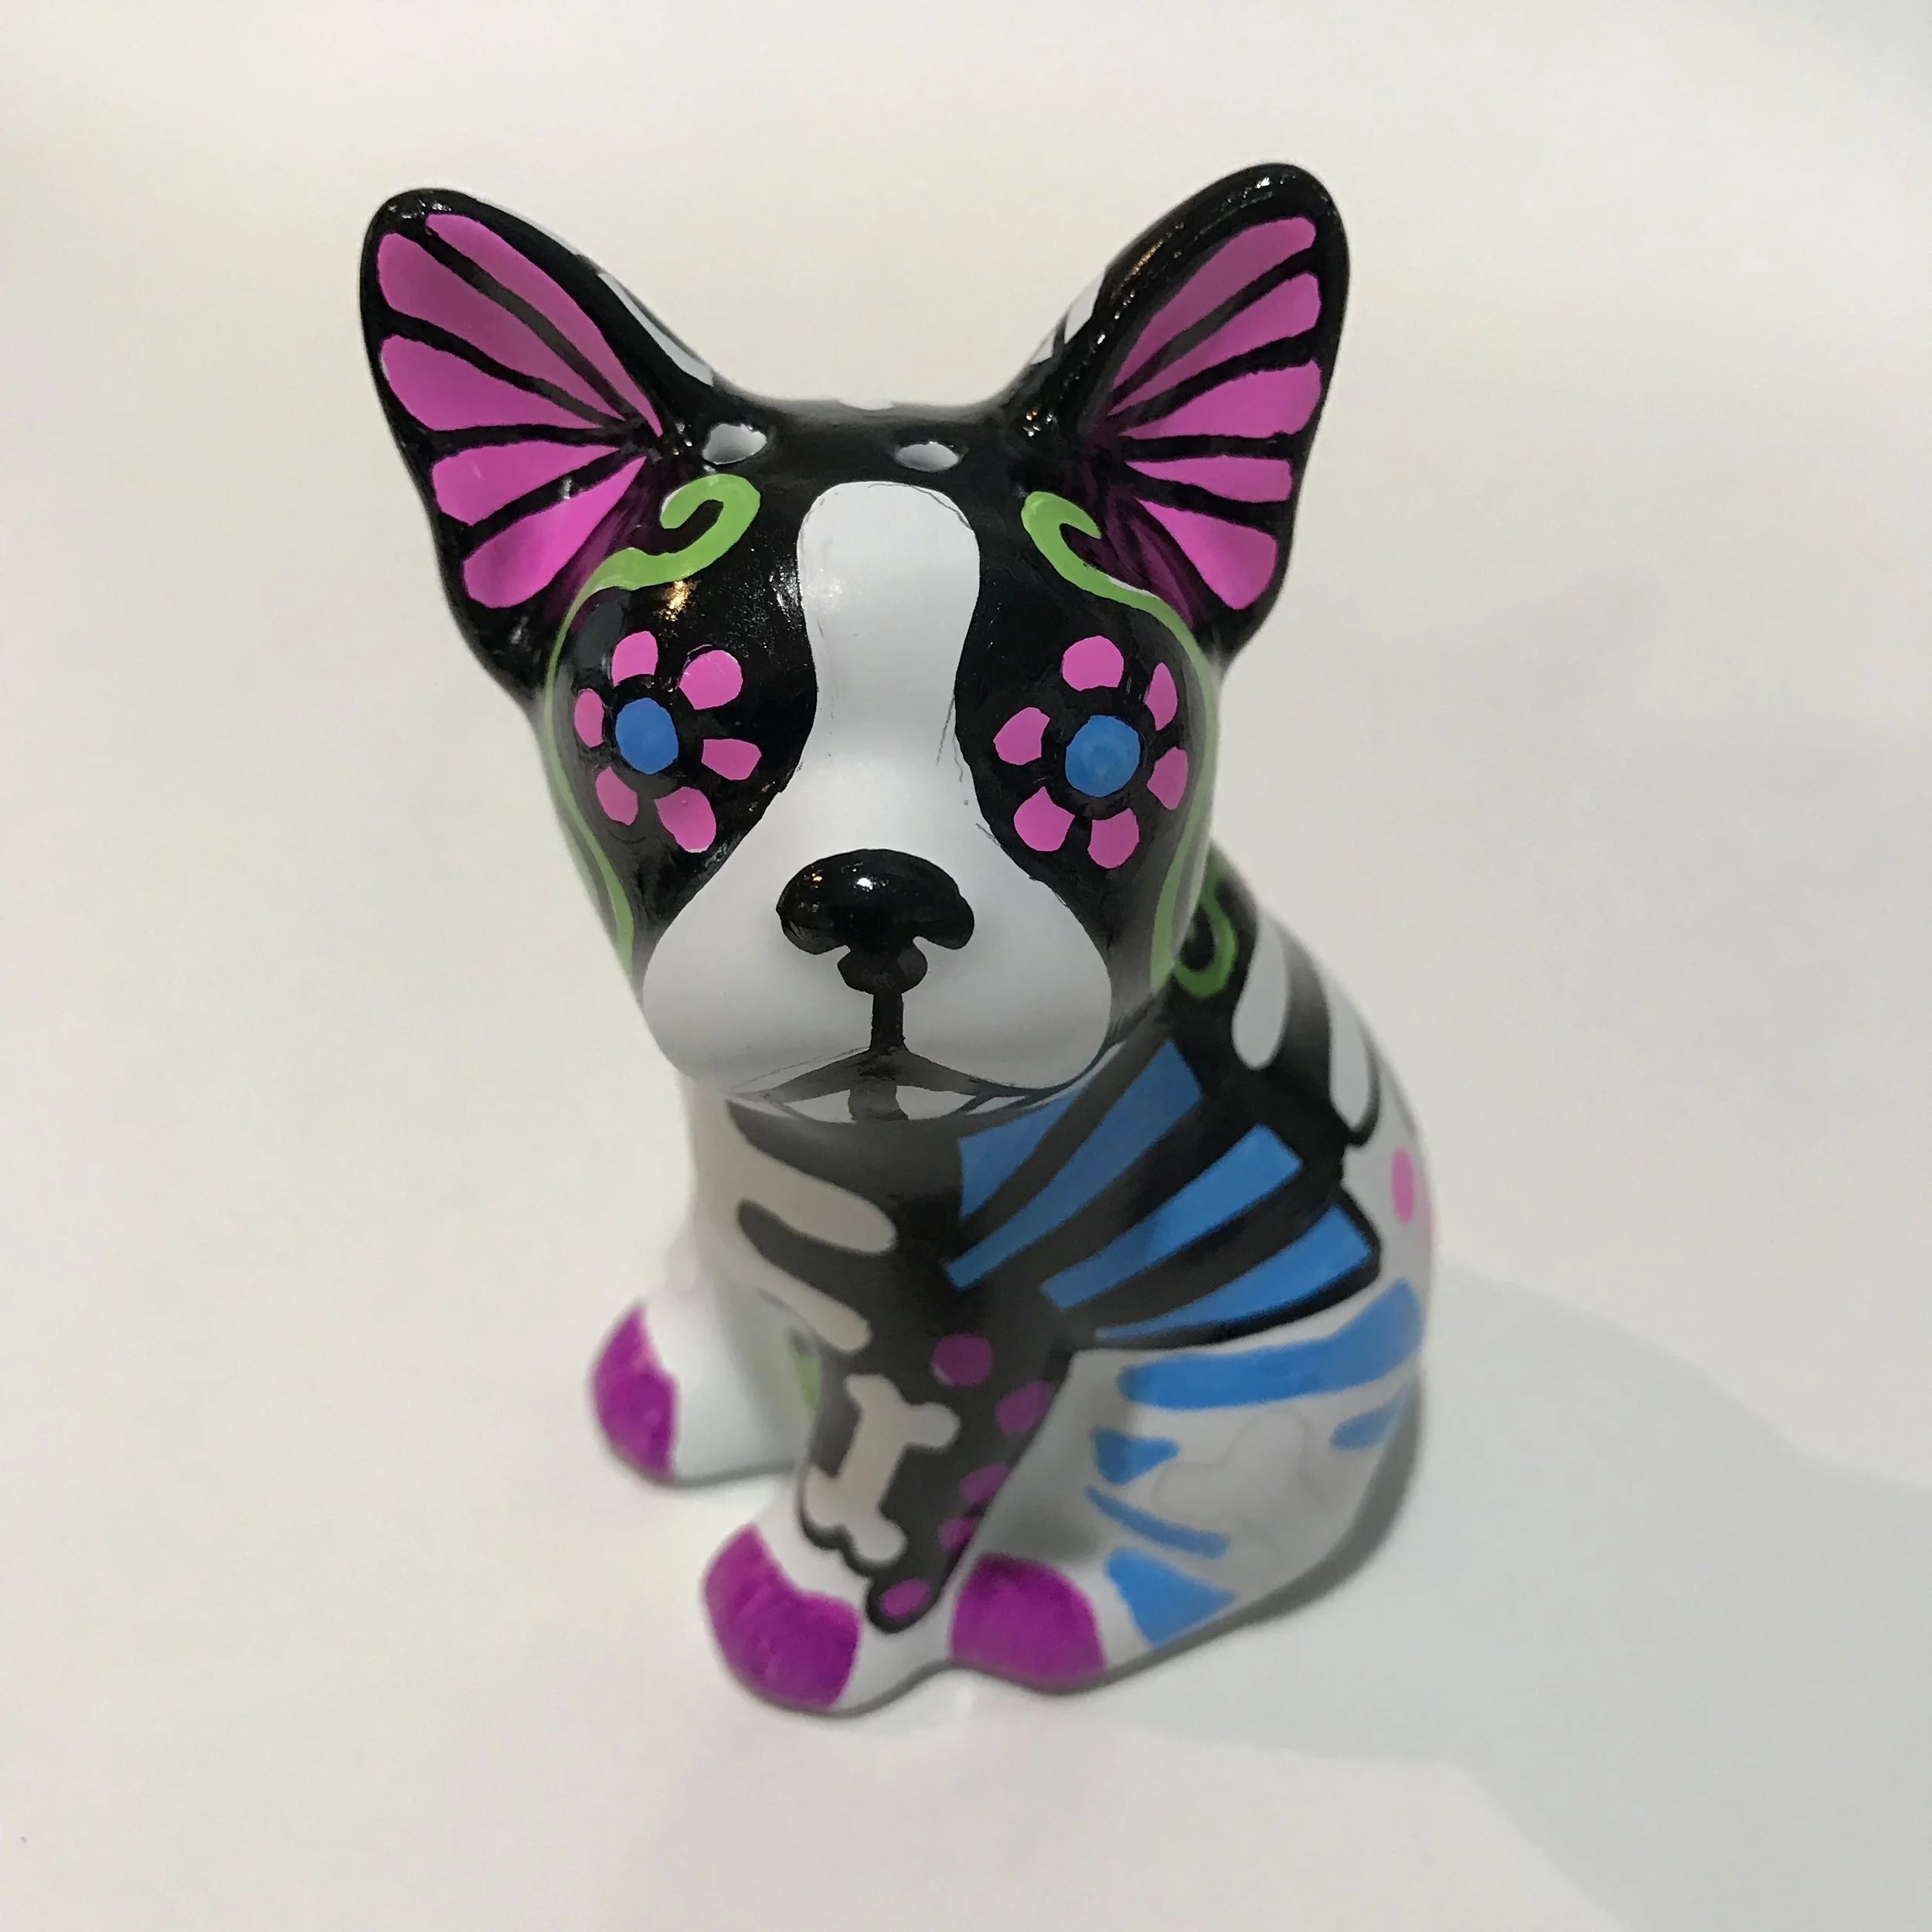
We love this sugar skull DIY from Emily of MushTushy. We are excited to share this with you in time for fall, Halloween and Dia de los Muertos. This tutorial is so fun.
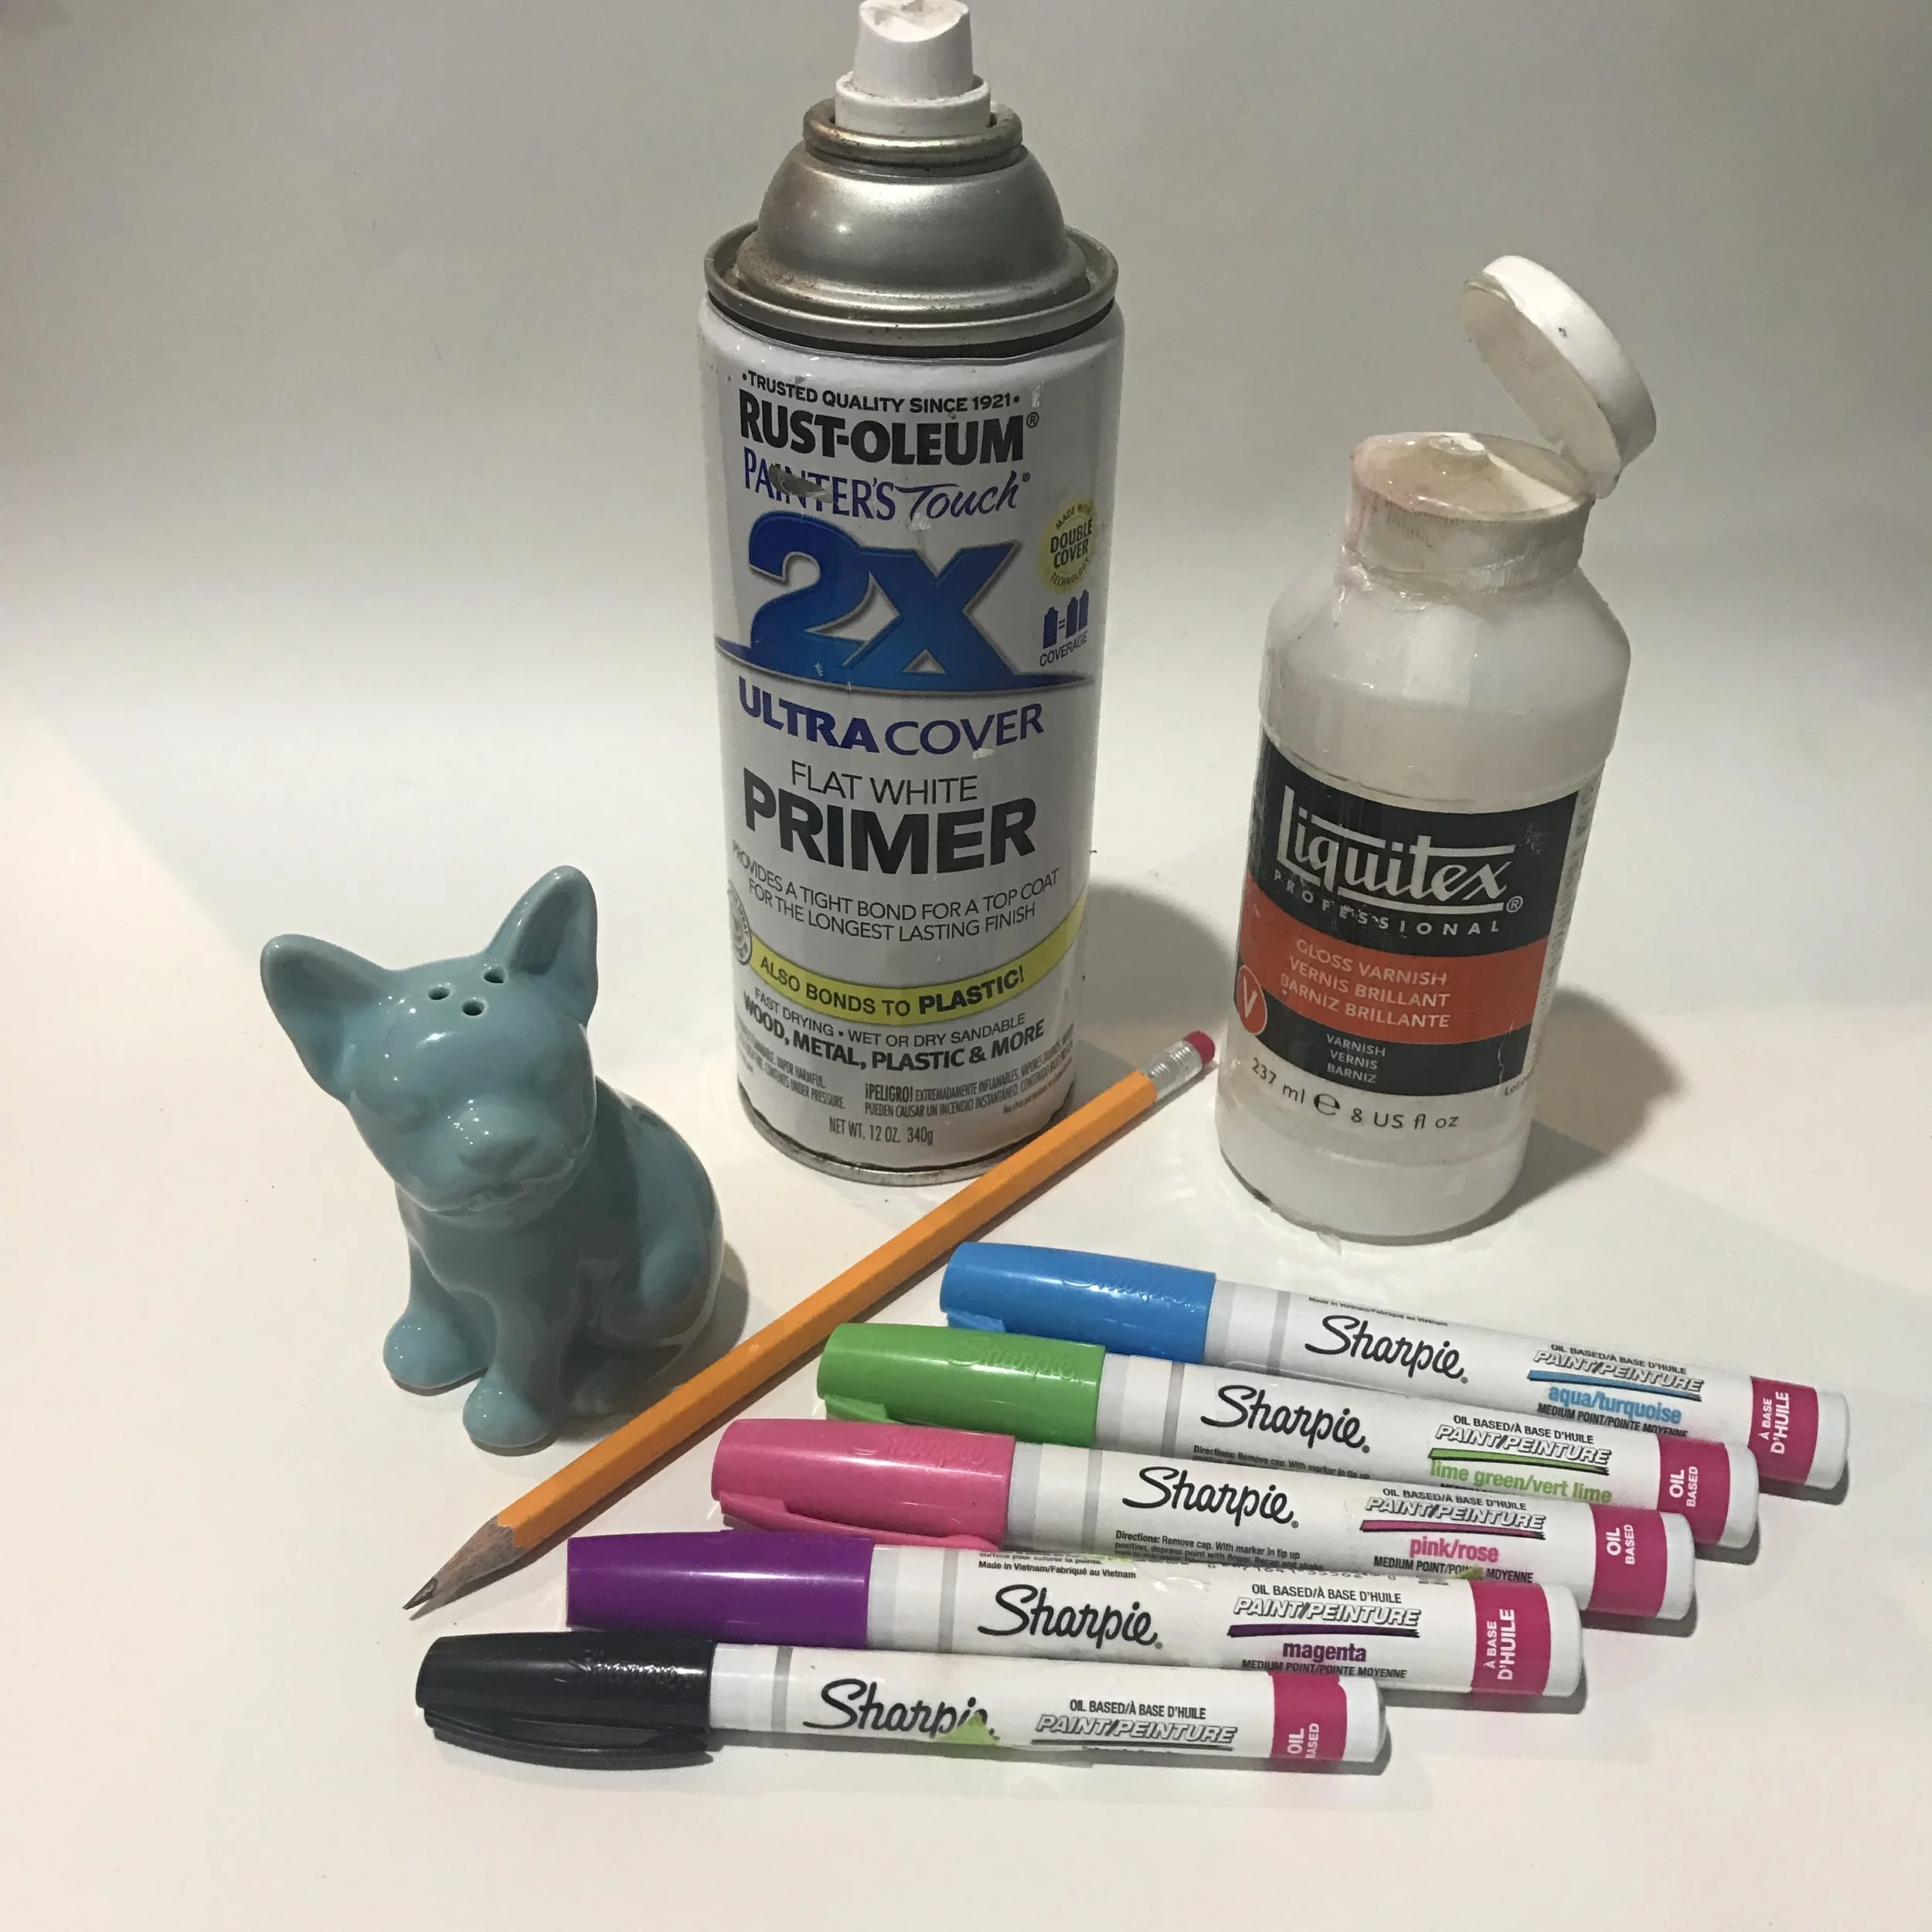
The cool thing about this project is that you can pick anything to paint, whether you want to use a piggy bank, an animal statue or even salt and pepper shakers such as the ones we used here. The options are limitless. For this tutorial, I bought little ceramic salt and pepper shakers from Target for $3 each. The only other supplies you will need are:
- paint pens (my personal favorites are fine point Sharpie oil based ones from Michael's or JoAnn's; be sure to use your coupons too!)
- flat white spray paint primer (my favorite is Rustoleum painters touch 2x cover from Walmart or Home Depot)
- pencil/eraser
- gloss varnish (my favorite is Liquitex gloss medium and varnish from JoAnn's)
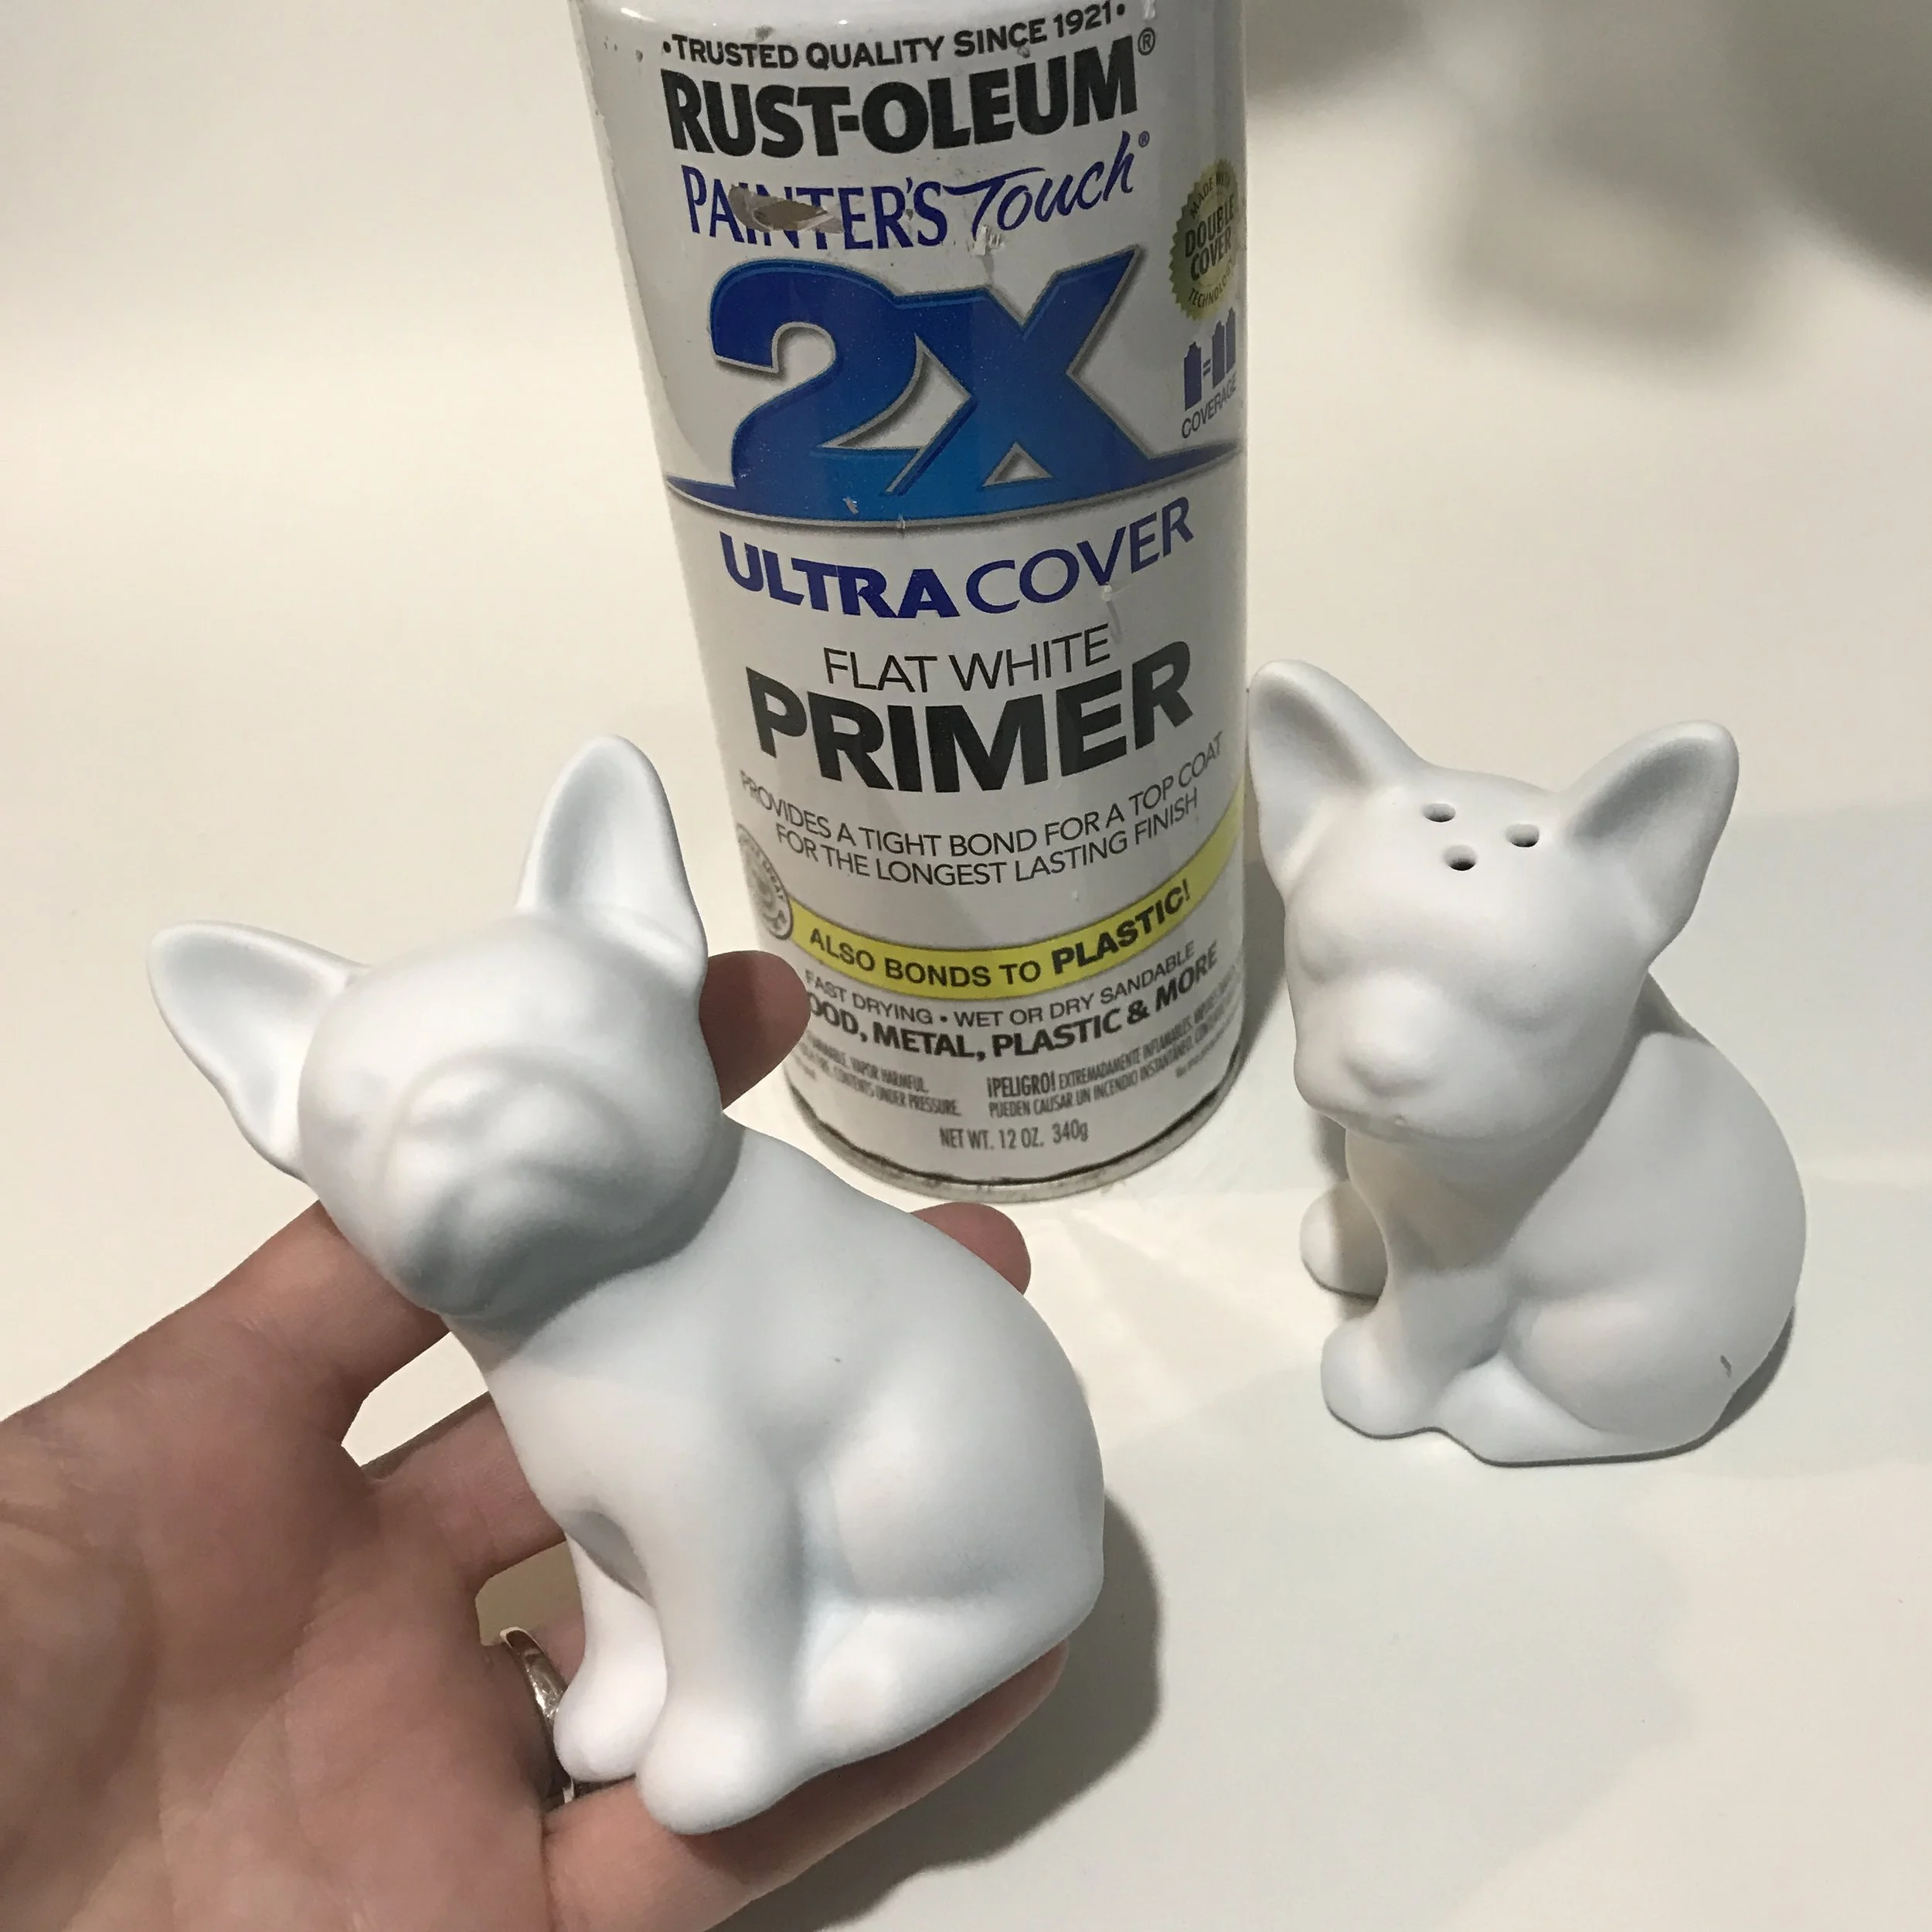
I always suggest priming your store-bought statues in order to get the paint to properly adhere. So even if you have a white object, be sure to prime it first, unless it's flat matte white. Be sure to use one thin coat in order to avoid drips, peeling paint and longer dry time. I always try to wait at least a few hours or even overnight before attempting the next steps.
Once your statue is dry, you can begin drawing your shapes and patterns. The only part I draw on is anything that I want to stay white. For example, for sugar skull patterns with bones, I outline the bones. If you feel more comfortable drawing out your entire design, feel free to do so. But remember the pencil will likely show through your lighter paint colors. Pencil can be erased from the primed surface, so don't be afraid to experiment with designs before using the paint pens.
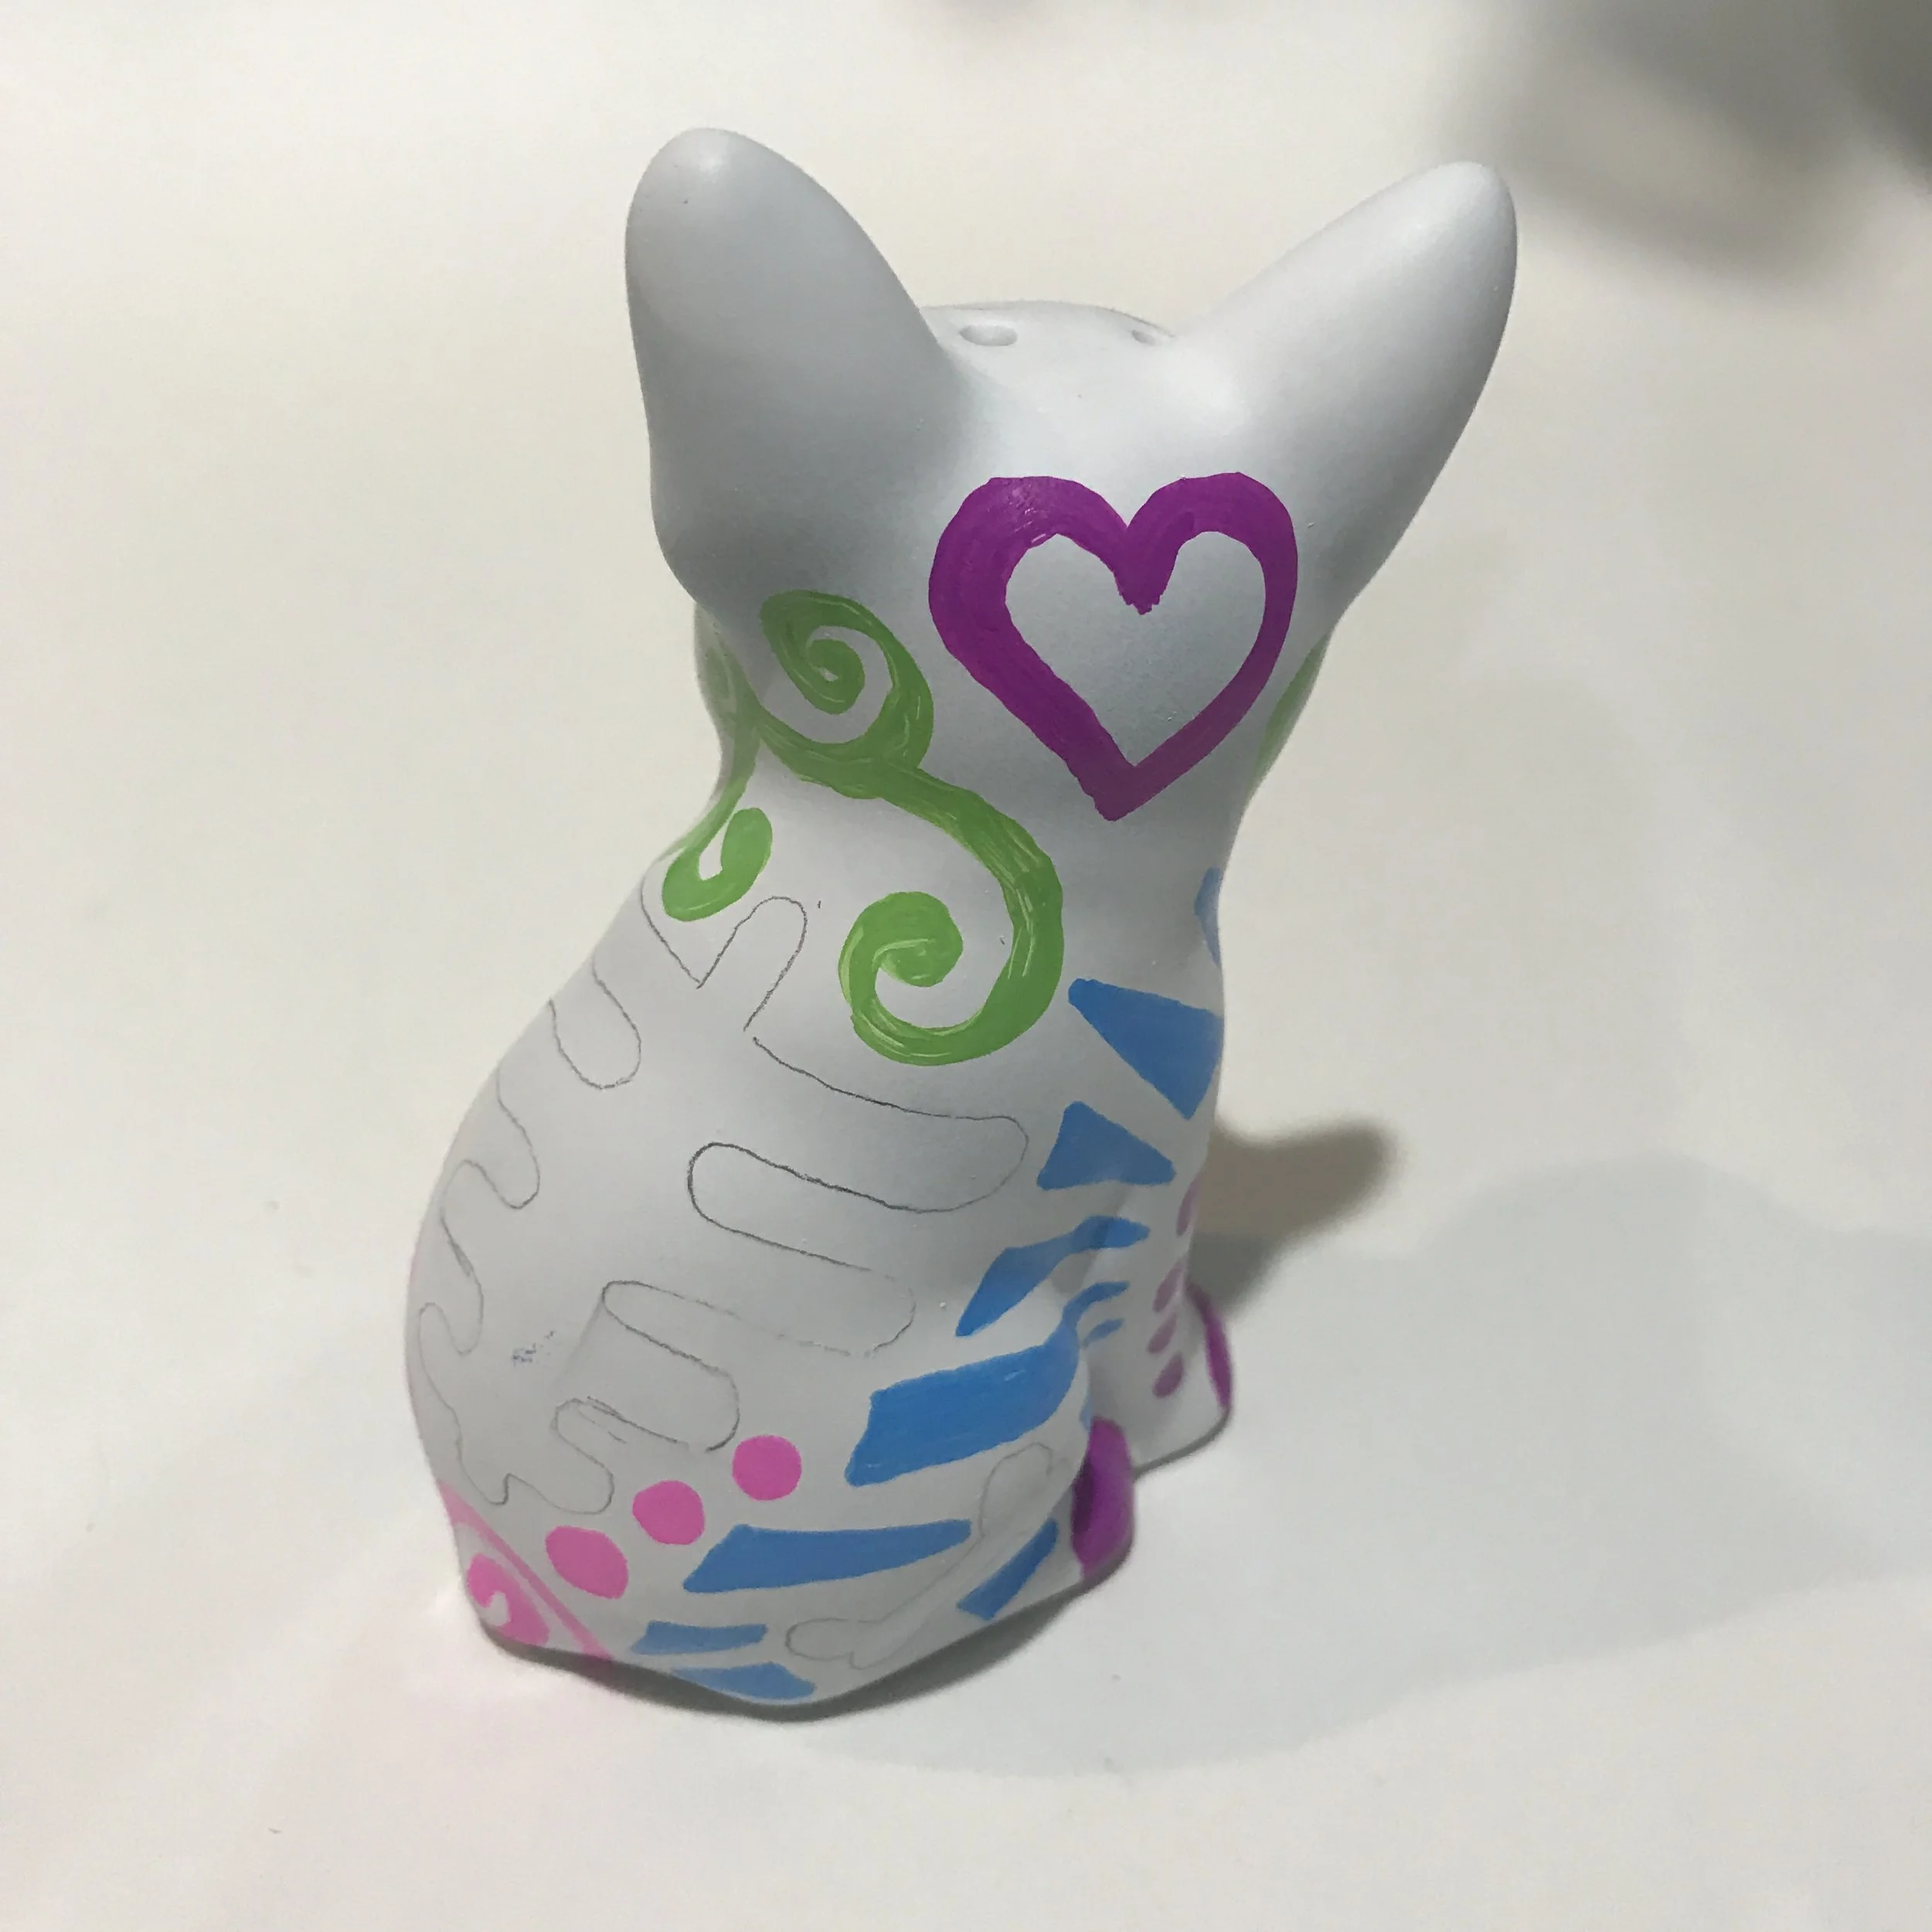
Look up sugar skull designs, henna patterns, mandala art or any patterns. You can even add words to customize your project. The options for decorating are only limited to your imagination. After I block in the white areas with pencil, I draw my patterns and shapes with the markers.
Once all your white is outlined and you've filled in the colors, the tedious work begins. Be sure to have a steady hand, and maybe don't attempt this after your 5th coffee of the day. Haha! Use the fine point black Sharpie and start outlining all the shapes with black, and then go back in with the thicker black Sharpie to fill in the remaining background. Once all the black is drawn on, touch up any color areas that have white splotches and then brush on the clear varnish. Don't put it on too thick and don't brush repeatedly in the same areas or color can pull off and the clear may dry a cloudy white.
After it dries, you have your beautiful hand-painted statue ready for display on your mantle, desk, entryway, etc. I hope you have enjoyed this tutorial. Please feel free to follow me on Instagram and share photos of your completed projects!