Halloween

Halloween Playlist

Only one week until Halloween, folks, better liven up your playlist! We chose a few creepy favorites to share that may not feel as played out as MJ's "Thriller."  Click here to listen on Spotify. Enjoy!


1. Tarantula - Bob Schneider

2.  Wolves Without Teeth - Of Monsters and Men​

3. Zombie - The Cranberries​

4.  Every Breath You Take​ - The Police

5.  Time Warp - The Rocky Horror Picture Show​

6.  Someone's Watching Me - Rockwell​

7.  This is Halloween - The Nightmare Before Christmas​

8.  Tainted Love - Soft Cell​

9.  ​Seven Devils - Florence + The Machine

10. I Want Candy - Bow Wow Wow​

11. Season of the Witch - Donovan​

12. The Reaper - Blue Oÿster Cult​

13. I Put A Spell On You - Annie Lennox​

DIY Halloween Costume - Monarch Butterfly

It is October! If you are the crafty type like me, it officially means you have been scrolling Pinterest for costume inspiration. Well, I have some happy news for you. Etsy Dallas is pulling their creativity together to share a homemade Halloween costume with you every week this month!

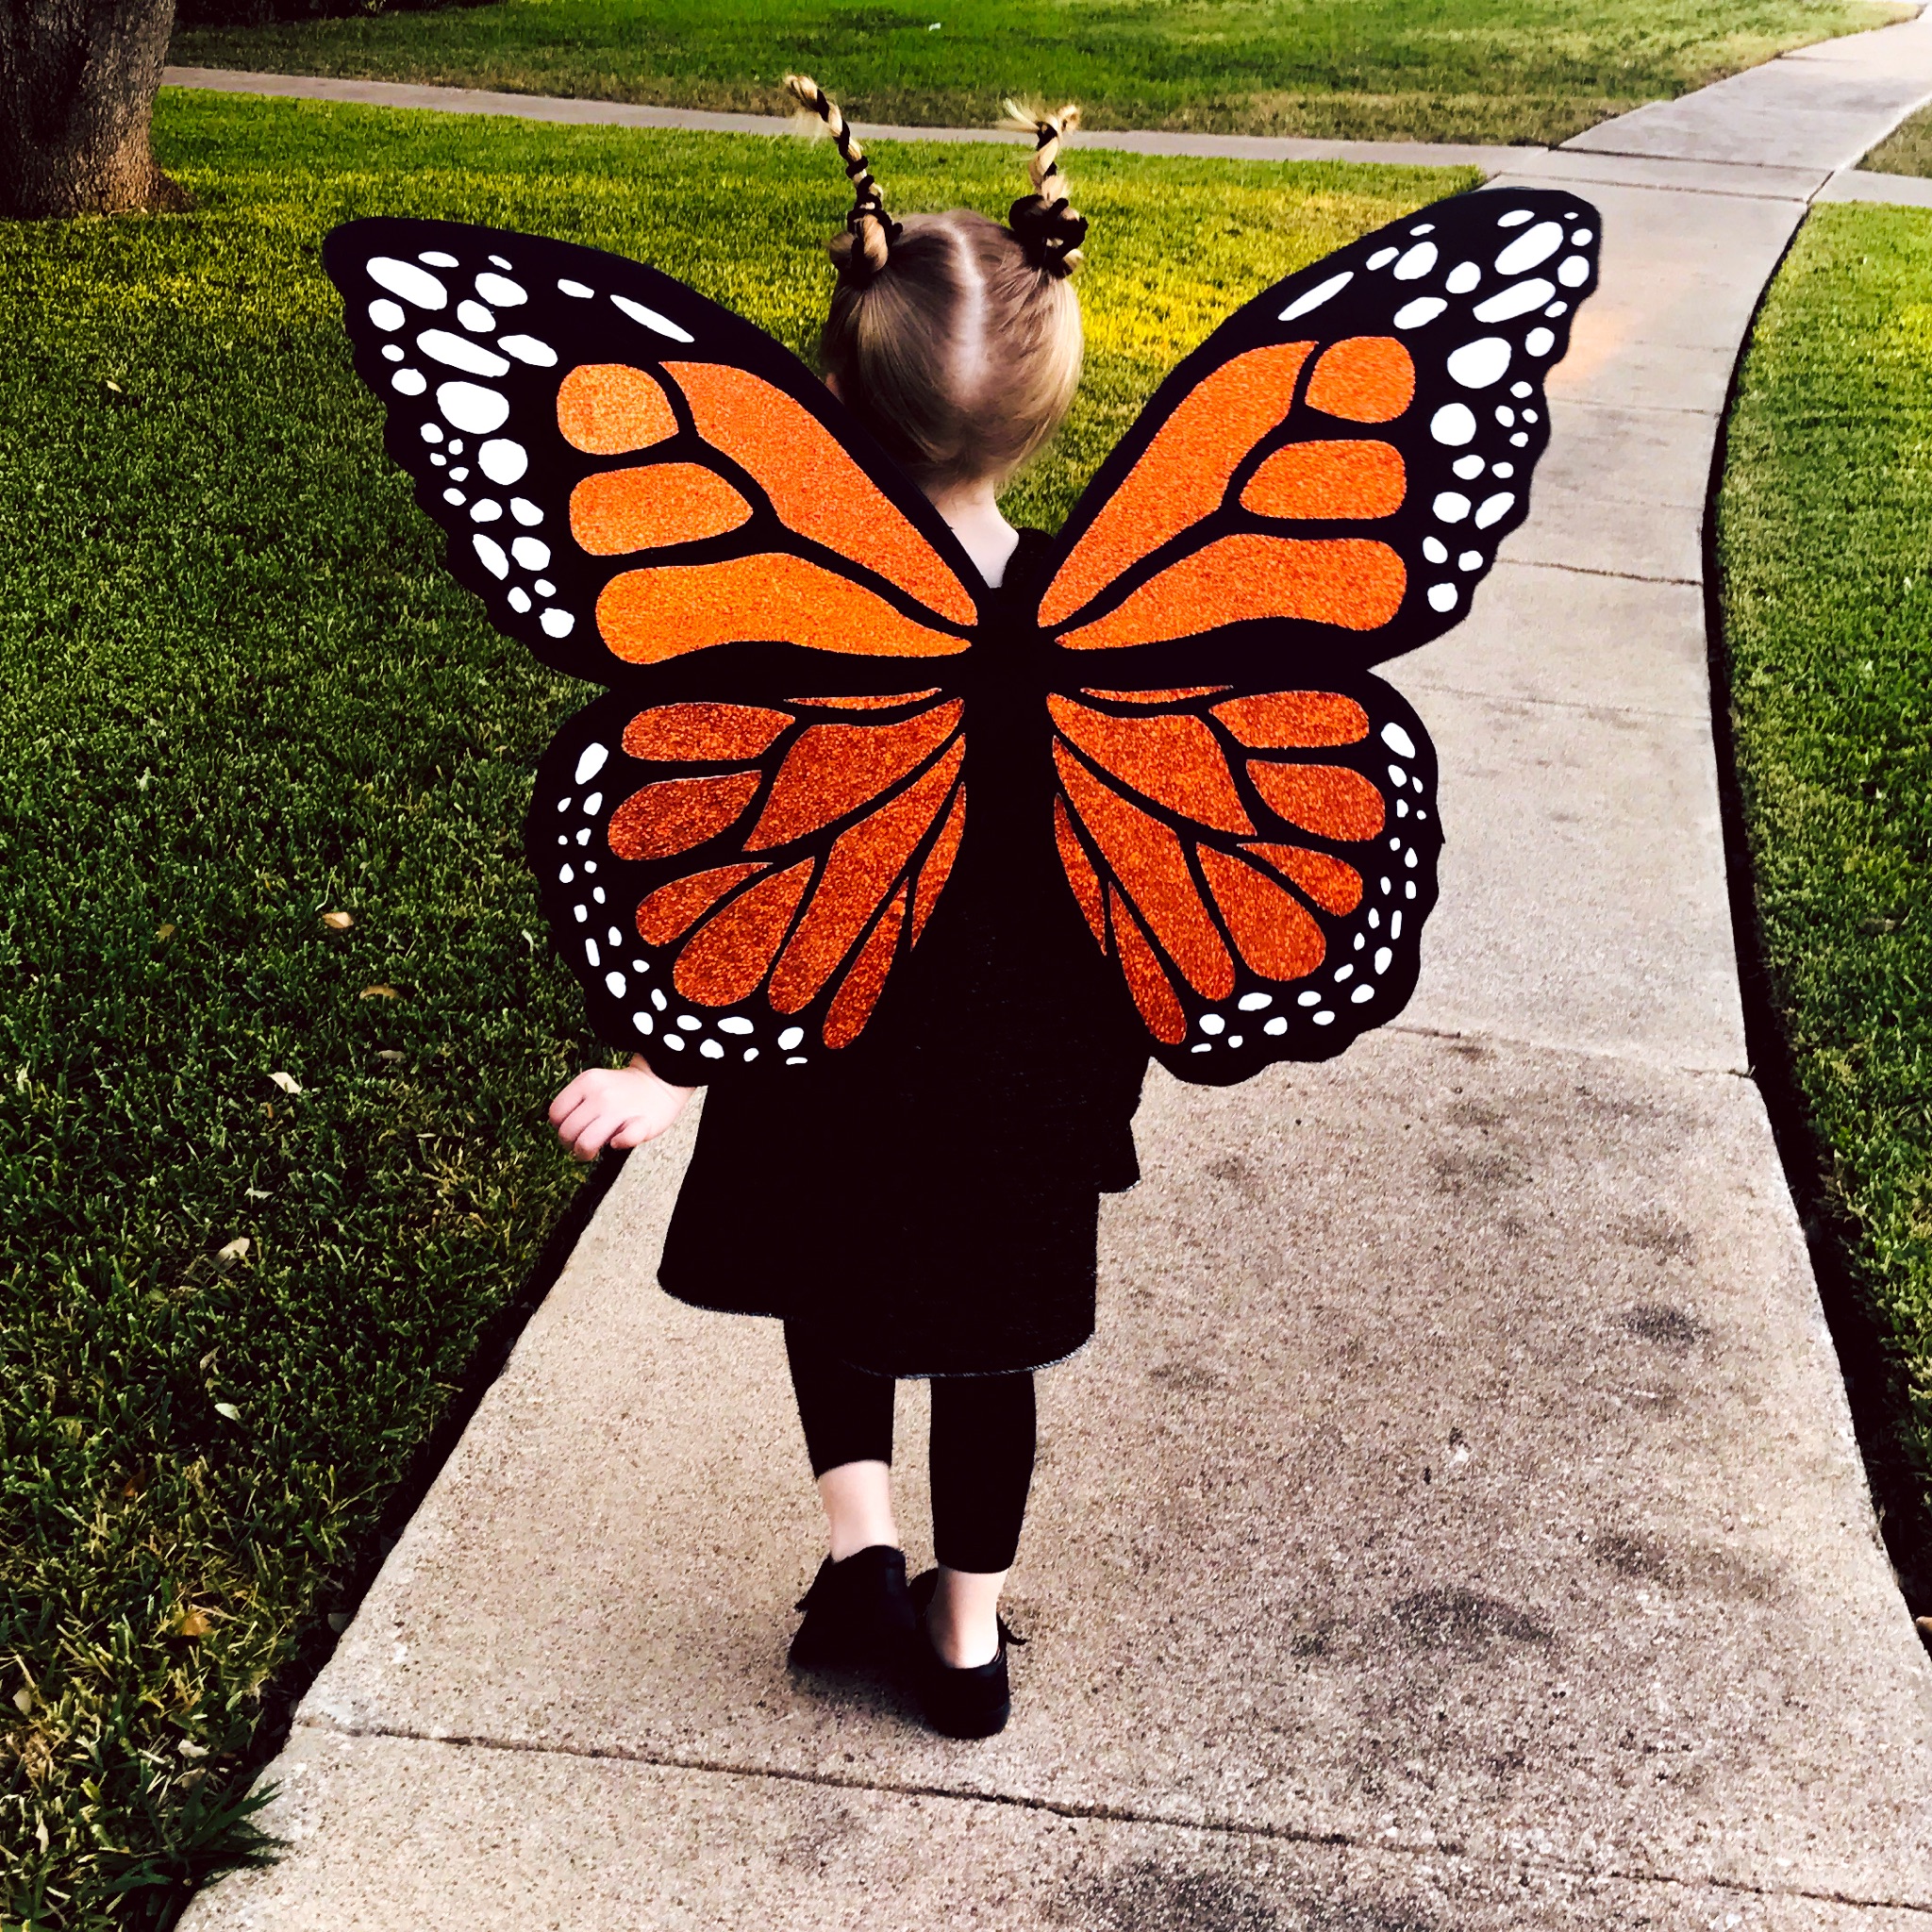
To begin, I’m sharing this show stopping Monarch Butterfly! This was my daughter’s costume last year, and you would not believe how many compliments and responses we had walking down the sidewalk. Some people even crossed the road to get a closer peek. She loved every second of it, and just beamed from door to door.

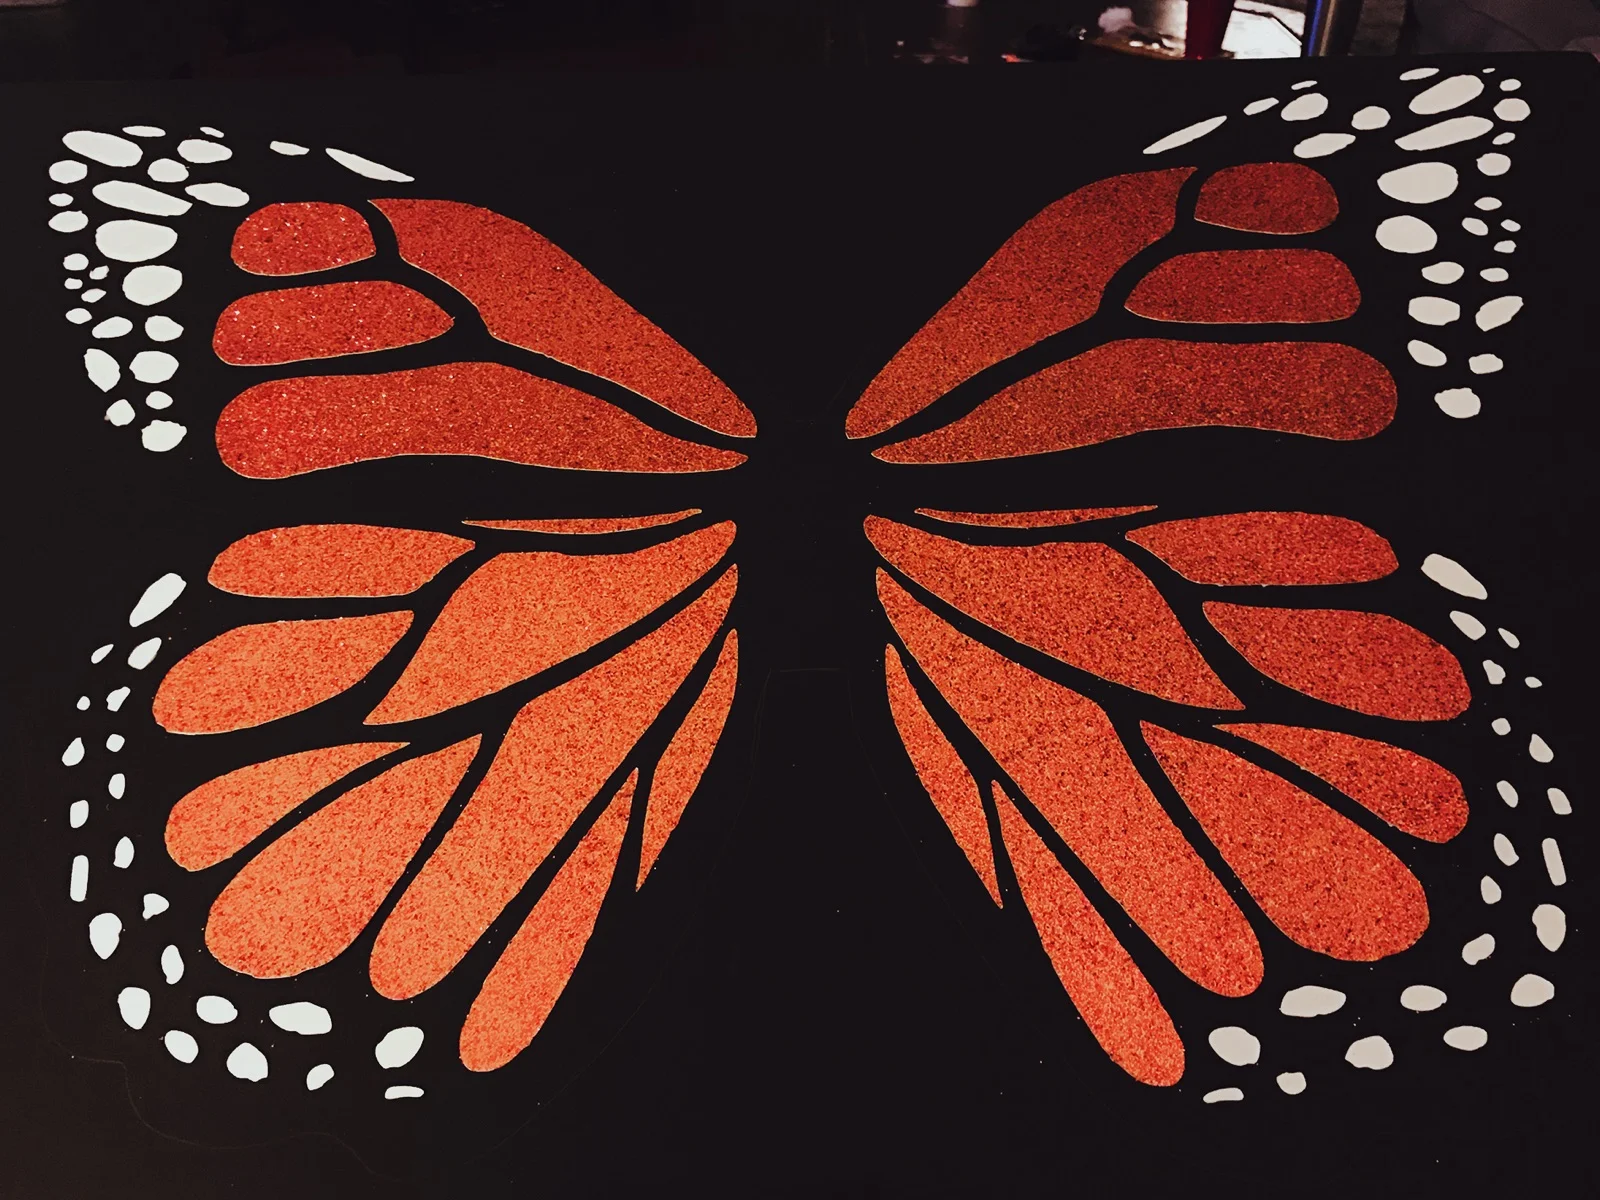
Now, I won’t lie to you and tell you this was fast and easy. It took some time to create, but the end result was so worth it and the supply cost was modest. If you have a Silhouette Cameo, these cut files (orange and white) will speed things up. If you don’t, print this file twice, and stick each to the backs of your scrapbook paper to cut out the shapes by hand. Our butterfly was about 2’ tall and just under 3’ wide.

Here is what you need: 

Silhouette Cameo 

or Scissors and Patience

4 Sheets Orange Glitter Scrapbook Paper - 12x12

2 Sheets White Glitter Scrapbook Paper - Letter Sized

A Pencil

Glue

Black Foam Core Board

4 Black Elastic Headbands

And, this Reference Photo

FullSizeRender.jpg

Here is how you do it: 

Use Silhouette Studio to cut out the wing shapes. There is a glitter paper setting, but you may have to play with your settings to get it right depending on the brand and weight of your paper. In the file, I have included the upper wing shapes and lower wing shapes. Cut two of the upper wing shapes. Then move the lower wing shapes to the cutting area, and cut two of those. After those have finished cutting, open the dots file, and cut two using the white glitter paper. 

It is a good idea to keep the shapes separated because they add up very quickly. So, use piles or baggies and label them to keep things organized. Once you have separated your shapes, use the reference butterfly to jigsaw the shapes together on top of the foam board like this.

IMG_6976.JPG

Once you have everything spaced properly, glue the orange pieces down, and lay out the white pieces. This part is a bit tricky, but even if they aren’t an exact mirror, they look real.

IMG_6977.JPG

Glue those down as well, then use your pencil and reference photo to draw the outline of the butterfly around the pieces. Remember to leave an inch+ border, and add the wavy details! (My pencil outline is a little hard to see in the photo, look towards the bottom left.)

IMG_6979.JPG

Cut the butterfly outline from the foam board. I had best results with a serrated knife. Follow the steps on the other side with the remaining glitter paper.

Poke two holes in the center top and bottom for the straps. Inserting the knife or scissors and twisting is a good way to do this. Knot the end of two elastics together then string the loops through the hole to make straps. For stabilization, repeat on the second hole.

IMG_6984.JPG

Pair the wings with a black outfit and shoes, and use pipe cleaners for antennae. 

IMG_6981.JPG

We would love to see your Halloween crafting on Instagram, tag us @etsydallas.I hope to see you back next week for another handmade costume!

DIY sugar skull tutorial

We love this sugar skull DIY from Emily of MushTushy. We are excited to share this with you in time for fall, Halloween and Dia de los Muertos. This tutorial is so fun.

The cool thing about this project is that you can pick anything to paint, whether you want to use a piggy bank, an animal statue or even salt and pepper shakers such as the ones we used here. The options are limitless. For this tutorial, I bought little ceramic salt and pepper shakers from Target for $3 each. The only other supplies you will need are:

- paint pens (my personal favorites are fine point Sharpie oil based ones from Michael's or JoAnn's; be sure to use your coupons too!)
- flat white spray paint primer (my favorite is Rustoleum painters touch 2x cover from Walmart or Home Depot)
- pencil/eraser
- gloss varnish (my favorite is Liquitex gloss medium and varnish from JoAnn's)

I always suggest priming your store-bought statues in order to get the paint to properly adhere. So even if you have a white object, be sure to prime it first, unless it's flat matte white. Be sure to use one thin coat in order to avoid drips, peeling paint and longer dry time. I always try to wait at least a few hours or even overnight before attempting the next steps. 

Once your statue is dry, you can begin drawing your shapes and patterns. The only part I draw on is anything that I want to stay white. For example, for sugar skull patterns with bones, I outline the bones. If you feel more comfortable drawing out your entire design, feel free to do so. But remember the pencil will likely show through your lighter paint colors. Pencil can be erased from the primed surface, so don't be afraid to experiment with designs before using the paint pens.

Look up sugar skull designs, henna patterns, mandala art or any patterns. You can even add words to customize your project. The options for decorating are only limited to your imagination. After I block in the white areas with pencil, I draw my patterns and shapes with the markers. 

Once all your white is outlined and you've filled in the colors, the tedious work begins. Be sure to have a steady hand, and maybe don't attempt this after your 5th coffee of the day. Haha! Use the fine point black Sharpie and start outlining all the shapes with black, and then go back in with the thicker black Sharpie to fill in the remaining background. Once all the black is drawn on, touch up any color areas that have white splotches and then brush on the clear varnish. Don't put it on too thick and don't brush repeatedly in the same areas or color can pull off and the clear may dry a cloudy white.

After it dries, you have your beautiful hand-painted statue ready for display on your mantle, desk, entryway, etc. I hope you have enjoyed this tutorial. Please feel free to follow me on Instagram and share photos of your completed projects! 


Happy Haunting!

Time to get your happy hauntings on! These Halloween picks from Etsy Dallas will add some frightening sweetness to your ghoulish festivities.
Friendly Monster Letterpress Print by Honeycomb Print Shop

Shave the Whales by Dowdy Studio

Vintage Plaid Wallet by moose + pine

Shea Butter Skull Soap by The Pig and the Peacock

Classic Monsters Silkscreen Print Set by Napkin Art Studios

Fused Art Glass Wine Stopper by Kessler Craftsman

Polyphonic Spree Record Release Poster by Napkin Art Studios

Candy Corn Art Glass Earrings by Kessler Craftsman

We're Having a Halloween Costume Contest!


Etsy Dallas wants to see your ghouls and goblins! Post a photo on the Etsy Dallas Facebook Page to enter our Halloween Costume Photo Contest. 


One lucky winner will win all of these fabulous Fall themed handmade items:


Owl Alphabet Print from MereDesigns


YeeHaw Kitty Print from Dowdy Studio


Candy Sprinkle Necklace from Maggie May I


Must. Have. Brains. Shea Butter Soap Set from The Pig and The Peacock


We want to see your creativity and fantasmagoria! You've got until Friday, November the 2nd at 3:00 PM CST to enter.


Learn How to Green your Halloween


What will you dress up as this year? Time will tell...

I recently learned about the Third Annual National Costume Swap Day – it's October 13th this year. You can join the adventure on Facebook. Or start an event in your own area, learn how at GreenHalloween.org  


Bring your child's Halloween costume from last year and walk away with a different one. This event includes costumes for kids, adults and pets too! You pay nothing just bring costume(s) with you for swapping! 

I love this idea!! By swapping costumes, you save stuff from the landfills, it's free, meet fun people and get cool costumes. What's not to love!?

Find an event close to you. The count down is on...

This eco-idea brought to you by Alicia of La Alicia

Haute Hauntings

And if you didn't get enough of a kick from your sugar high and scary frights...

Cat Ears Dog Costume by DCimaginations,  The Debonair Lycanthrope by Chet Art,
 Shea Butter Skull Soap by The Pig and The Peacock,
Fused Glass Skull Bracelet by Kesseler Craftsman

Anne of Modest Ambition with her darling daughter in her handmade owl costume.

WHOooo can believe all the adorableness?