Craft

Saint Patrick’s Day Lapel Pin Tutorial with Rhapsody Letterpress

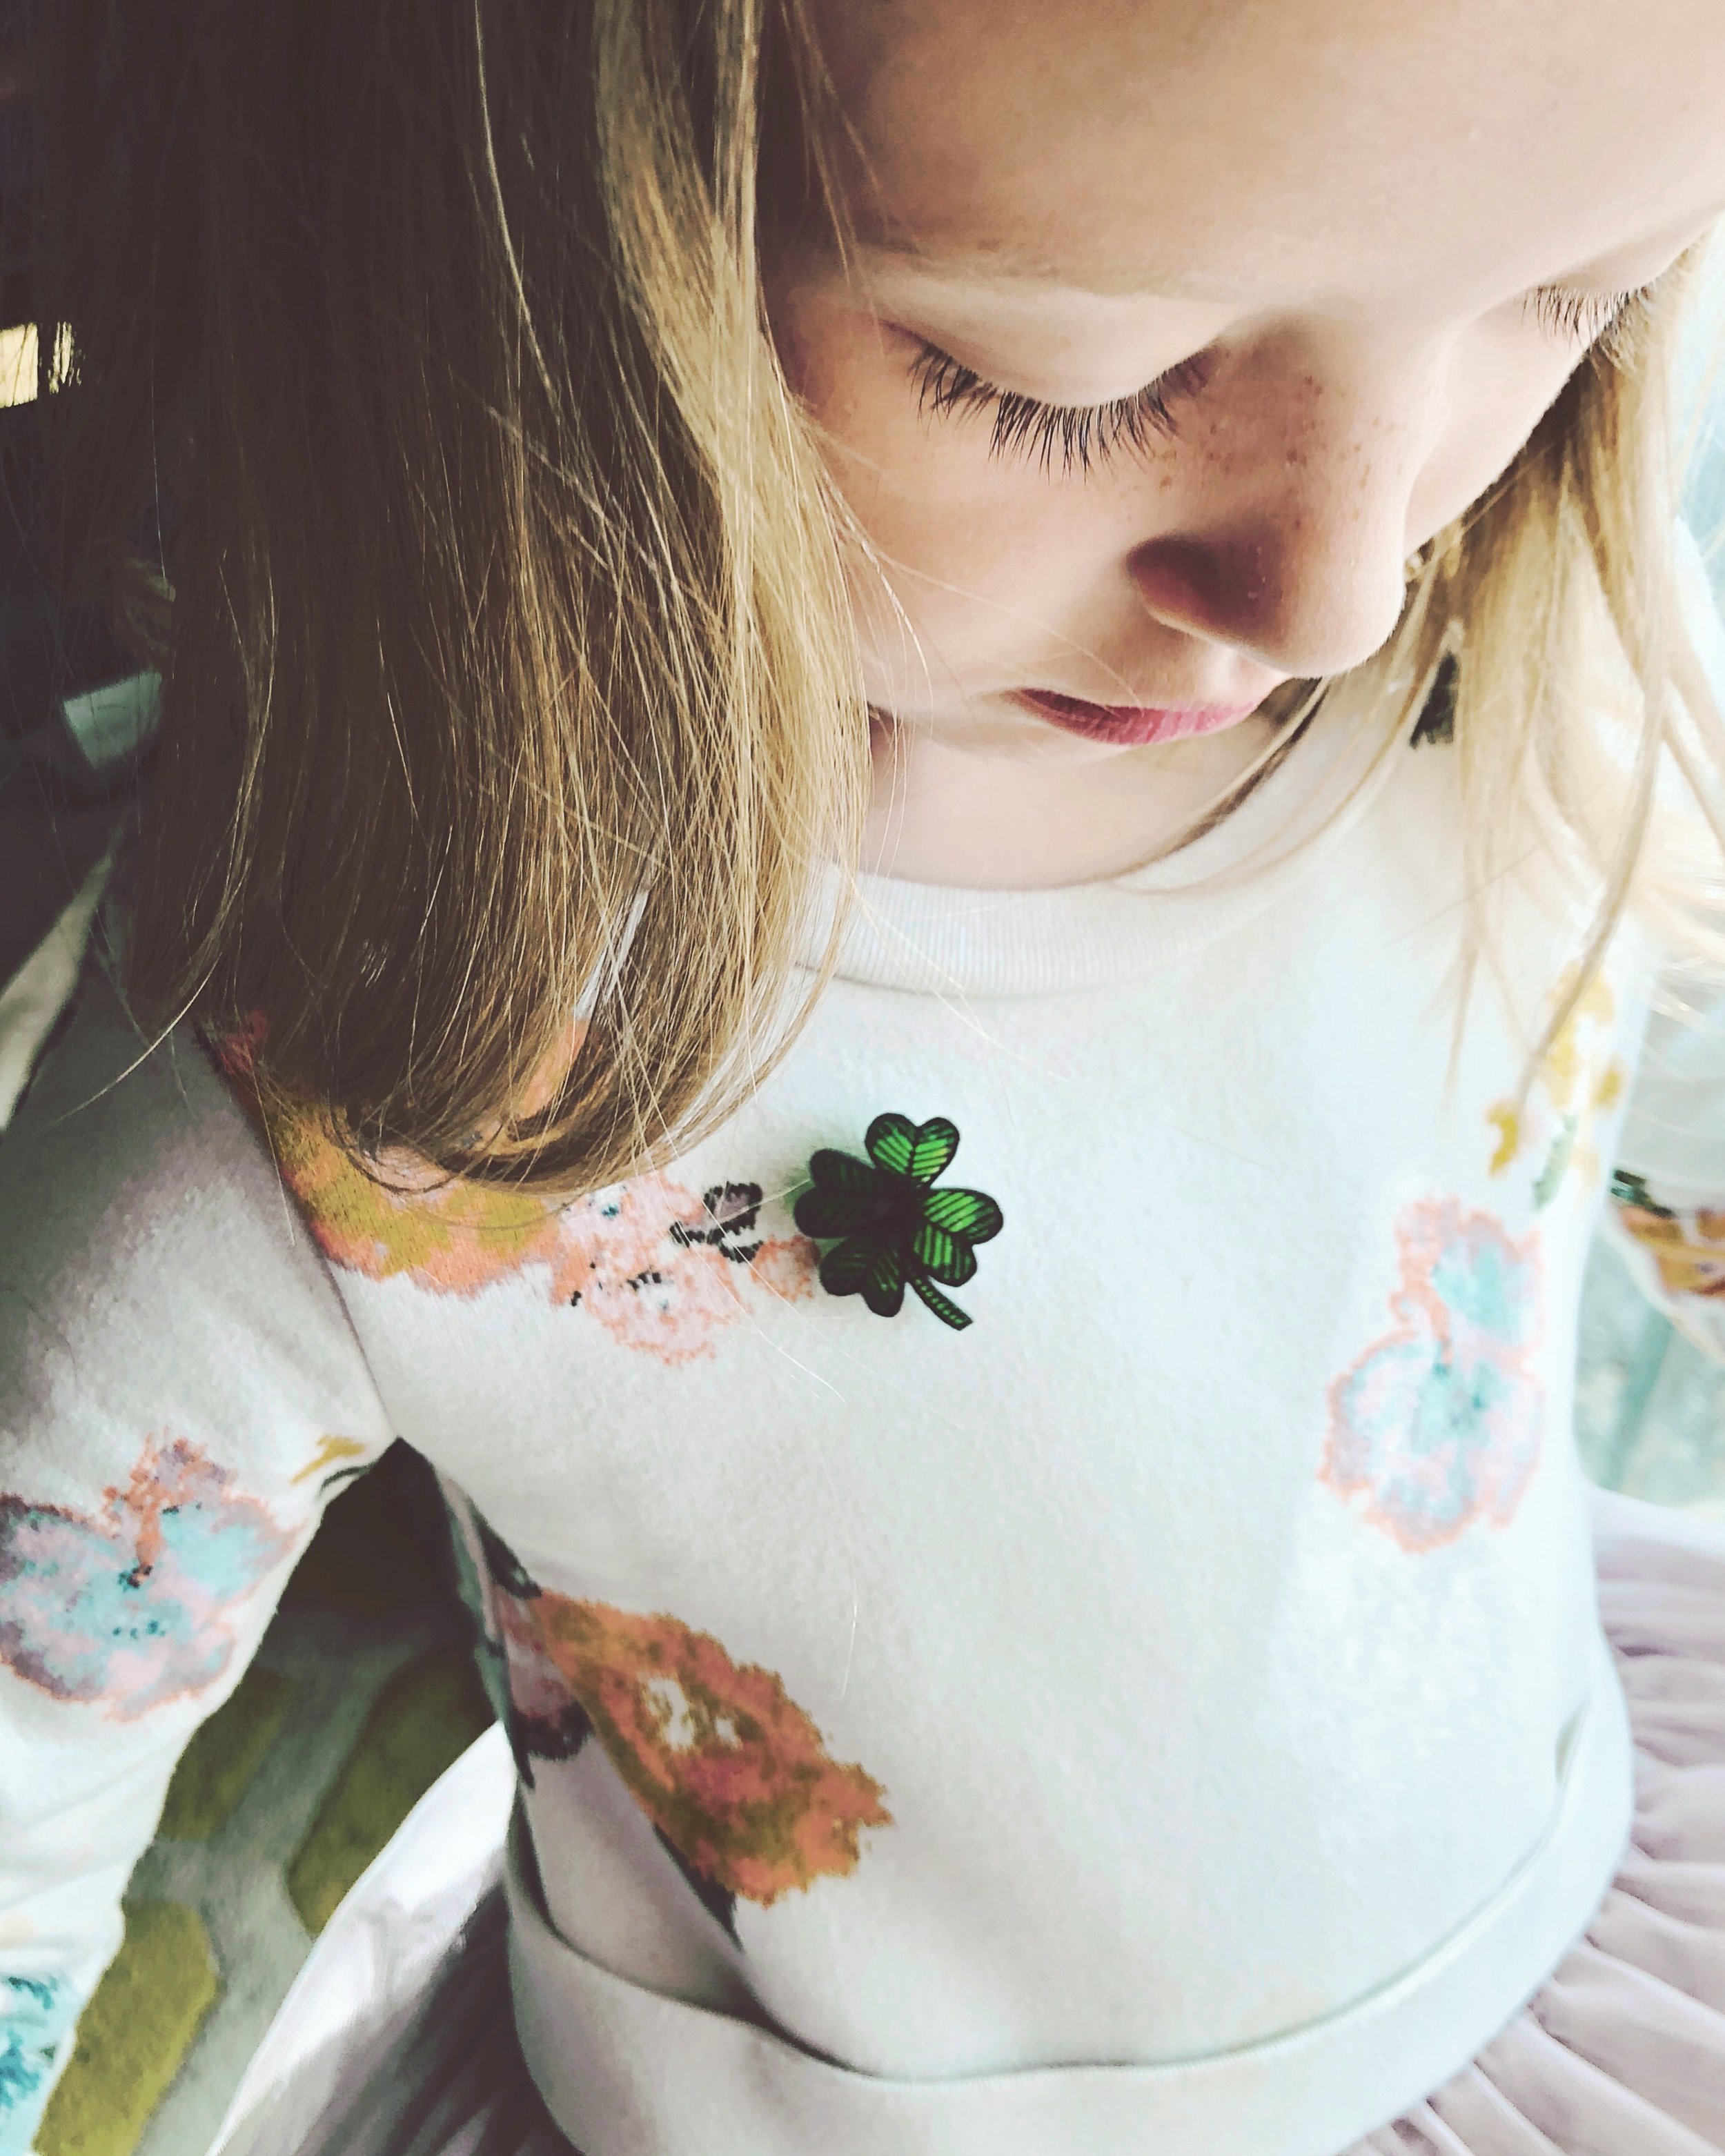
This Saturday is Saint Patrick’s Day, and Katrina from Rhapsody Letterpress is here to share an awesome lapel pin tutorial using shrink plastic and sharpies.

IMG_2025.JPG

I just discovered shrink plastic, and it is so much fun! Even better, it is really easy and kid friendly, and you could even use recycled materials with great results. So, clean and save those recycle number 6 take out boxes, or buy some Shrinky Dinks on Amazon. For this craft, you will need shrink plastic, sharpies, super glue, and pin backings.

IMG_2008.JPG

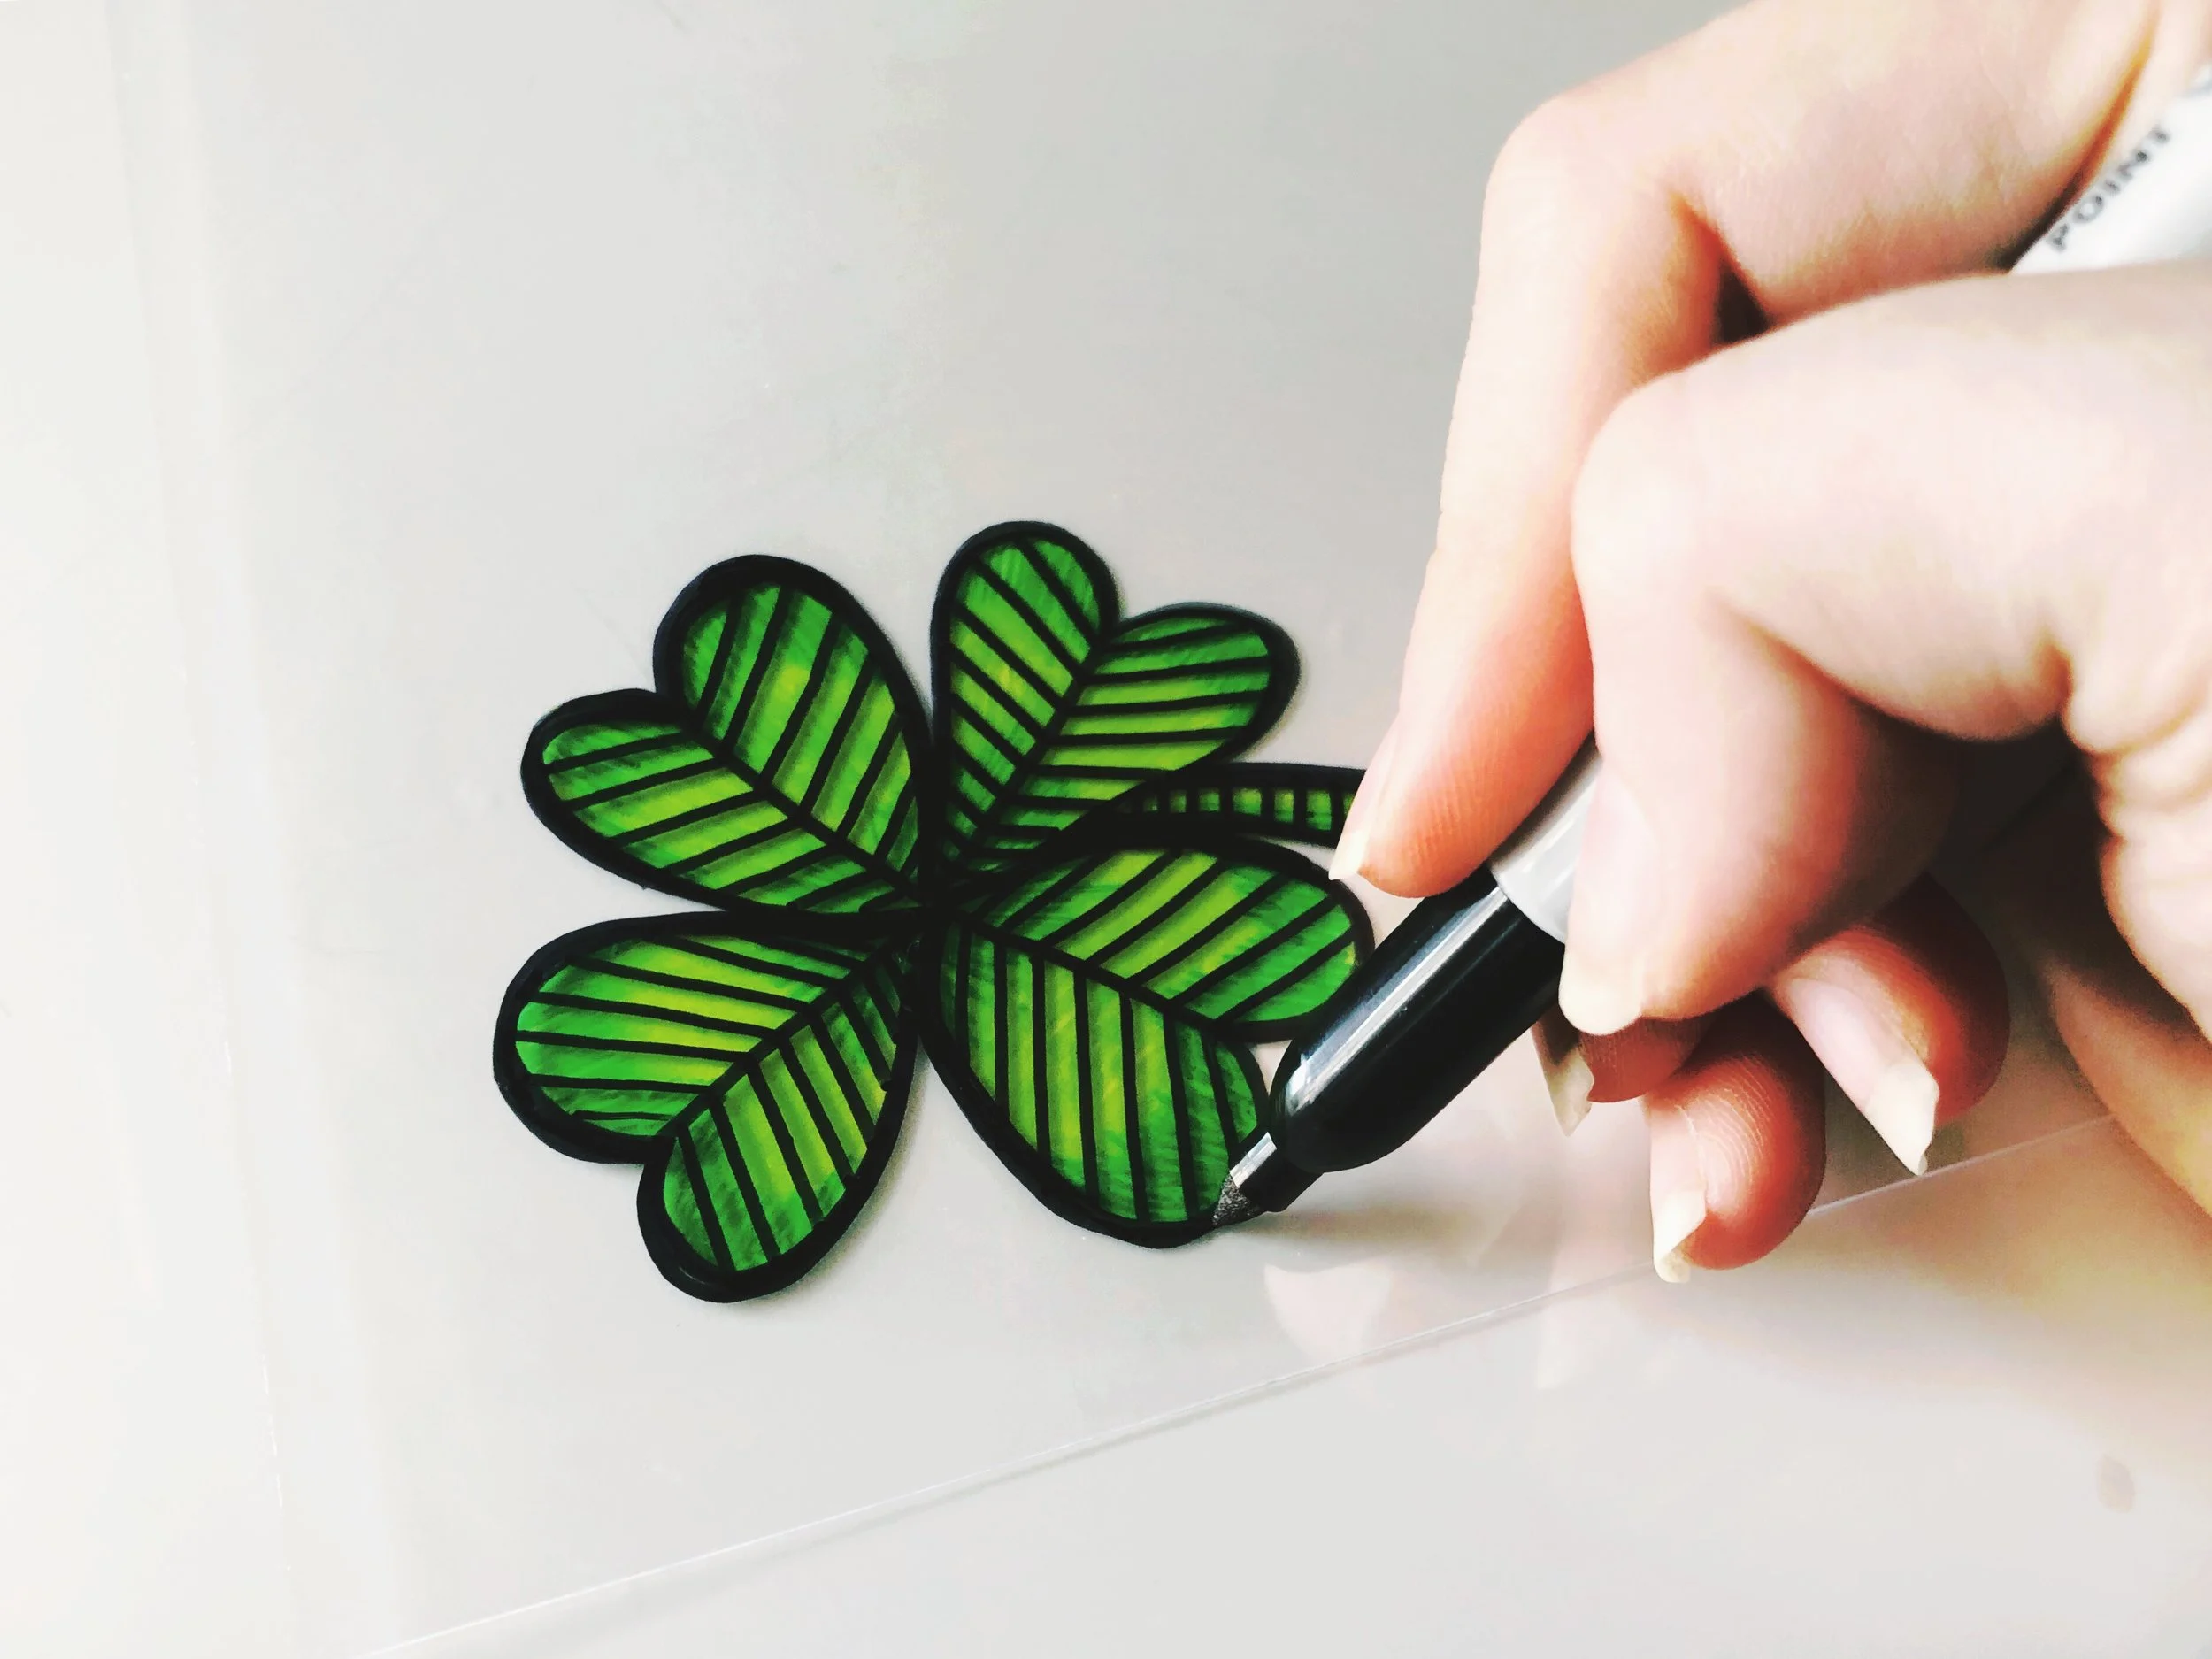
Begin by sketching your design on the plastic with a sharpie about 5x the size you want your pin to be. When working with transparent material, it’s a good idea to work lightest colors to darkest, and build by layers.

IMG_2010.JPG

After you have finished coloring in your design, use black to outline and detail your drawing. (My daughter drew a few too!)

IMG_2011.JPG

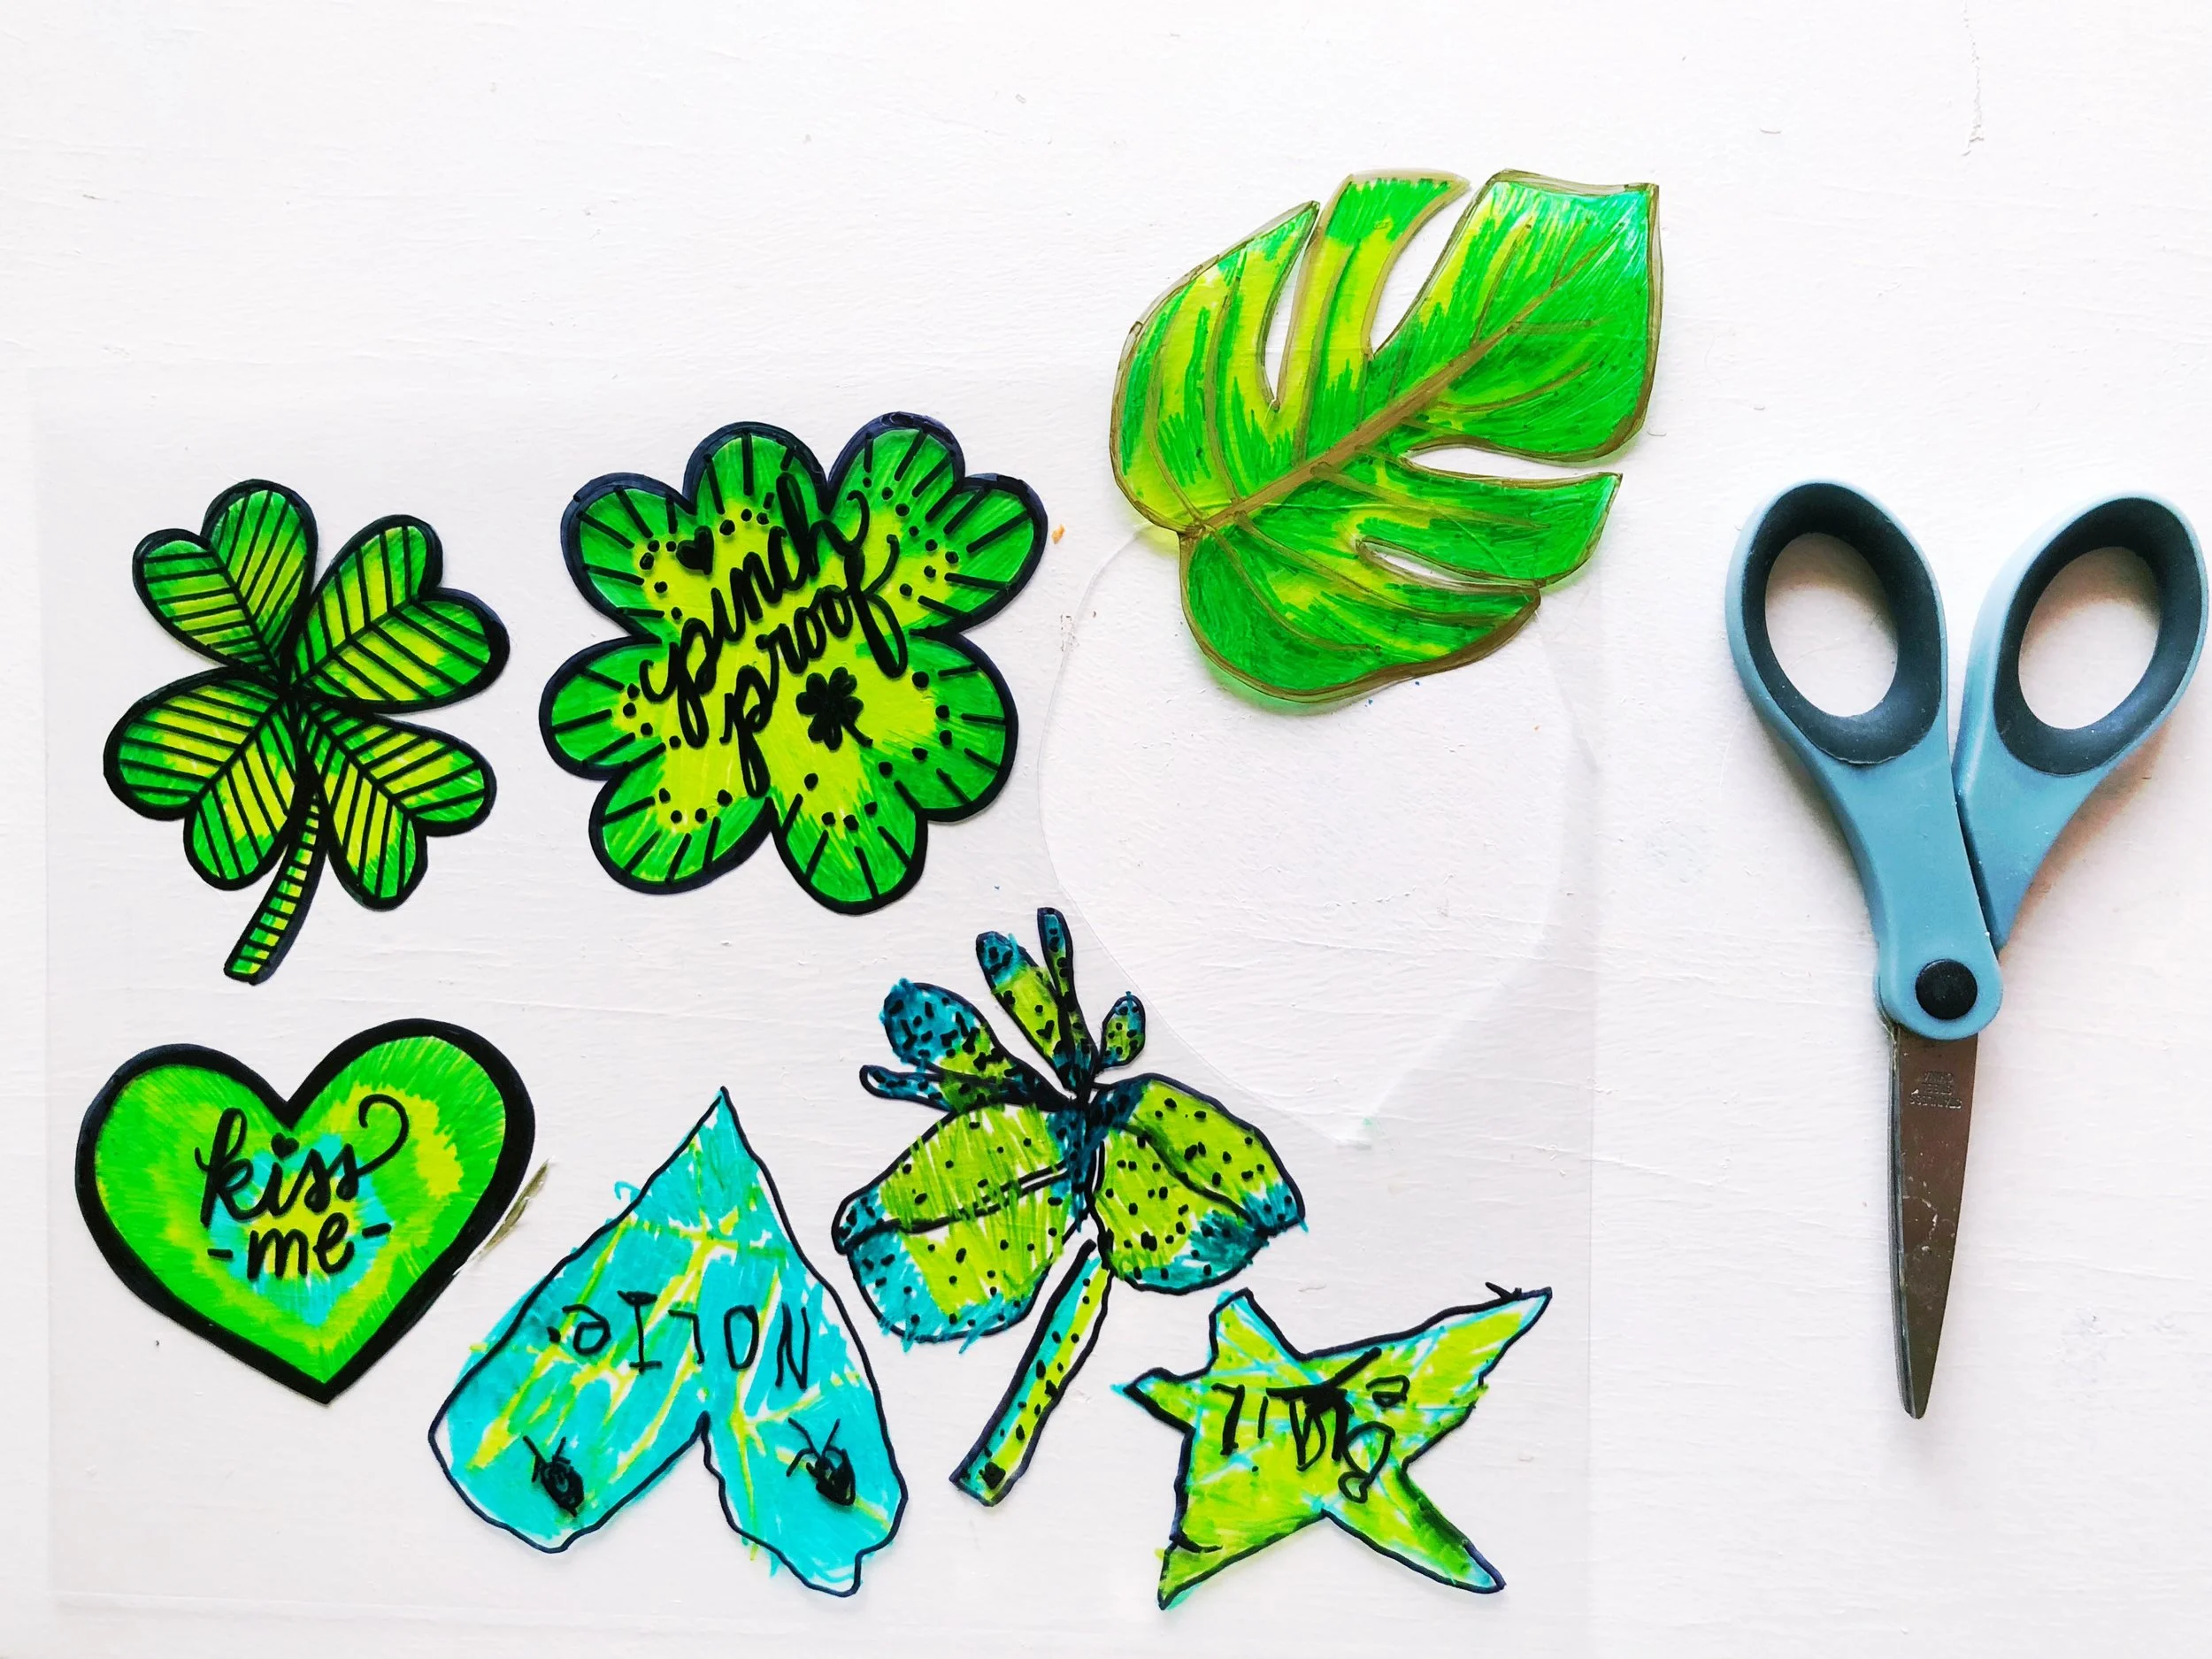
Preheat your oven to 325°F, and carefully cut out your designs. Cut all the way into the outline unless you are going for a clear edge.

IMG_2012.JPG

Line a cookie sheet with foil (smooth for best results), and lay out your cutouts so that they don’t touch. Place them in the oven and watch the magic! They curl up and then shrink. It only takes about 2 minutes, but leave them until they flatten out. Pull them out of the oven and allow them to cool.

IMG_2013.JPG

Use super glue to mount the pin, and let it dry. If you don’t write on the front, you can flip the piece over for a shiny, transparent effect.

IMG_2007.JPG

I hope you enjoy working with shrink plastic, and feel inspired to make all sorts of fun stuff. Tag us on Instagram @etsydallas and show us what you make! Happy Saint Patrick’s Day!

DIY Halloween Costume - Monarch Butterfly

It is October! If you are the crafty type like me, it officially means you have been scrolling Pinterest for costume inspiration. Well, I have some happy news for you. Etsy Dallas is pulling their creativity together to share a homemade Halloween costume with you every week this month!

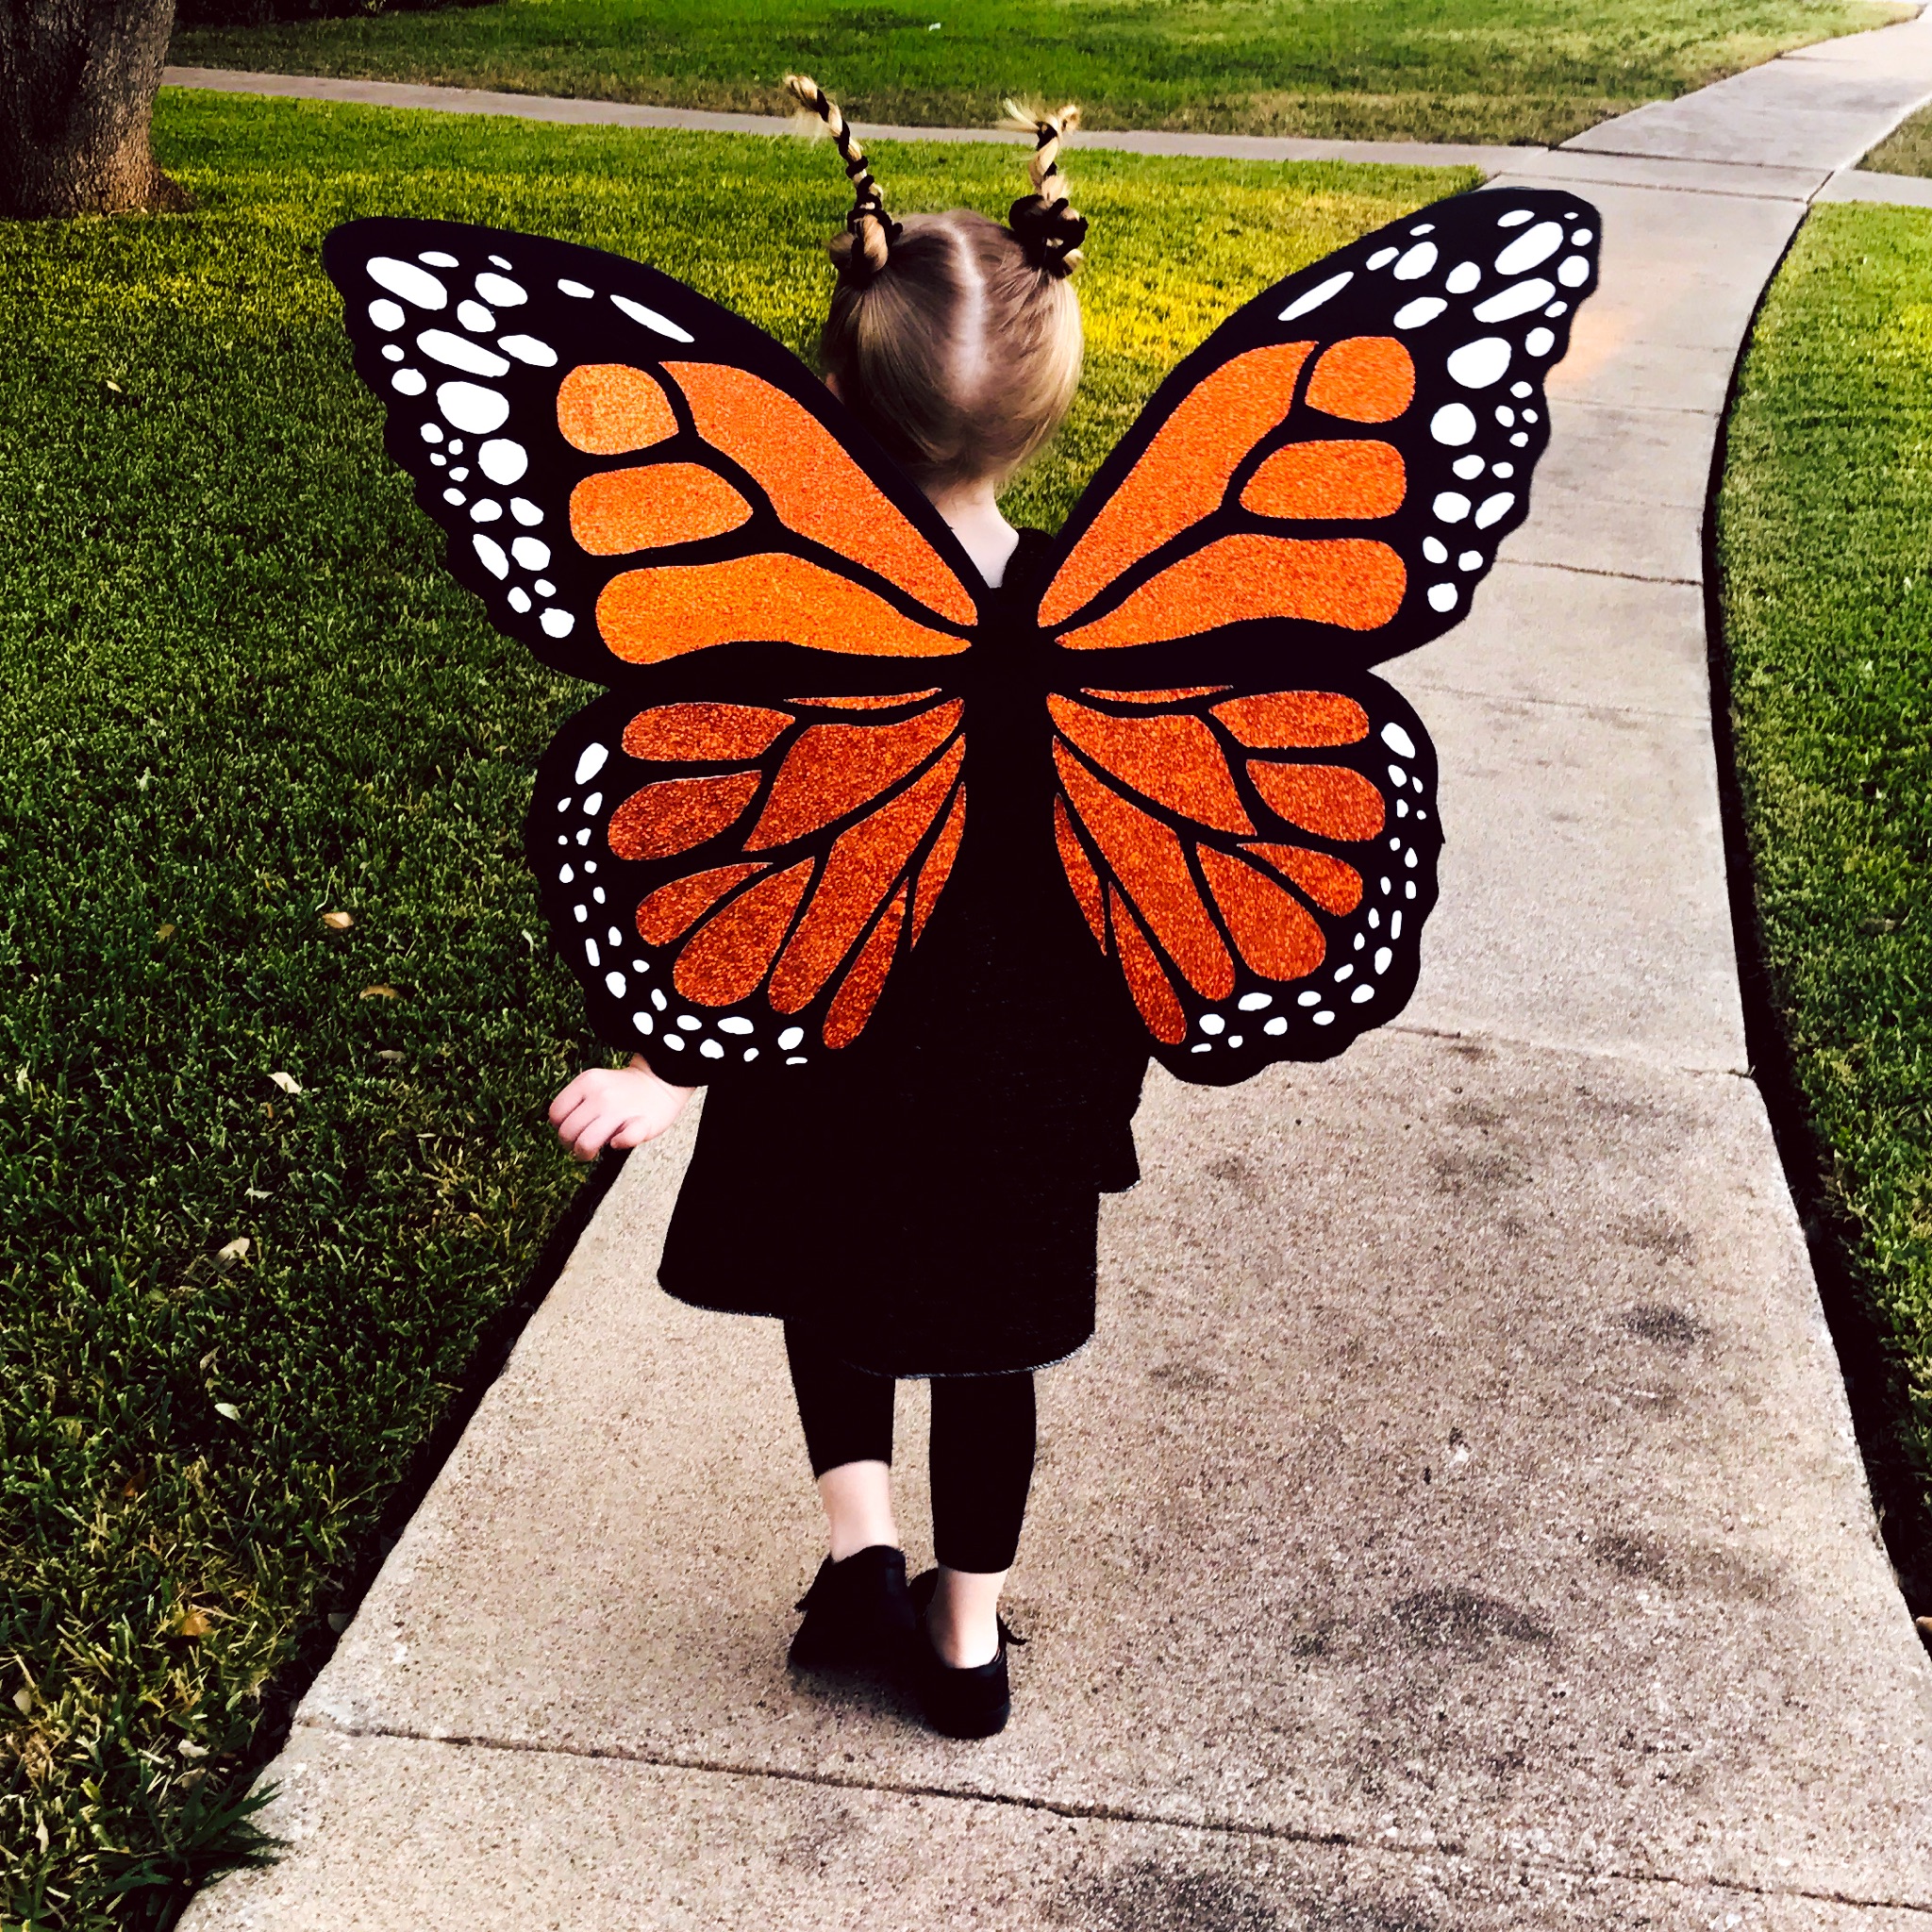
To begin, I’m sharing this show stopping Monarch Butterfly! This was my daughter’s costume last year, and you would not believe how many compliments and responses we had walking down the sidewalk. Some people even crossed the road to get a closer peek. She loved every second of it, and just beamed from door to door.

Now, I won’t lie to you and tell you this was fast and easy. It took some time to create, but the end result was so worth it and the supply cost was modest. If you have a Silhouette Cameo, these cut files (orange and white) will speed things up. If you don’t, print this file twice, and stick each to the backs of your scrapbook paper to cut out the shapes by hand. Our butterfly was about 2’ tall and just under 3’ wide.

Here is what you need: 

Silhouette Cameo 

or Scissors and Patience

4 Sheets Orange Glitter Scrapbook Paper - 12x12

2 Sheets White Glitter Scrapbook Paper - Letter Sized

A Pencil

Glue

Black Foam Core Board

4 Black Elastic Headbands

And, this Reference Photo

FullSizeRender.jpg

Here is how you do it: 

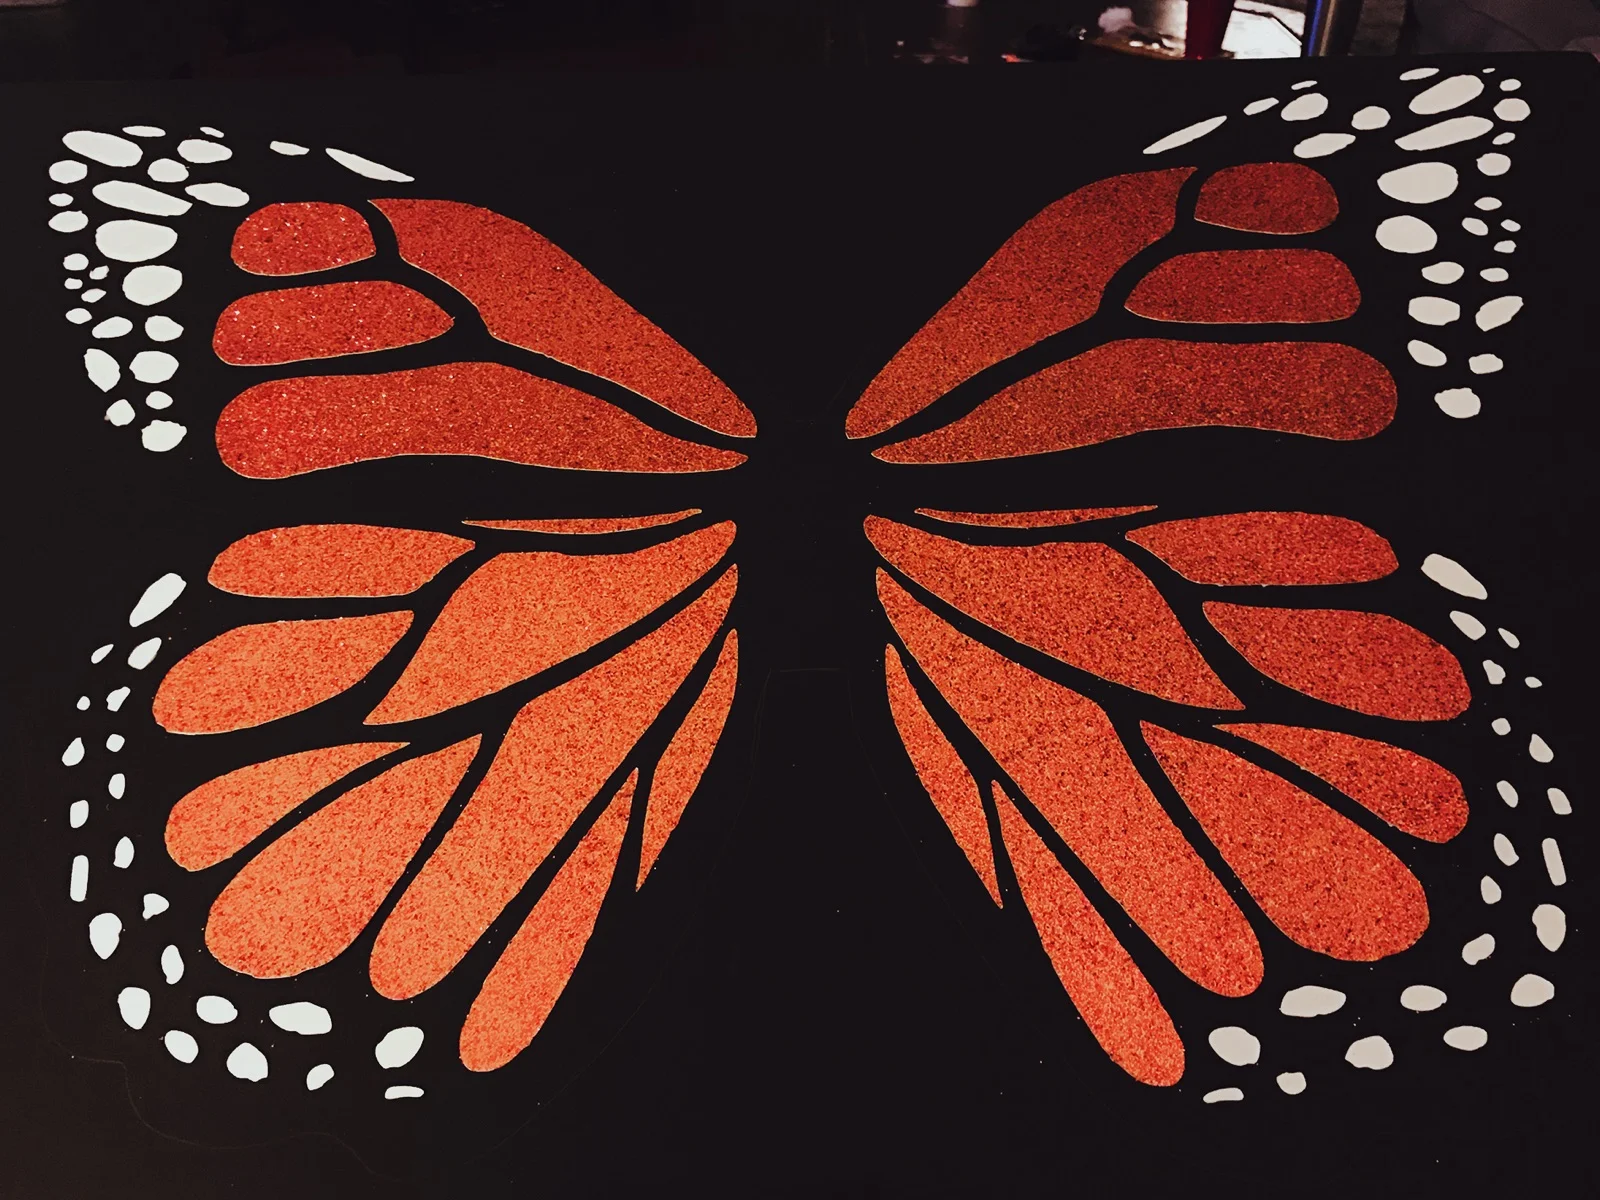
Use Silhouette Studio to cut out the wing shapes. There is a glitter paper setting, but you may have to play with your settings to get it right depending on the brand and weight of your paper. In the file, I have included the upper wing shapes and lower wing shapes. Cut two of the upper wing shapes. Then move the lower wing shapes to the cutting area, and cut two of those. After those have finished cutting, open the dots file, and cut two using the white glitter paper. 

It is a good idea to keep the shapes separated because they add up very quickly. So, use piles or baggies and label them to keep things organized. Once you have separated your shapes, use the reference butterfly to jigsaw the shapes together on top of the foam board like this.

IMG_6976.JPG

Once you have everything spaced properly, glue the orange pieces down, and lay out the white pieces. This part is a bit tricky, but even if they aren’t an exact mirror, they look real.

IMG_6977.JPG

Glue those down as well, then use your pencil and reference photo to draw the outline of the butterfly around the pieces. Remember to leave an inch+ border, and add the wavy details! (My pencil outline is a little hard to see in the photo, look towards the bottom left.)

IMG_6979.JPG

Cut the butterfly outline from the foam board. I had best results with a serrated knife. Follow the steps on the other side with the remaining glitter paper.

Poke two holes in the center top and bottom for the straps. Inserting the knife or scissors and twisting is a good way to do this. Knot the end of two elastics together then string the loops through the hole to make straps. For stabilization, repeat on the second hole.

IMG_6984.JPG

Pair the wings with a black outfit and shoes, and use pipe cleaners for antennae. 

IMG_6981.JPG

We would love to see your Halloween crafting on Instagram, tag us @etsydallas.I hope to see you back next week for another handmade costume!

Creativity Camp: Faux Agate Sun Catcher

I have had so much fun doing projects with my family and sharing with you all Summer! I can't believe we only have two weeks left. This week we made a magical little sun catcher out of glue, food coloring, and glitter. I have to say, the finished product looks much more sophisticated than the $5 I put into this. Chances are, you already have the supplies around your house, too. Gather your school glue (clear for more transparency, but white will work too), food coloring, glitter, wax paper, skewers, small plastic cups, dental floss or thin string, a stick, and twine. Read on for the tutorial!

IMG_6019.JPG

Lay out your wax paper, and draw the outline of some organic blobs with your glue. 

IMG_6020.JPG

Sprinkle on your glitter, and move the bits that fell in the center towards the edge. 

IMG_6018.JPG

Mix some food coloring and glue in your plastic cups. Stir with a skewer. 

IMG_6021.JPG

Squirt or pour your colored glues inside the blob, alternating colors. You can reuse an old bottle, or an old nose bulb like we did. (Lol) Careful not to fill the center higher than the edge, or the glue will leak over.

IMG_5859.JPG

Allow your slices to dry 24 hours or more, then slowly peel them from the wax paper.  They will look hard, but still feel flexible.

IMG_5923.JPG

Lay out your pieces in the way you would like to hang them, and poke holes in the top and bottom as needed.

IMG_5925.JPG

Cut your floss to the proper lengths leaving enough room to tie onto the stick at the top.

IMG_5924.JPG

String the floss through the holes being careful to maintain the correct distance as you tie.

IMG_5964.JPG

Tie the floss to the stick. Knot a piece of twine at both ends of the stick to create a hanger, and find a sunny window to enjoy your colorful creation!

Be sure to tag us on Instagram @etsydallas #EDCreativityCamp if you give this project a try. We would love to see! 

Creativity Camp: Chalk Pastel Fireworks

Happy Monday, folks! We have an explosive 4th of July inspired project today, and an introduction to drawing with pastels. You are going to need a set of chalk pastels, some black paper, and a reference photo of some fireworks. Google a good one, and meet me back here for instructions.

IMG_5334.JPG

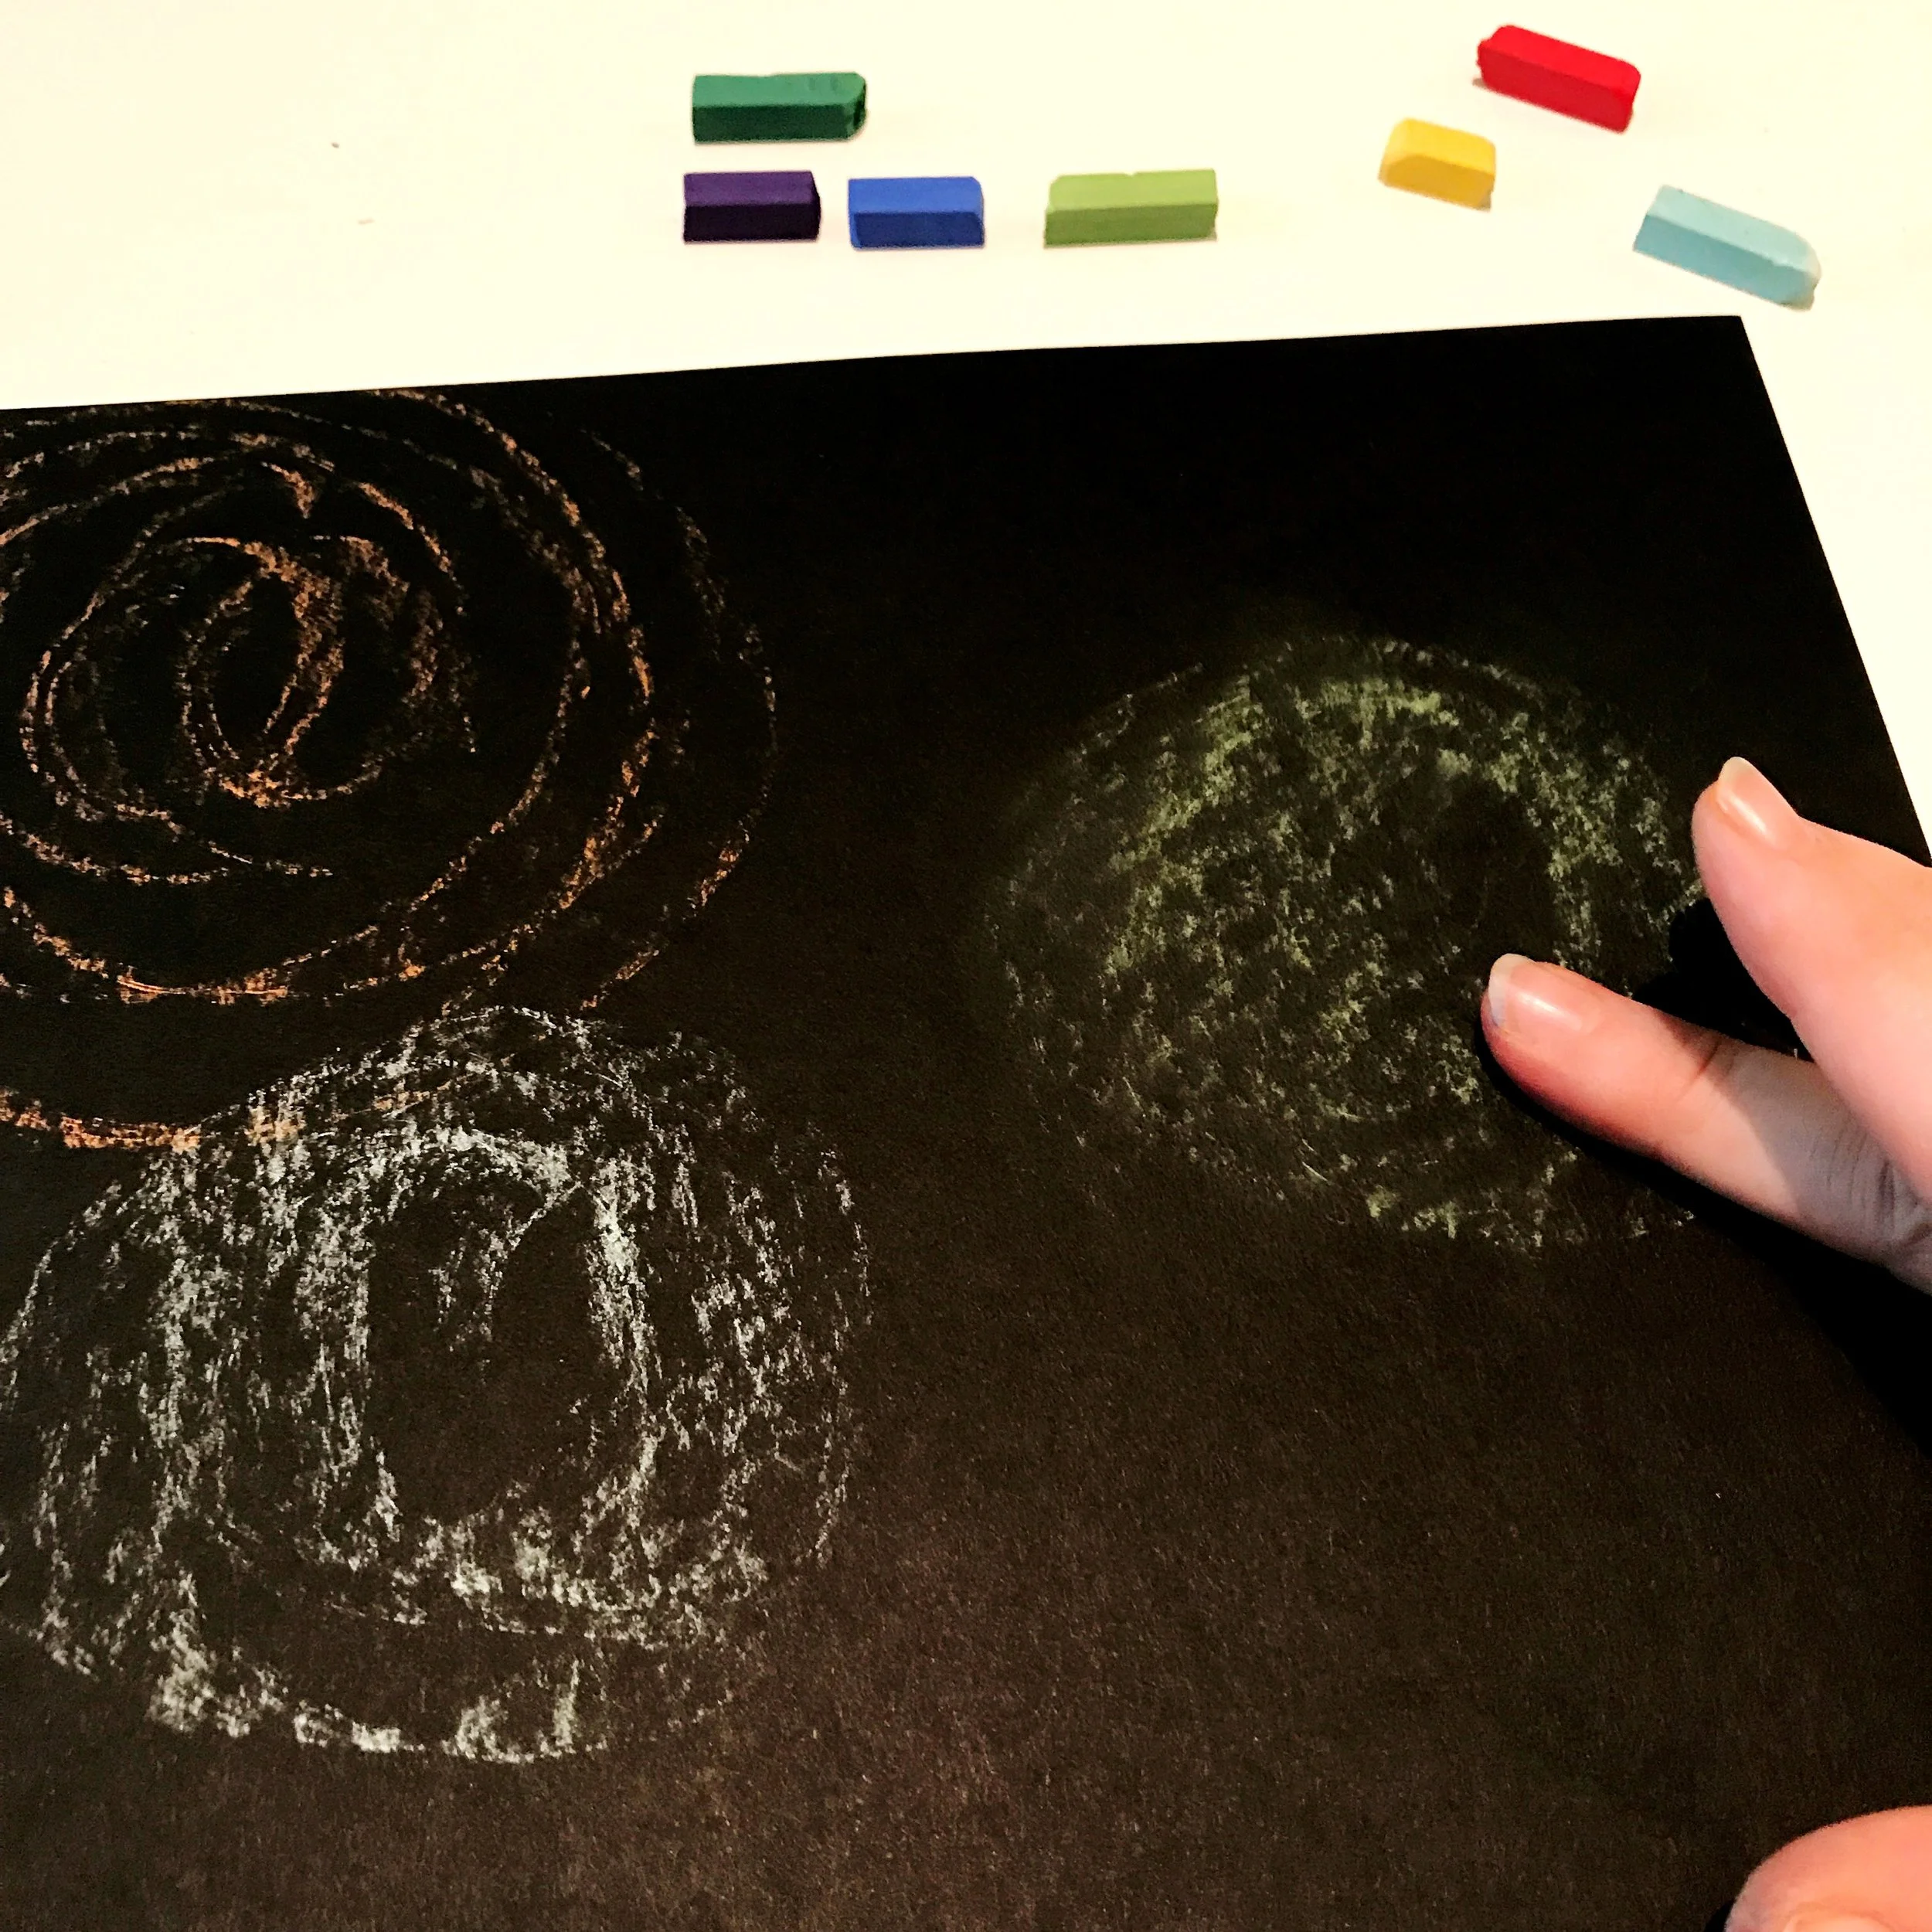
Now that you are ready, pick a color and make a smoky haze by lightly rubbing the side of the pastel in a circular pattern on the paper. This is a great time to map out your composition. Chalk pastels are highly pigmented, so they seem to glow against dark backgrounds. 

IMG_5329.JPG

Use your finger to rub the pastel into smoke. 

IMG_5330.JPG

Find the center of your circle, and work your way around it with short organic lines.

IMG_5331.JPG

Choose another color, and draw more lines. Be aware of the direction you drew your original lines and try to match the angles.  

IMG_5335.JPG

Keep going and alternating colors and building lines until the explosion looks full. A little imperfection in the lines makes it look more realistic, so allow your lines to be different lengths.

Begin and build your other fireworks the same way. 

Begin and build your other fireworks the same way. 

IMG_5337.JPG

Use lighter colors on top of darker colors to connect areas and create highlights.

IMG_5338.JPG

It gets really fun when the lines start overlapping! 

IMG_5339.JPG

To finish, use your finger to smudge some of the ends of the lines as though you were continuing the lines. This will soften the edges and create areas of focus in your composition. 

IMG_5340.JPG

That's it! Happy Independence Day! We wish you all a safe and exciting 4th with your loved ones! Be sure to tag us @etsydallas #EDCreativityCamp, we would love to see! 

IMG_5341.JPG

Creativity Camp: Marbled Clay Monogram Charms

IMG_5131.JPG

Today's project is a gateway technique, you've been warned. You can make anything with polymer clay! Until you get the hang of it, start small with simple, rewarding projects like coasters or beads. There are tons of videos on YouTube for inspiration. Google "polymer clay cane tutorial" and prepare to be amazed. For this project, you'll need some Sculpey in a few different colors, a fine tipped metallic paint pen or metallic acrylic paint, an x-acto knife, toothpicks, a nickel, a nail file, and a necklace chain with a jump ring or string.

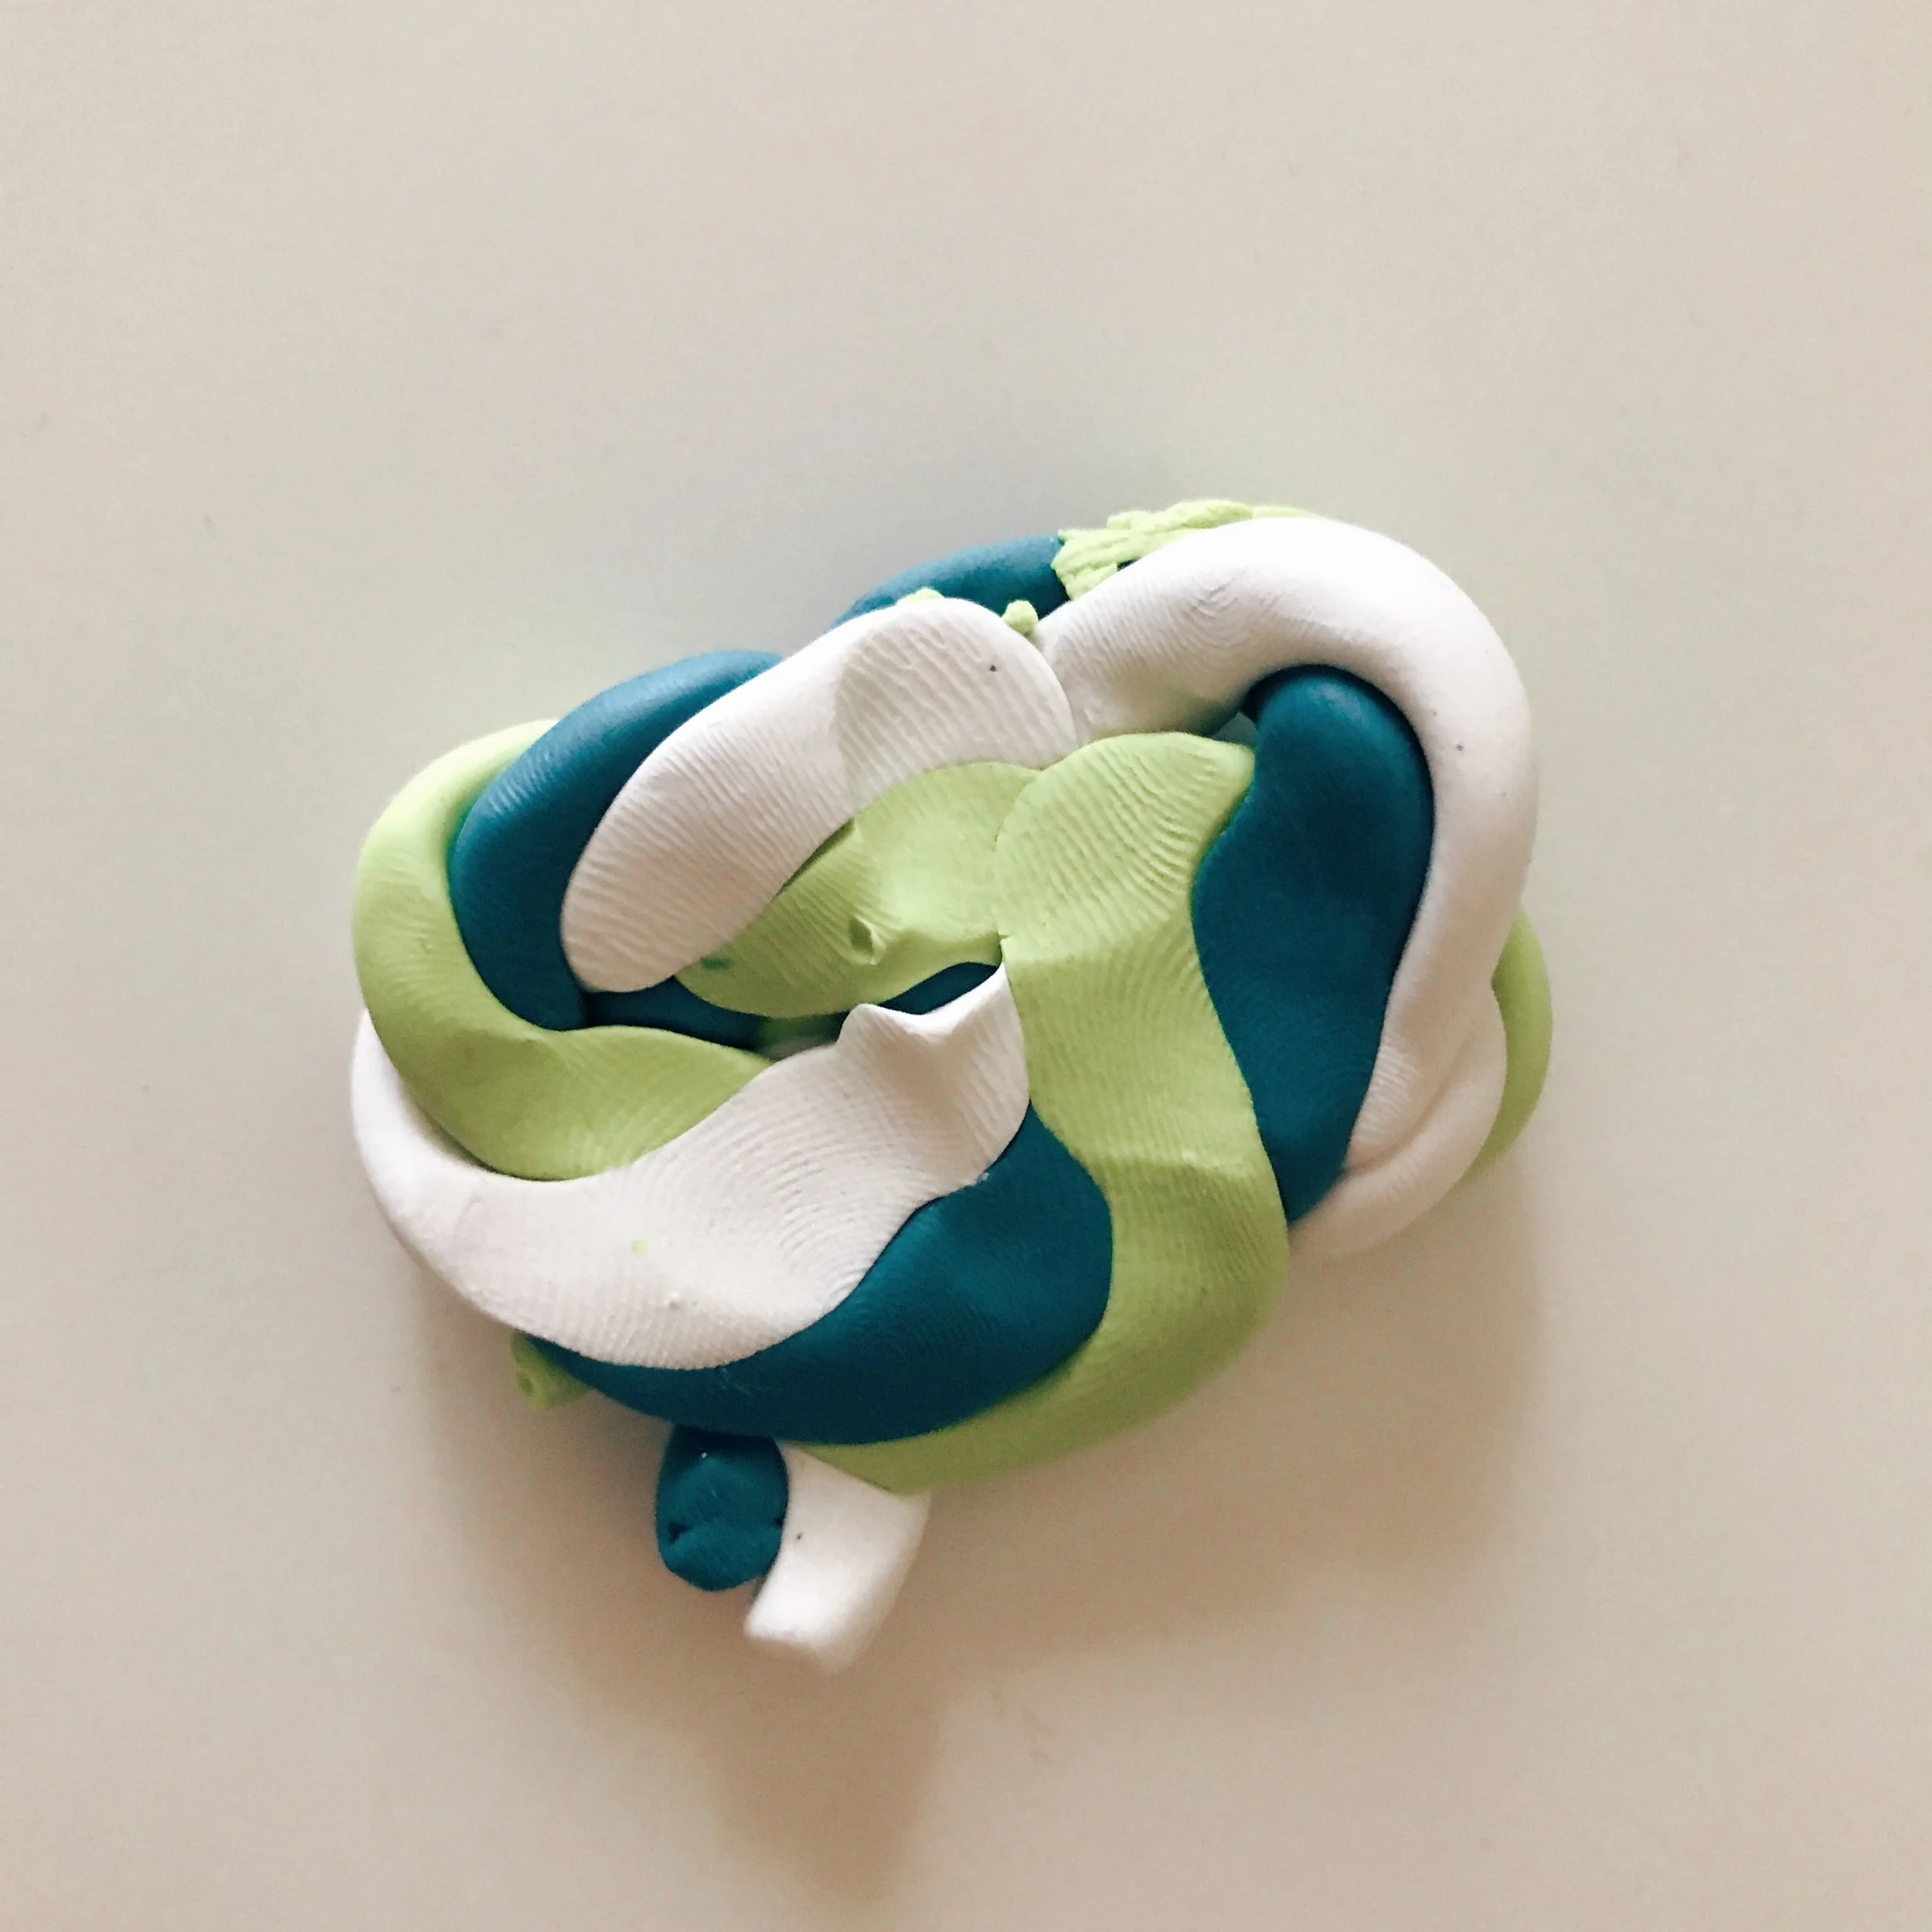
First, make three "snakes" with your different colored clays. 

IMG_5107.JPG

Then, twist your snakes together.

Fold, break, and smash the clay. 

Fold, break, and smash the clay. 

IMG_5105.JPG

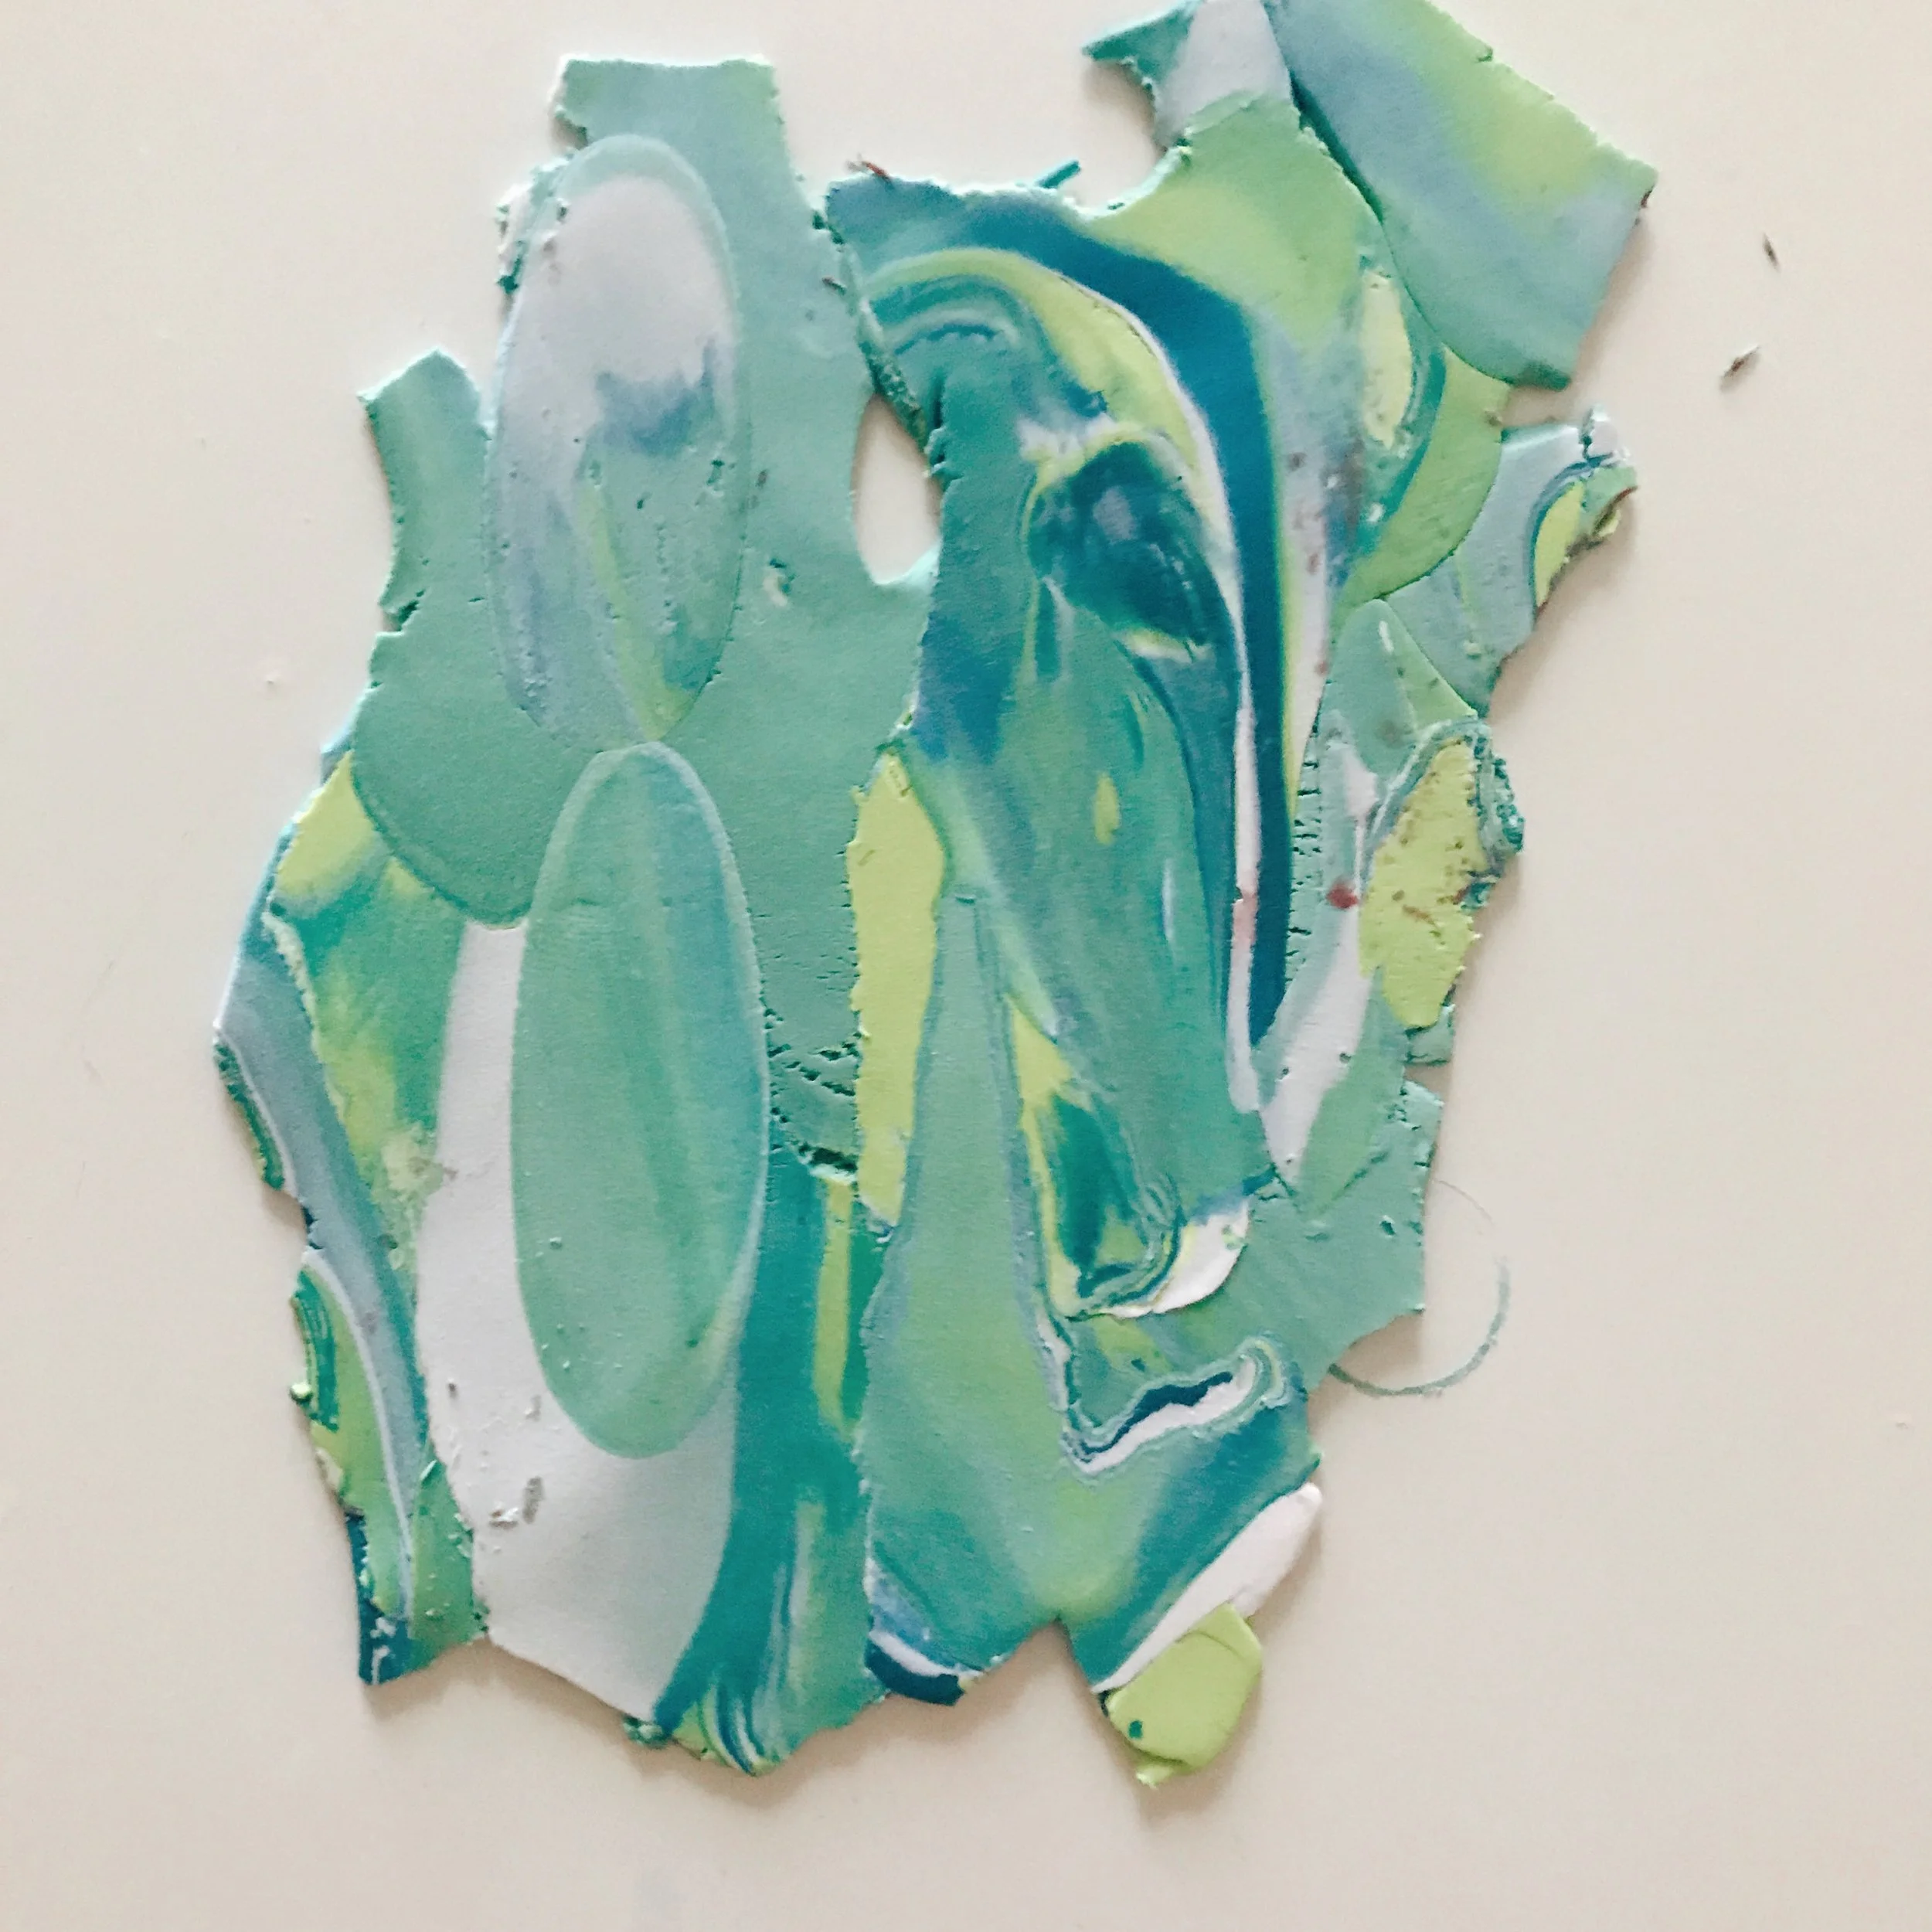
Keep going until everything is mixed, but not so far that the white disappears.

IMG_5104.JPG

This looks like a good place to stop. Now, smash with a book or roll it flat with a rolling pin.

IMG_5103.JPG

Pick out a section you like, and set your nickel on top. Use your x-acto knife to cut around the nickel.

IMG_5102.JPG

Spin a toothpick in the top to make the hole for the jump loop. 

IMG_5101.JPG

Carefully lift your polymer clay "coins" and place them on a lined baking sheet. 

IMG_5100.JPG

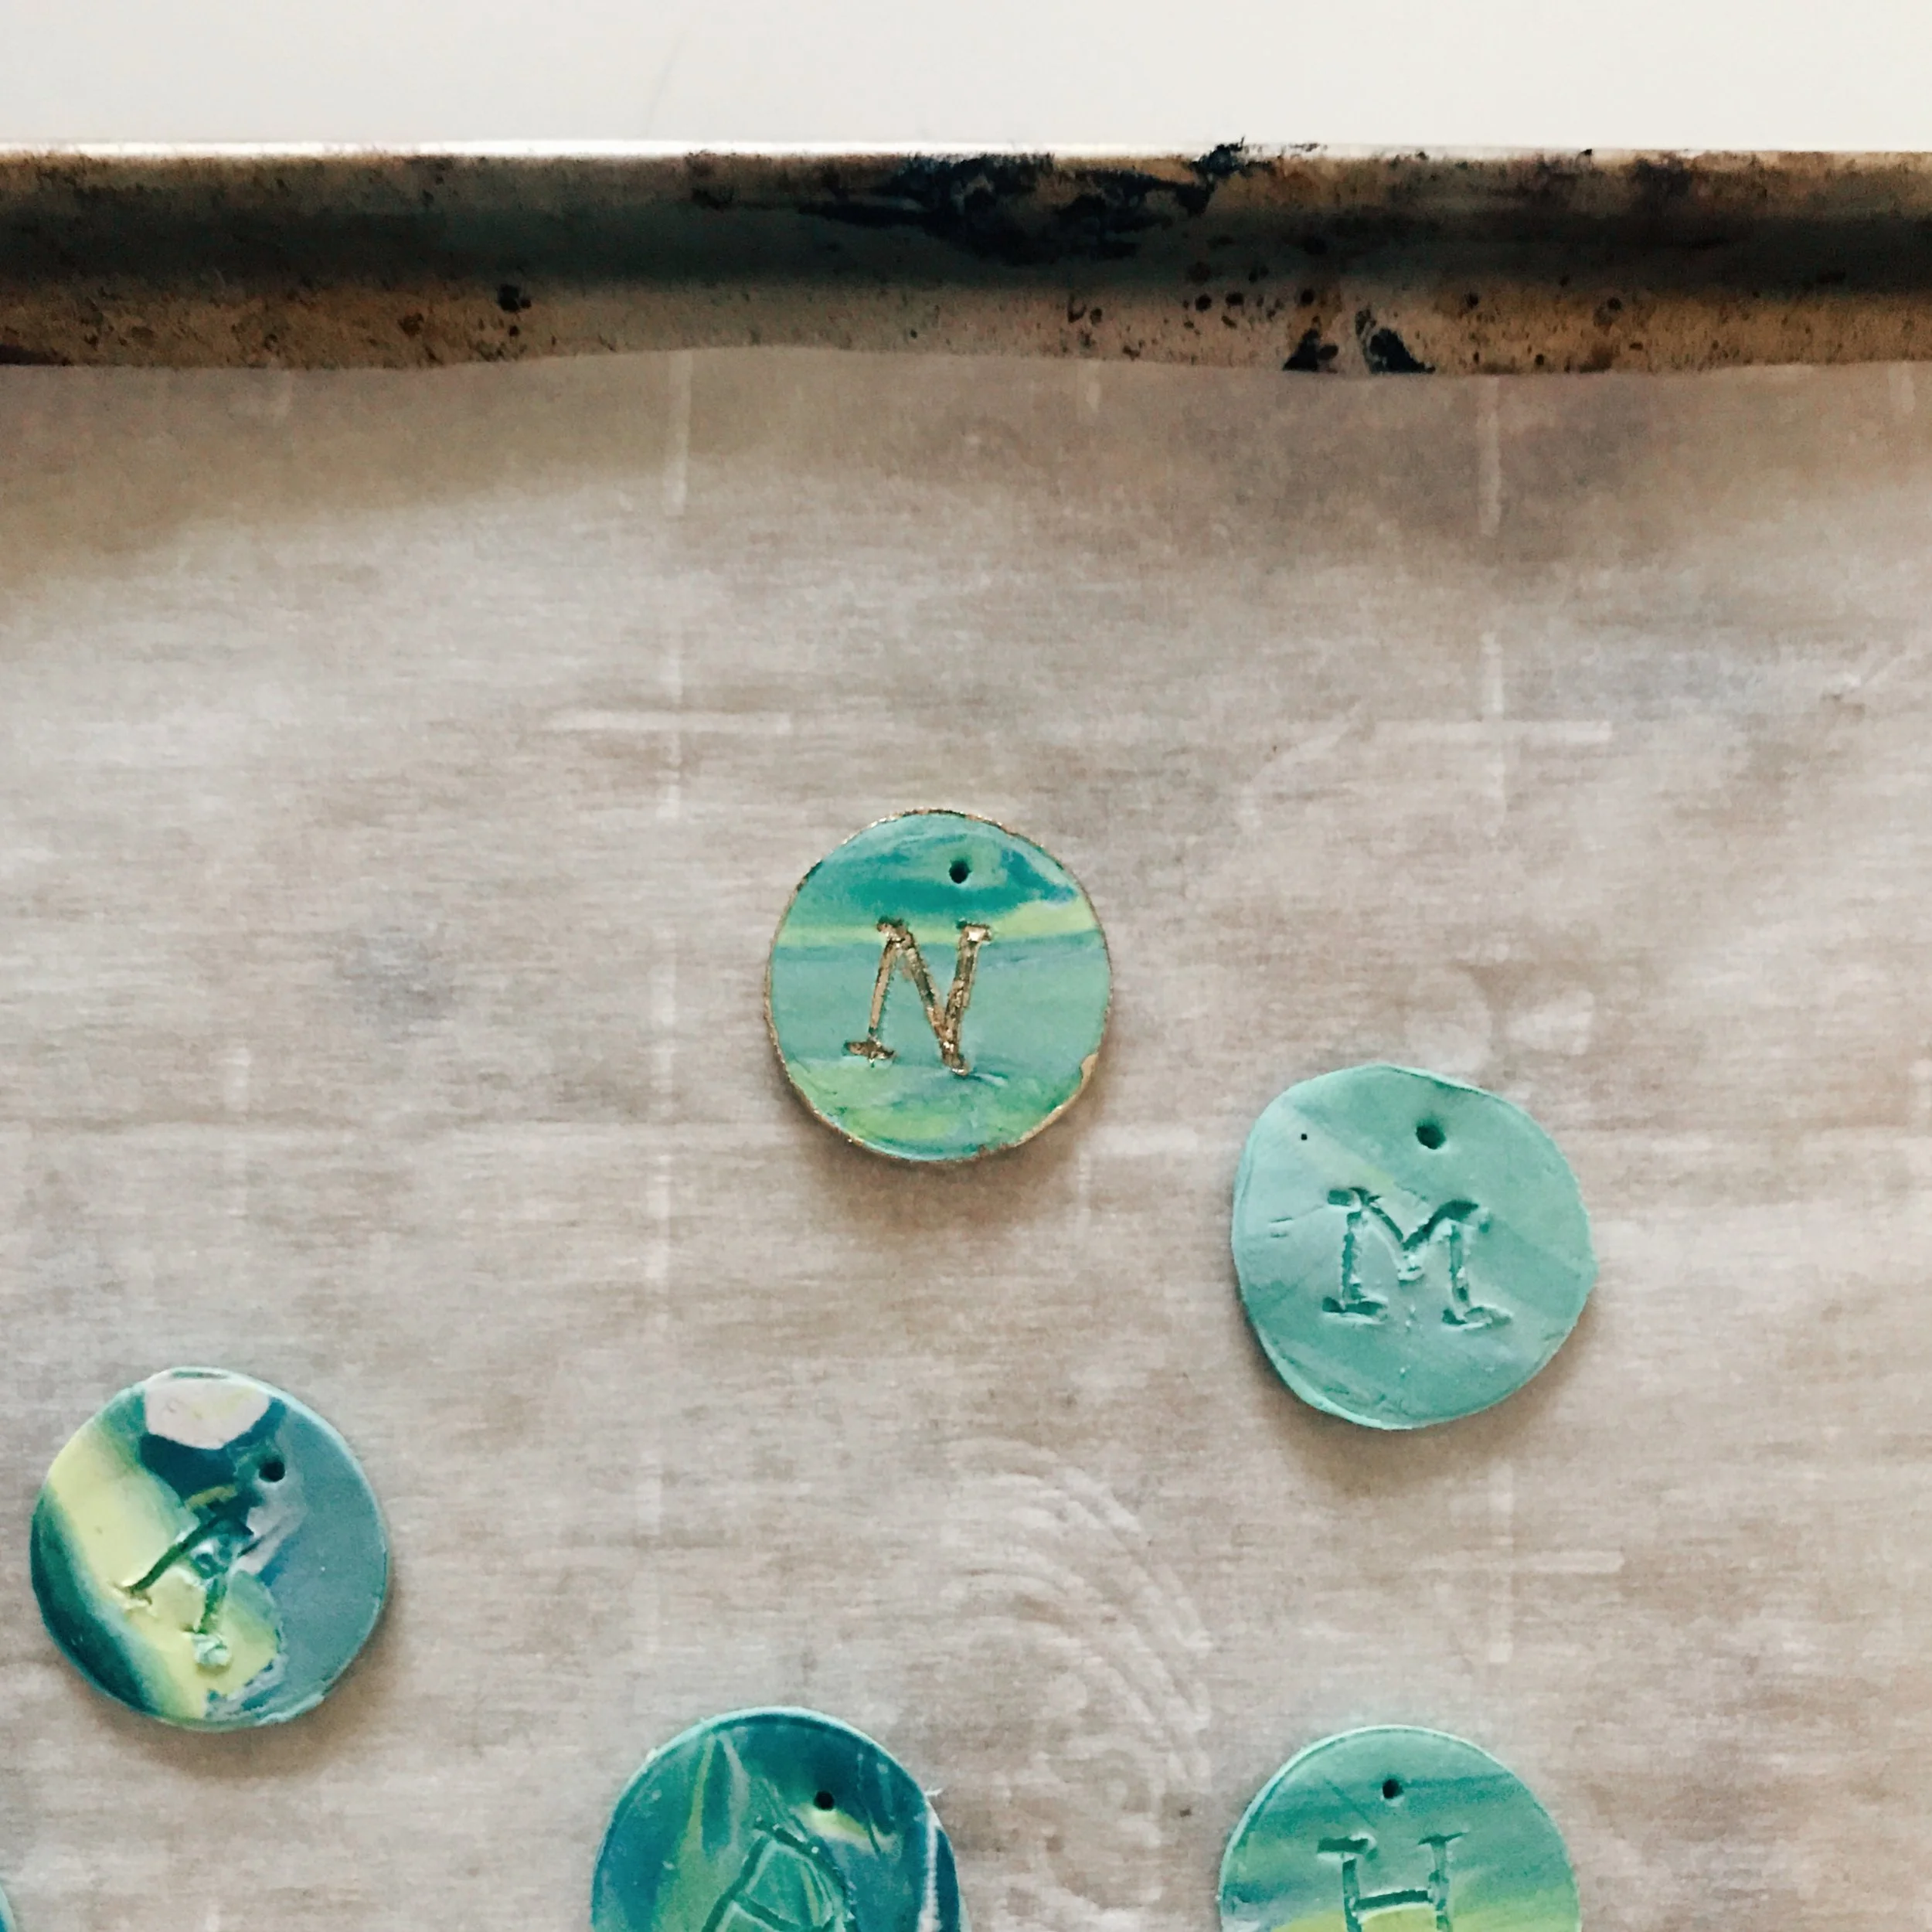
Use your x-acto knife or toothpick to press in a letter. You could also use a rubber stamp.  Bake your pendants at 275°F for 15 minutes.

IMG_5110.JPG

Once they have finished cooking, sand off the rough bits with a nail file, and use your metallic paint pen inside the letter and around the edges. 

IMG_5114.JPG

Let the paint dry and you're almost done! Use nice string or a jump loop and chain to turn this into a little necklace. Seal your pendant with varnish or polyurethane to make it more durable. Attach your jump loop,  string it on your chain, and voila! Your handmade marbled clay monogram necklace is finished. We made several to share with some friends.

FullSizeRender.jpg

Thanks for joining us again this week, we hope you are having fun! Remember to tag us @etsydallas #EDCreativityCamp if you give this project a try!

Creativity Camp: DIY Superhero Costume

Happy Monday! This week's craft takes minutes, and costs nothing. Yes! That is my kind of crafting! It also brings up an important topic with your kiddos... recycling. Getting creative with something old is a wonderful way to recycle. Rummage through some colorful old t-shirts, and grab your scissors. This afternoon, we are becoming superheroes! BOOM!
IMG_4745.JPG

First, use chalk to draw out lines on the back of your shirt, and around the neckline where you will cut. WHACK!

IMG_4743.JPG
IMG_4746.JPG

Next, cut along the sides and those chalk lines. Be careful not to stretch the jersey or the edges will curl. BAM!

IMG_4748.JPG

Now, find the longest length in your remaining fabric, and chalk out a strip for the mask. We used the design from the front of the shirt to create some interest. You can also use the design on the cape instead! SWISH!

IMG_4749.JPG

Cut out the mask, and chalk and cut the eye-holes as well.  Tip: it's easier to cut circles if you fold them in half. BANG!

IMG_4754.JPG

You could stop here, or take it to the next level with a little fabric paint and a sponge.

My daughter came up with a clever super hero name, The Galigator! So, we picked a green shirt, and I cut a sponge into a triangle so she could stamp spikes down the back.   It may help to mark out the design in chalk first to keep things straight. SPLAT!

IMG_4755.JPG
IMG_4741.JPG

Let the paint dry, and your imagination run wild! You are brave, and strong, and bright! KA-POW!

IMG_4756.JPG
IMG_4757.JPG

Thanks for joining us! See you next Monday for another fun project. We would love to see your little superheroes in action, so tag us on Instagram! @etsydallas #EDCreativityCamp