EDCreativityCamp

Creativity Camp: DIY Superhero Costume

Happy Monday! This week's craft takes minutes, and costs nothing. Yes! That is my kind of crafting! It also brings up an important topic with your kiddos... recycling. Getting creative with something old is a wonderful way to recycle. Rummage through some colorful old t-shirts, and grab your scissors. This afternoon, we are becoming superheroes! BOOM!

IMG_4745.JPG

First, use chalk to draw out lines on the back of your shirt, and around the neckline where you will cut. WHACK!

IMG_4743.JPG
IMG_4746.JPG

Next, cut along the sides and those chalk lines. Be careful not to stretch the jersey or the edges will curl. BAM!

IMG_4748.JPG

Now, find the longest length in your remaining fabric, and chalk out a strip for the mask. We used the design from the front of the shirt to create some interest. You can also use the design on the cape instead! SWISH!

IMG_4749.JPG

Cut out the mask, and chalk and cut the eye-holes as well.  Tip: it's easier to cut circles if you fold them in half. BANG!

IMG_4754.JPG

You could stop here, or take it to the next level with a little fabric paint and a sponge.

My daughter came up with a clever super hero name, The Galigator! So, we picked a green shirt, and I cut a sponge into a triangle so she could stamp spikes down the back.   It may help to mark out the design in chalk first to keep things straight. SPLAT!

IMG_4755.JPG
IMG_4741.JPG

Let the paint dry, and your imagination run wild! You are brave, and strong, and bright! KA-POW!

IMG_4756.JPG
IMG_4757.JPG

Thanks for joining us! See you next Monday for another fun project. We would love to see your little superheroes in action, so tag us on Instagram! @etsydallas #EDCreativityCamp

Join Us Every Monday for Creativity Camp with Etsy Dallas

Summer has finally come again! The kids are out of school and excited about their relaxed routine, and spending more time with family and friends. To celebrate, we would like to officially invite you all to participate in a weekly project all Summer long! Each Monday, we will post a fun for all ages tutorial to help you put away the screens, learn something new, and make some memories. We can't wait to see your pics, so be sure to share with us on Instagram, @etsydallas #EDCreativityCamp.

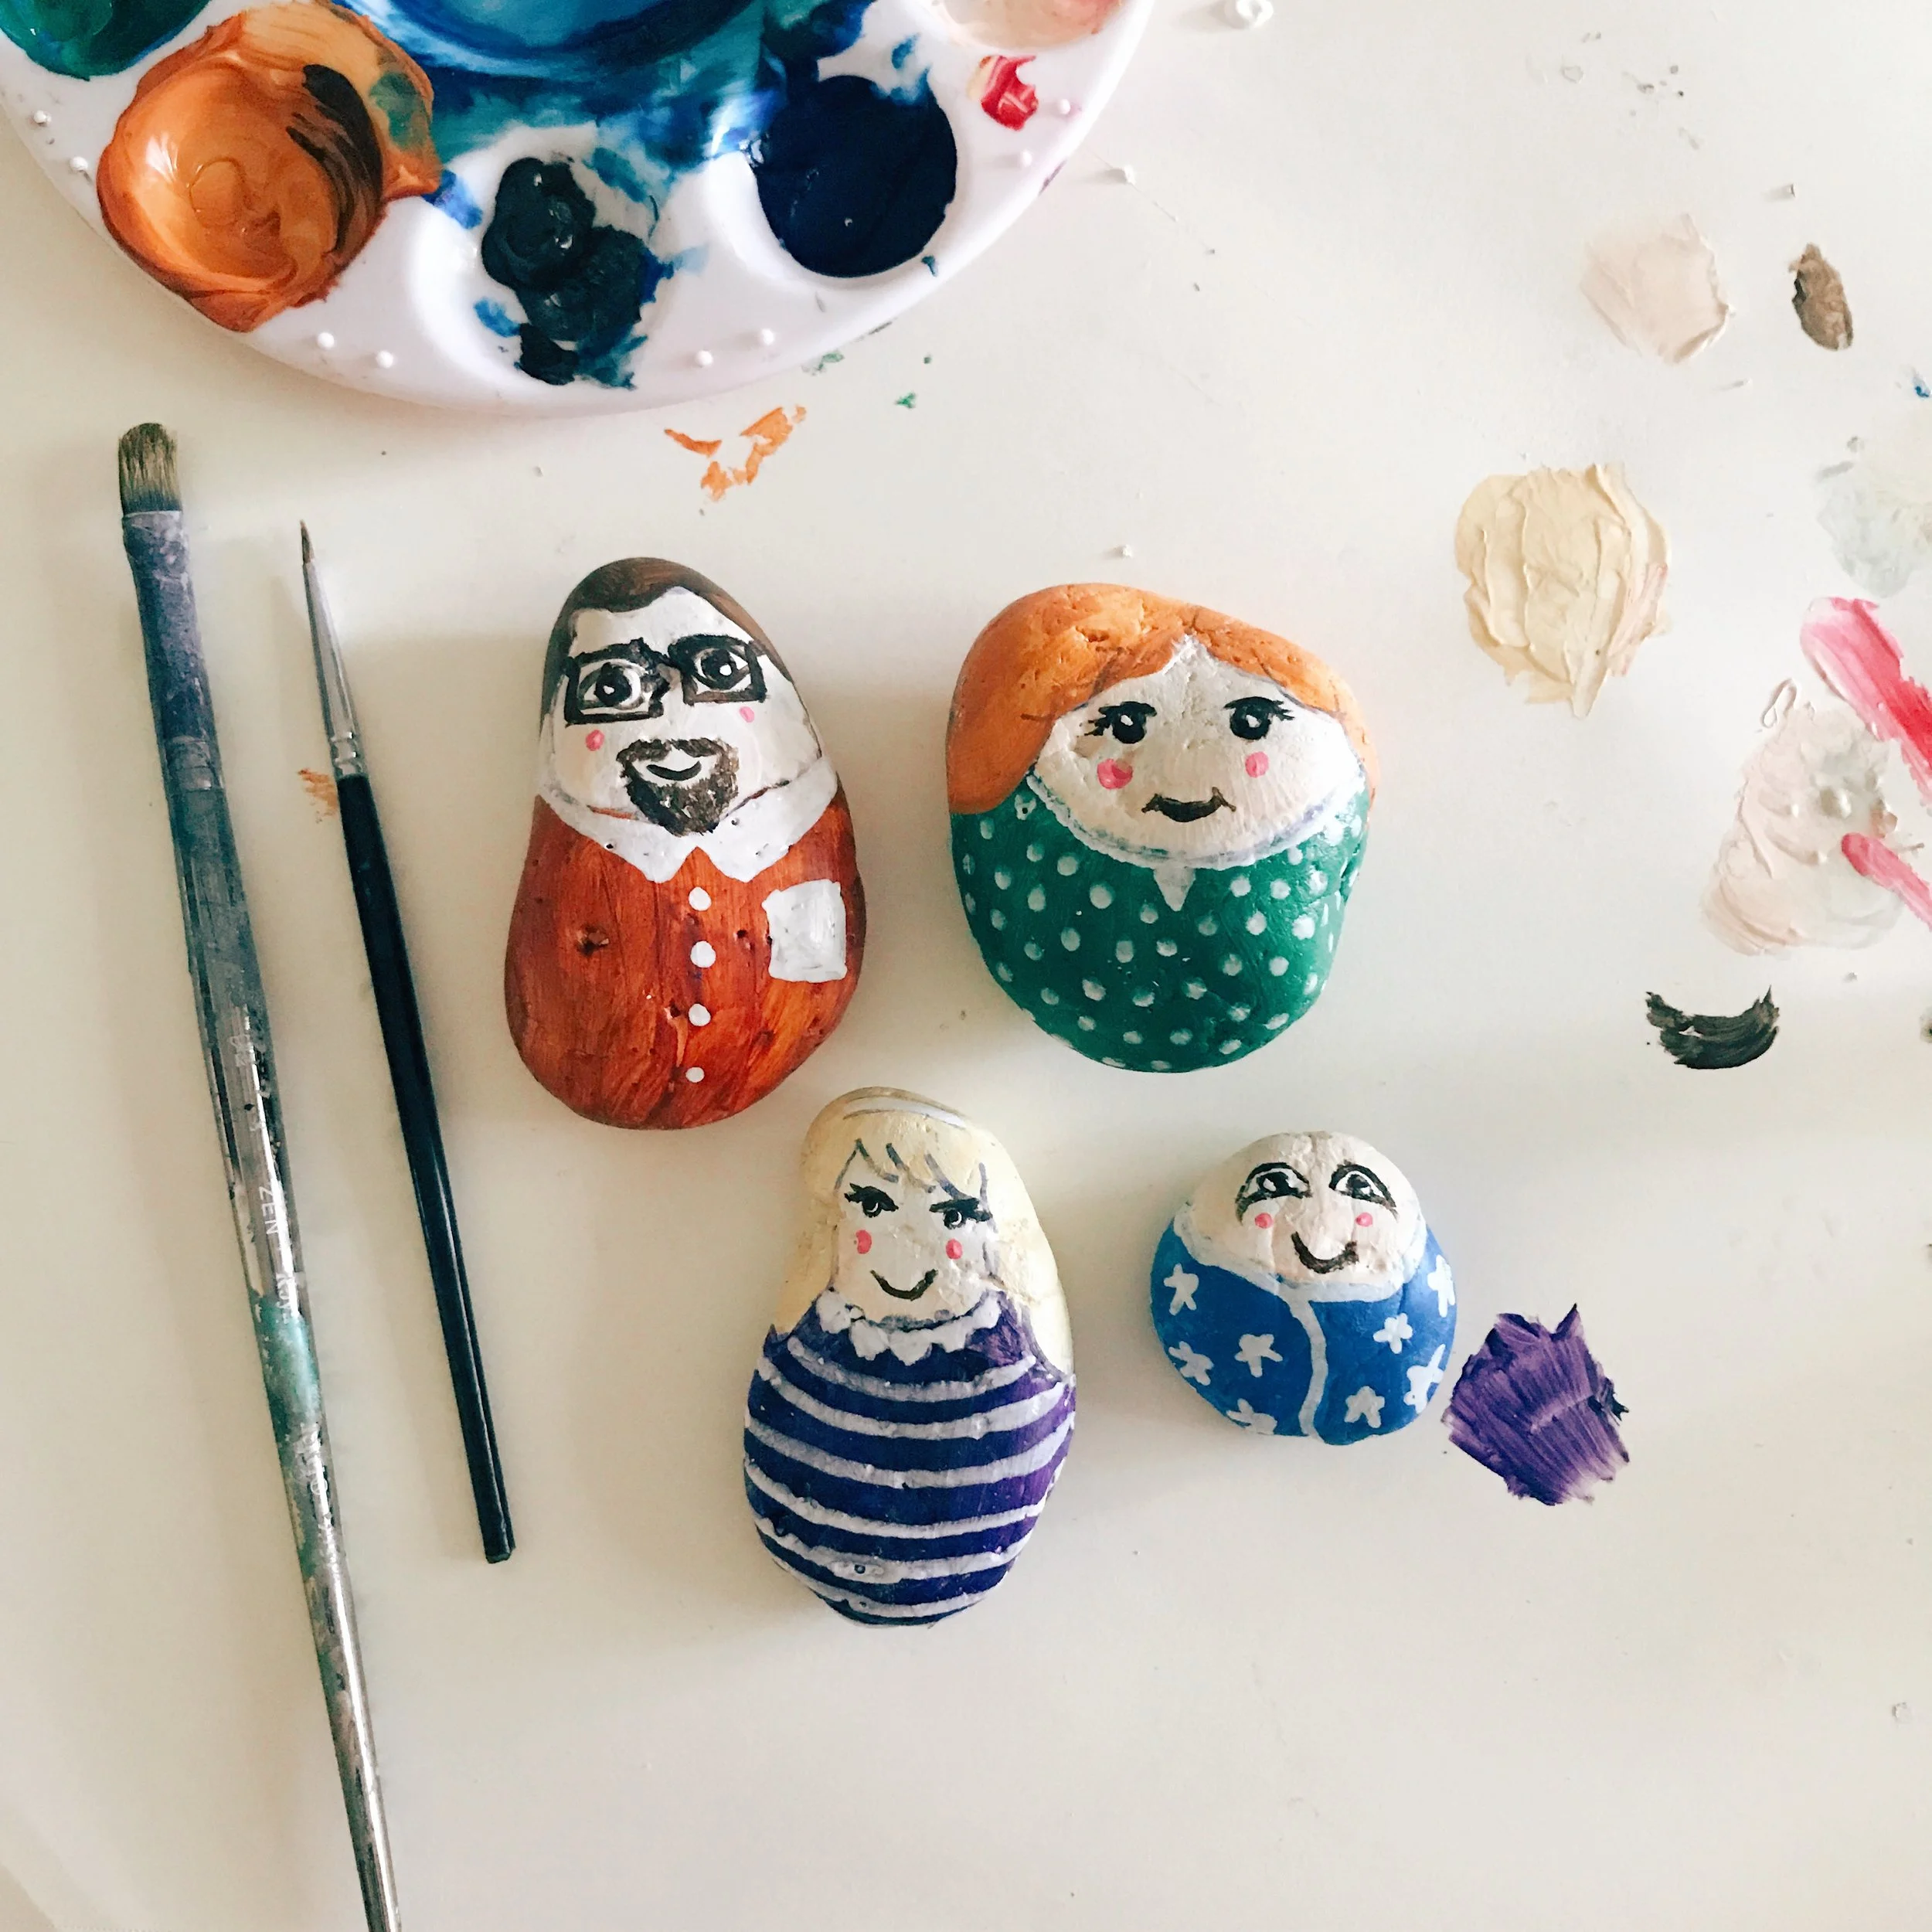
To begin, let's get out our paint and brushes, and collect some smooth rocks to make some cutie painted rock family portraits! We found a bag of river rock at At Home, if you can't find some in nature.

IMG_4598.JPG

First, paint your rocks white so we have a solid base for your colored paints. 

IMG_4597.JPG

Once they have dried completely, take a sharpie to carefully draw the hairline and chin line. I used semi transparent acrylic paint. Choose or mix colors for your hair, skin, and clothing, and fill in those areas.

IMG_4596.JPG

Depending on what paint you use, the sharpie may show through, so be conscientious of your lines.  This is a great way to add visual texture to hair and clothing.

IMG_4595.JPG

Our rocks are starting to look familiar! Use a small brush or paint pens in white to create clothing details. Allow each side to dry before working on the other side.

IMG_4594.JPG

Use a fine tipped black paint pen, or liner brush and black paint to draw the eyes and mouth. If your family member has glasses or facial hair, paint it on next.  Use the back end of your paint brush to dot on tiny pink dots for the cheeks.

IMG_4593.JPG

Paint your rocks with a clear sealer, and place them in your front garden to enjoy for years to come.

Thanks for crafting with us! See you next week for another fun project!