

If you are new to origami this origami heart tutorial is super easy and a fun and comes together quickly. It is great for anyone to try and is also friendly for tiny hands too.
What you’ll need:
Square piece of paper - That’s it!
You can use origami paper if you have it on hand, but I have found that wrapping paper works really well and adds fun colors and designs, but even a post-it note will work!
Step 1
With the color/printed side of your paper facing down, rotate your paper so a corner is facing up (like a diamond) and fold your paper corner to corner.
Rotate it 90 degrees and fold corner to corner again.

Step 2
Take the top corner and fold the tip down to the center where the two folds meet.

Step 3
Take the bottom corner and fold it about halfway past the center where the two folds meet and the corner overlaps the last fold you made.

Step 4
You should now have a piece of paper that looks a little like a crystal laying on it’s side. From here you are going to take each side and fold your paper so the bottom edge lines up with the center fold.
You should have somthing that resembles a “V” now.

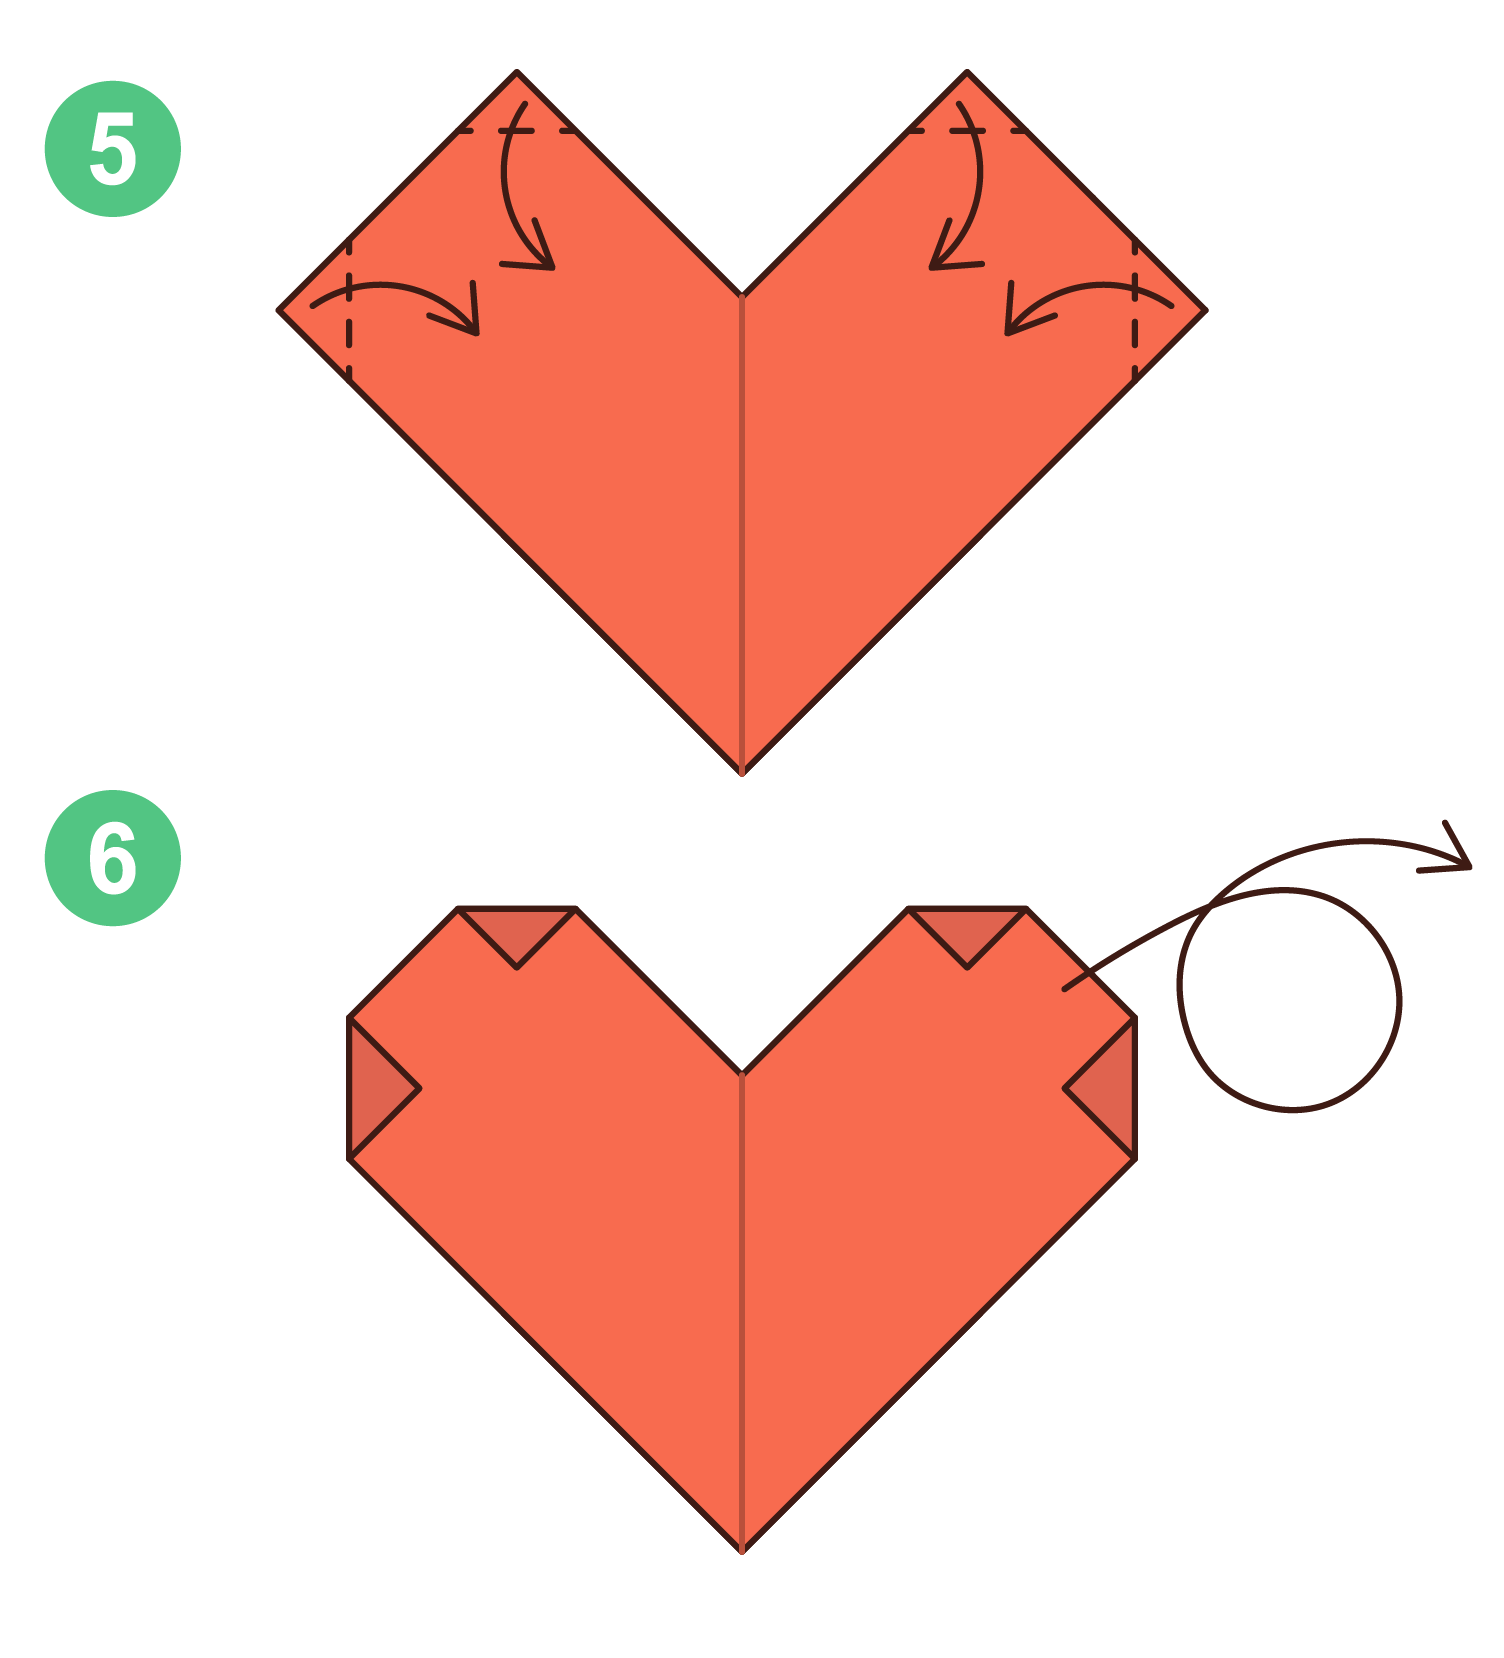
Step 5 - 6
Fold back all of the corners at the top of your “V” shaped piece of paper to round them out.
When you flip your paper over it should look like the diagram in step 6.
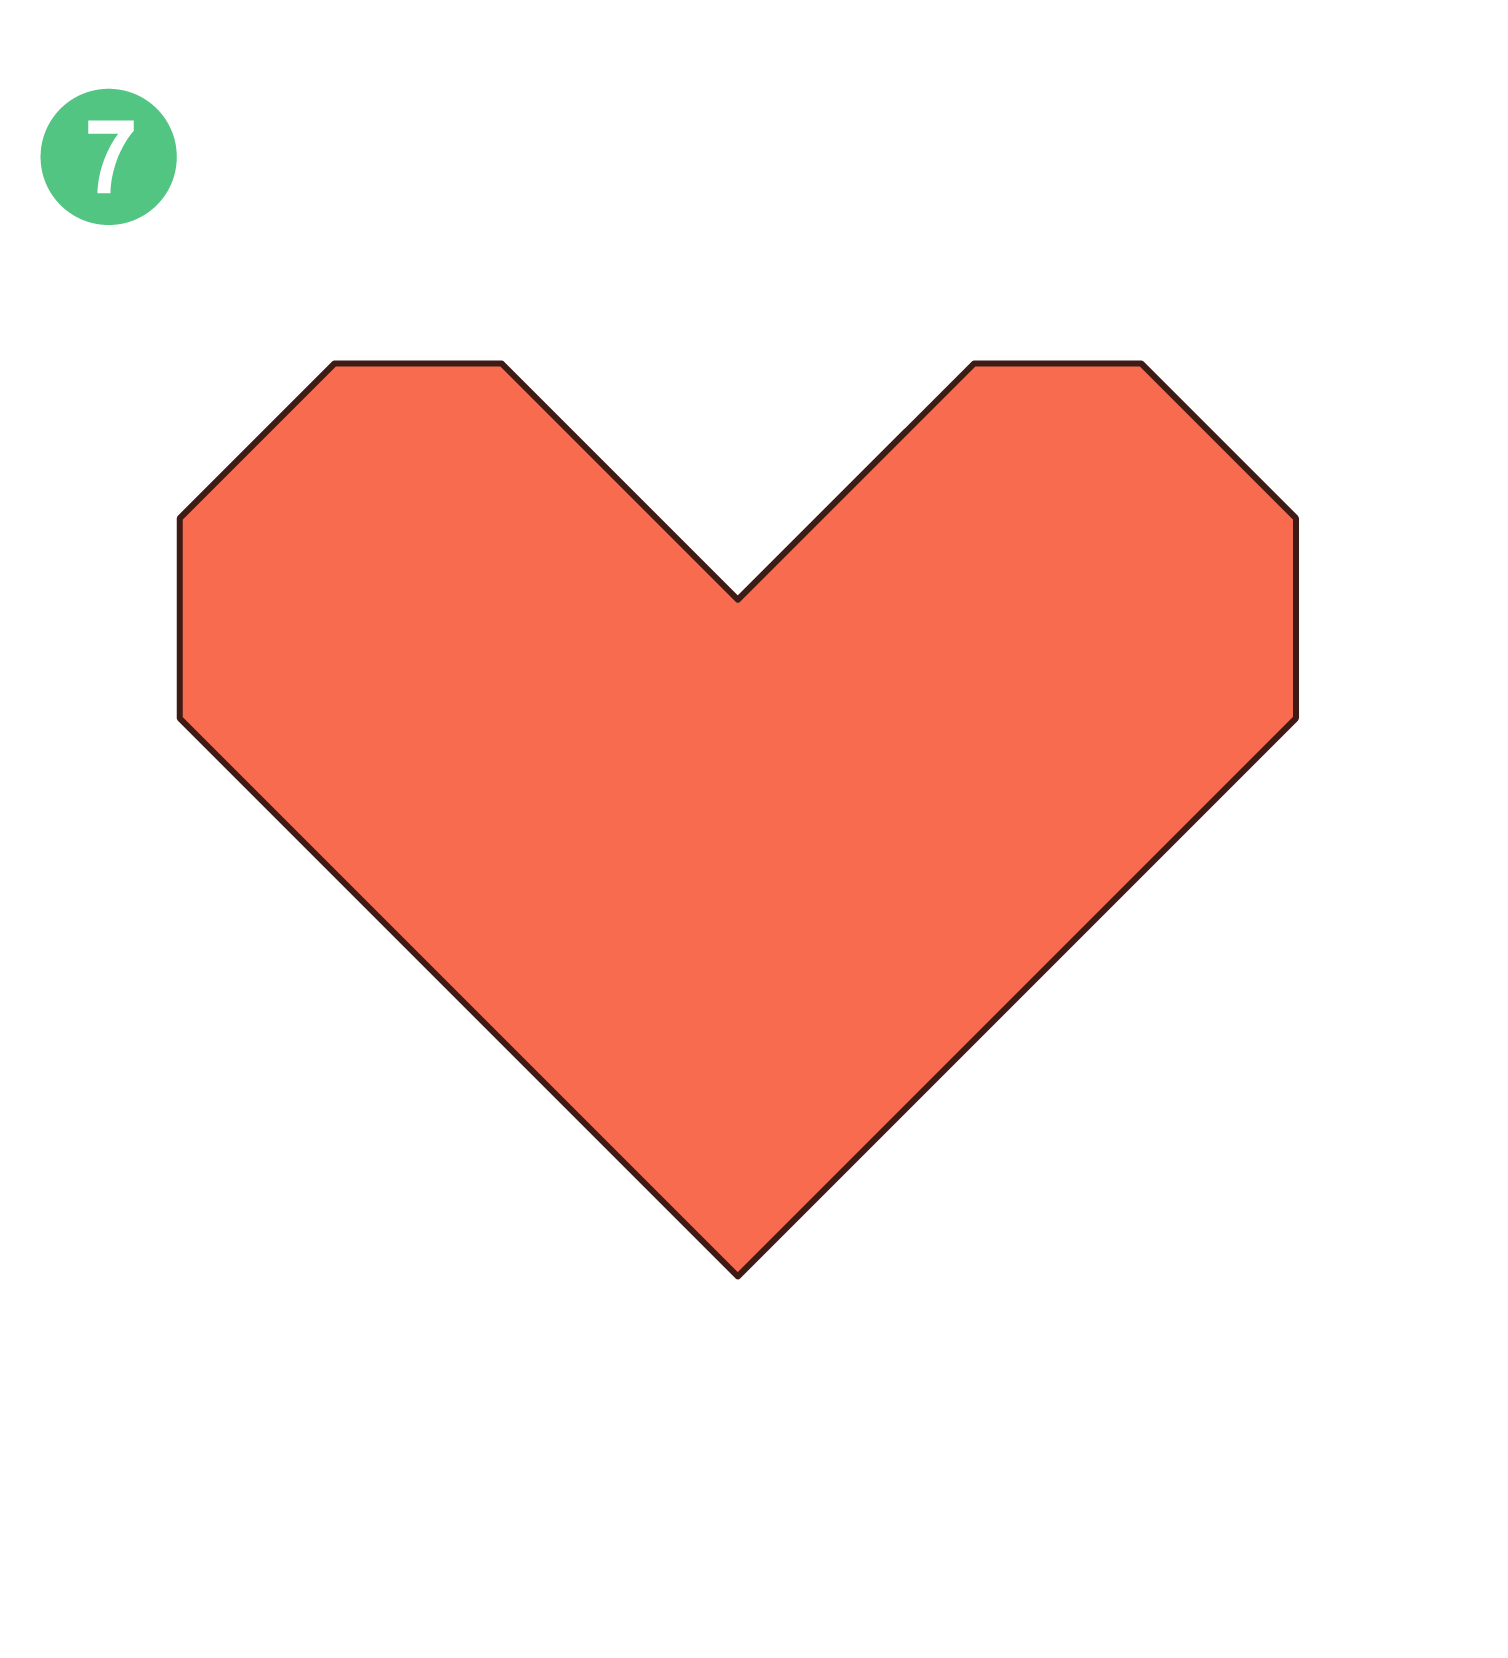
Step 7
Flip your paper back over and your heart should be complete. You can make more and change up the sizes or paper colors/patterns to get a variety of hearts.
Once you have a couple of hearts you can string them together to make some garland, you can put little notes inside them (think fortune cookie style), put them in your kids lunches, or just use them to decorate a table or wall!