
Today, I'm going to share a post from my own blog with you. I am no talented seamstress, but this still came out beautifully, and would make a fantastic handmade gift for those new babies in your life. The whole project took me about 2 hours. Be sure to tag us @etsydallas with #etsydallascrafts, if you try it!
I have slowly been finishing the baby's nursery one handmade project at a time. I had very good intentions of completing everything before he arrived, but I didn't even manage to have his crib assembled. It's funny how different everything is with the second baby.
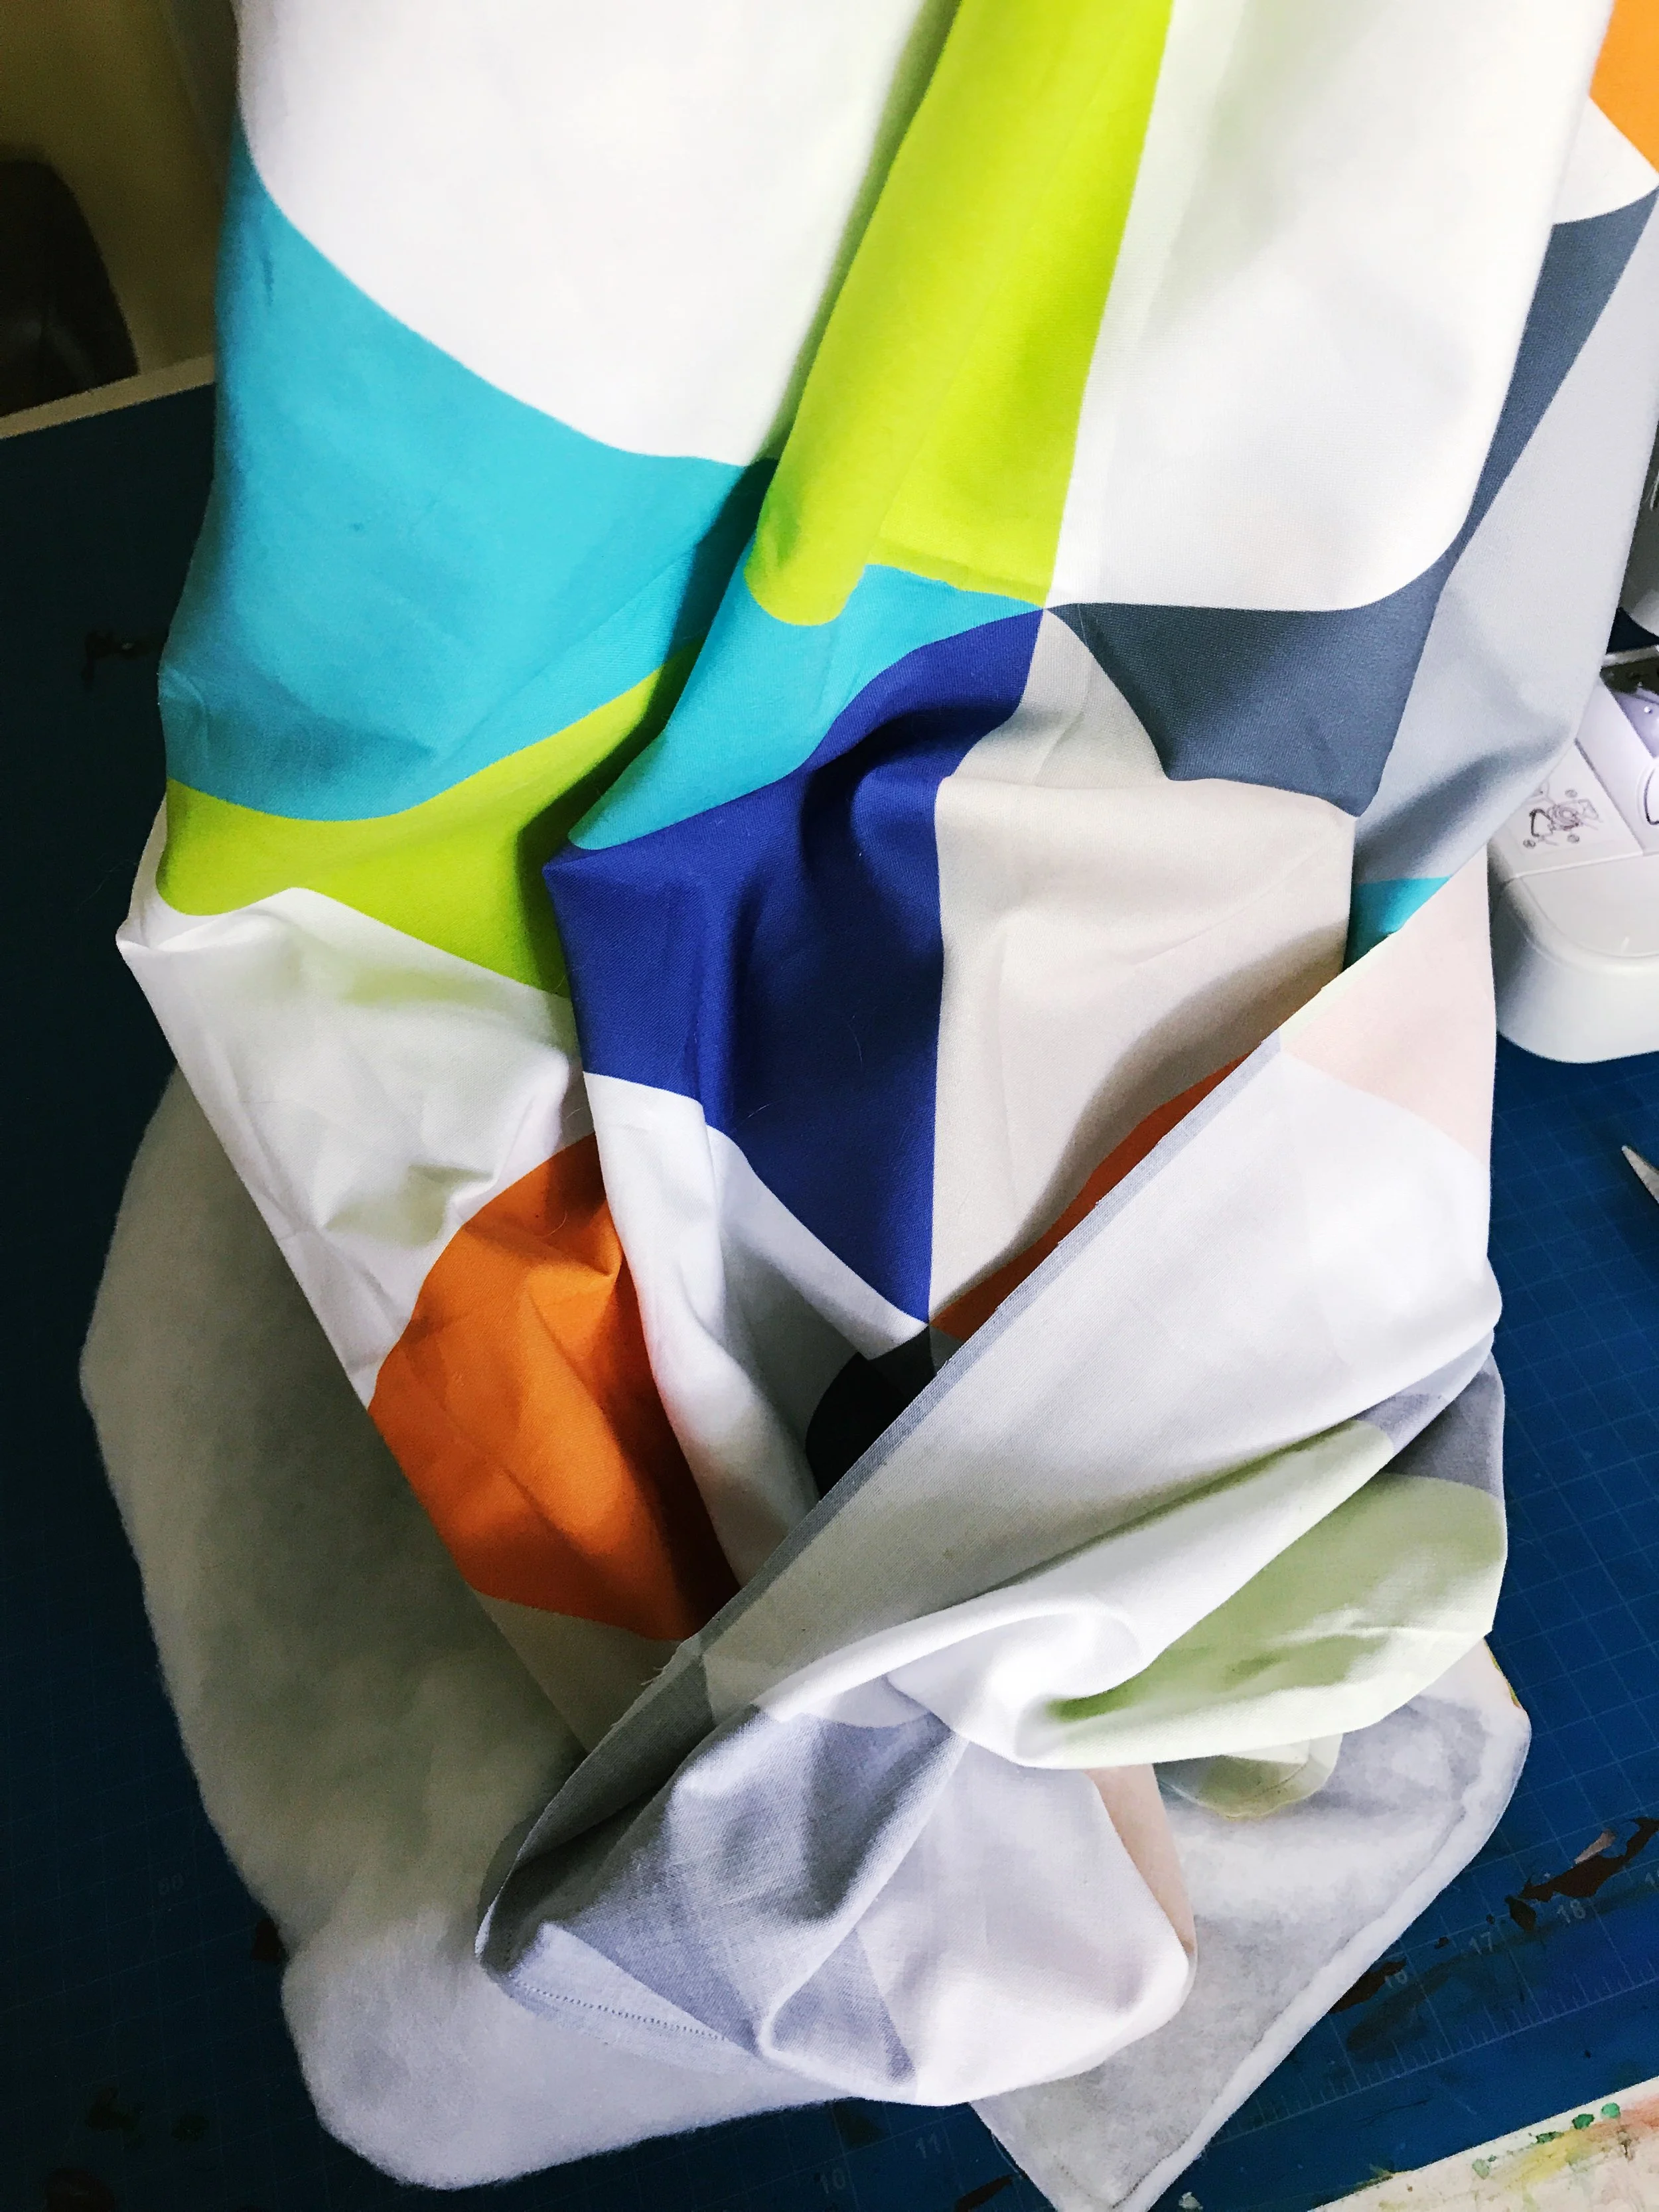
I finally made some time to work on his cheater baby quilt, so I took some pics to share with you all how easy it is to do something custom and special. This fabric actually inspired the color palette for the whole space. I bought two yards of the Kona Cotton from Spoonflower (search cheater quilt for different designs), and one package of crib sized batting from amazon. This process is very simple, and the results look much more impressive than it actually was to create.
First, fold your fabric in half, and lay it with the print side face to face, matching the printed areas.

Next, roll out your batting, lay the fabric on top, match the corners, and pin all the way around to hold everything together. Trim the excess.


Roll up the stack to make it more manageable, and sew one side at a time, almost all the way around. Use the printed area as a guide. Leave a hole large enough to turn the quilt right-side-out.

Trim the excess in a margin around the seam, and cut the corners at an angle so you can make a nice point.
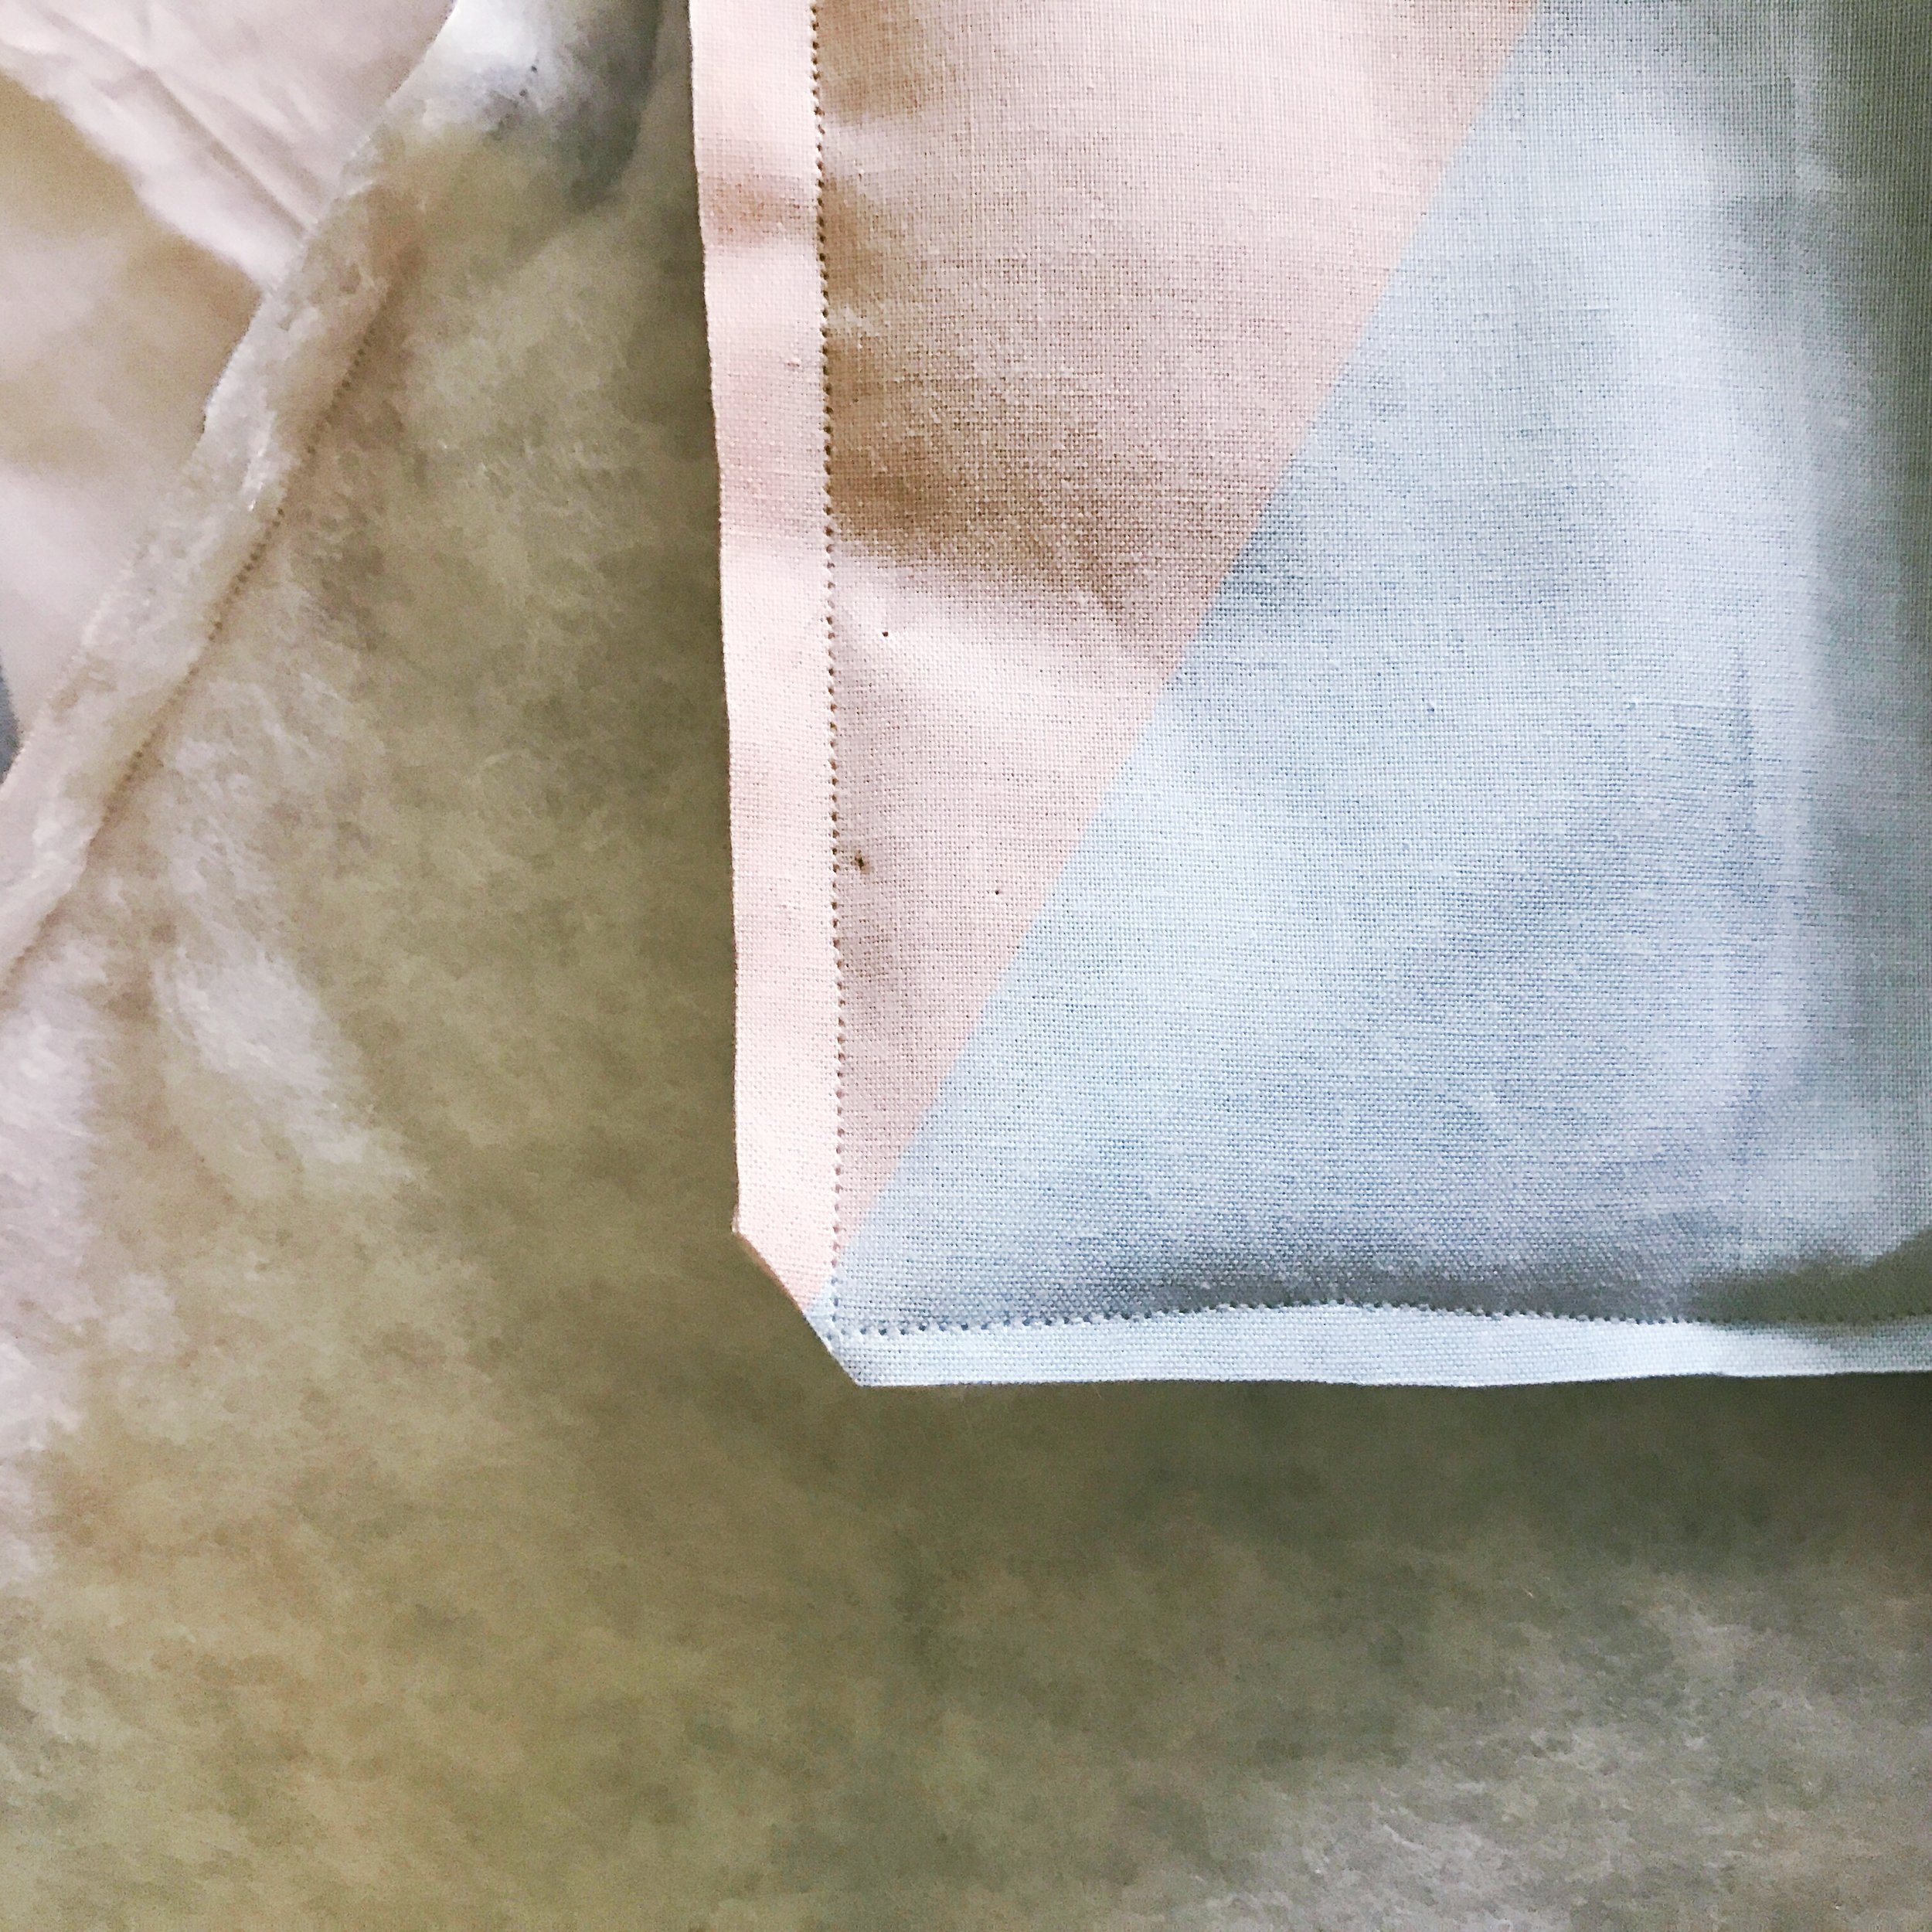
Turn the piece right side out.
Use a hidden stitch to close the hole. Knot your thread, and begin your stitch from the inside. Go through the other side and back out again, and repeat until you've reached the end, occasionally pulling it tightly to bring the sides together smoothly. Be consistent with the size of your stitches.

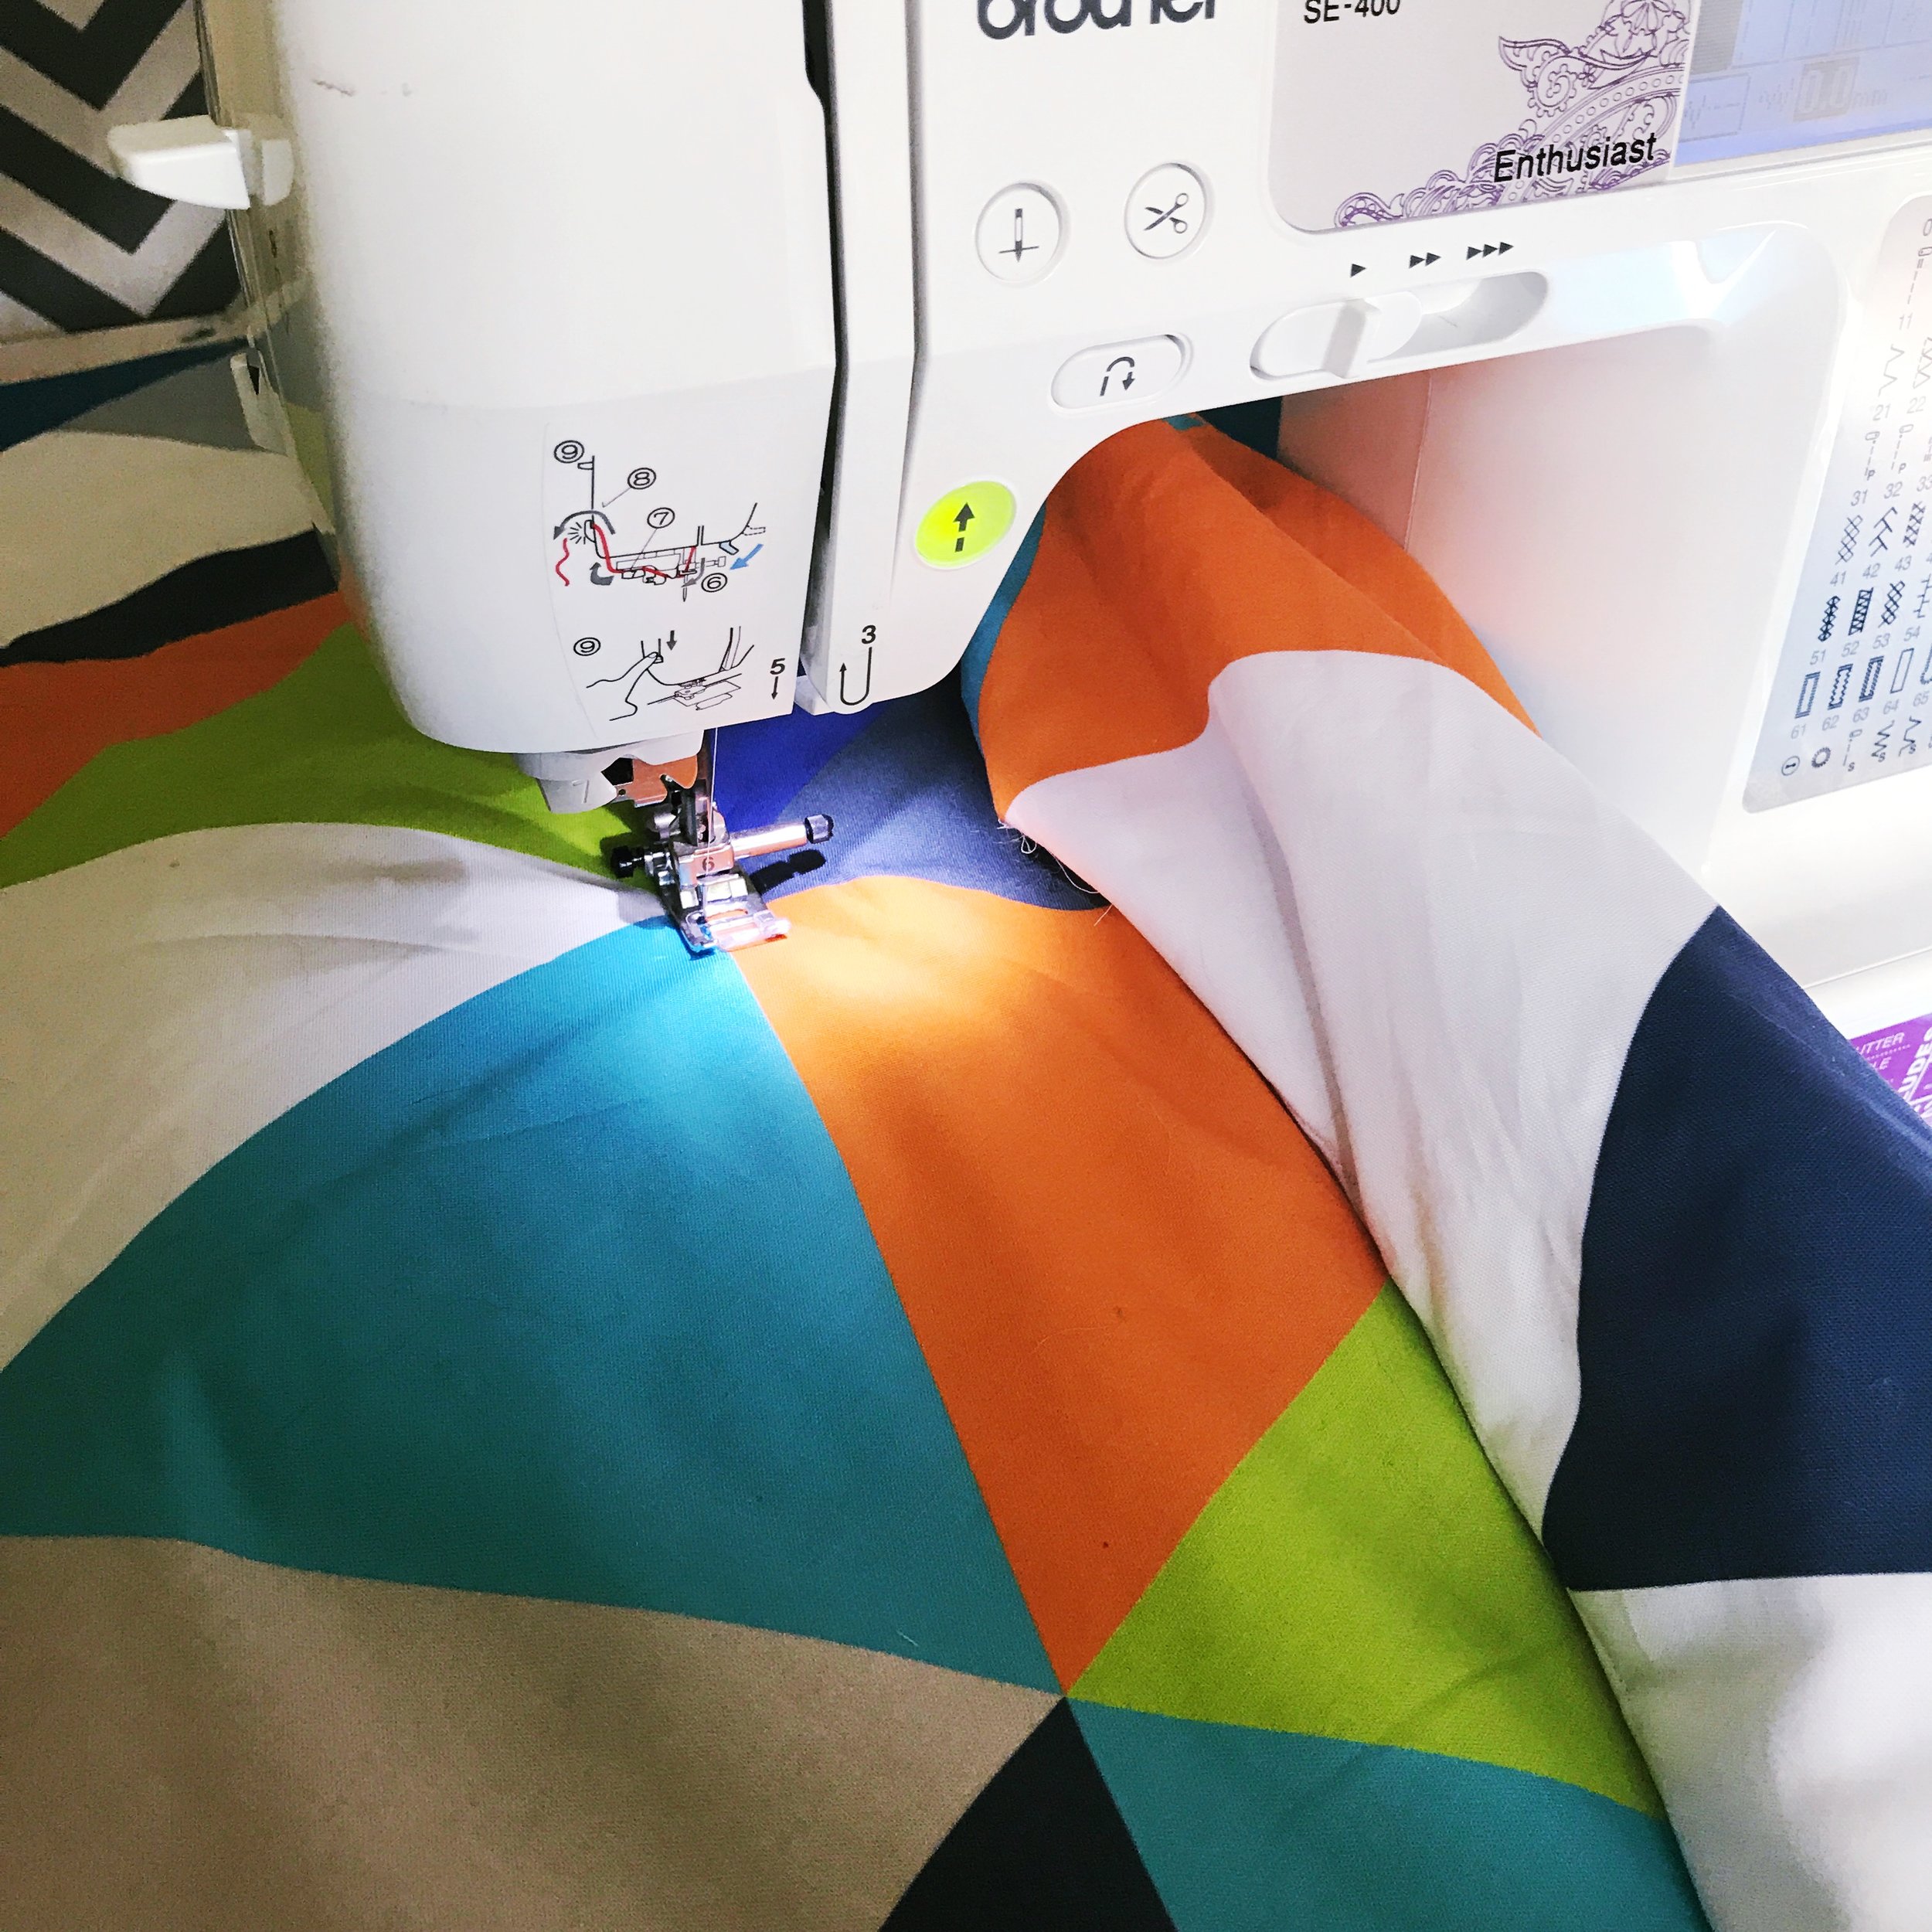
Using the pattern as a guide again, carefully sew straight lines all the way across the quilt. Repeat for the other two sides of the triangles. Roll the quilt as needed to feed it through the machine.
Trim any threads, and there you have it!

