Gift

Creativity Camp: Jolly Rancher Lollipops

FullSizeRender.jpg

I have a super easy and fun treat for you all today! This was a five star project as rated by my five year old. There is smashing, and sprinkling, and candy licking! You will need foil, skewers (halved) or lollipop sticks, a stapler, Jolly Ranchers, sprinkles, plastic baggies, and a hammer. Gather your supplies, and read on for the tutorial!

IMG_5761.JPG

Sort your candies by color/flavor, and preheat your oven to 275°F.

IMG_5762.JPG

Smash them with a hammer inside a plastic bag. 

IMG_5763.JPG

Roll out several squares of aluminum foil to make the molds, and line a pan with another sheet of foil.

IMG_5764.JPG

Fold your foil up by half inches all the way up to make a sturdy, pliable mold.

IMG_5765.JPG

Staple the ends together, being careful to line up the bottom edge of the foil. 

IMG_5766.JPG

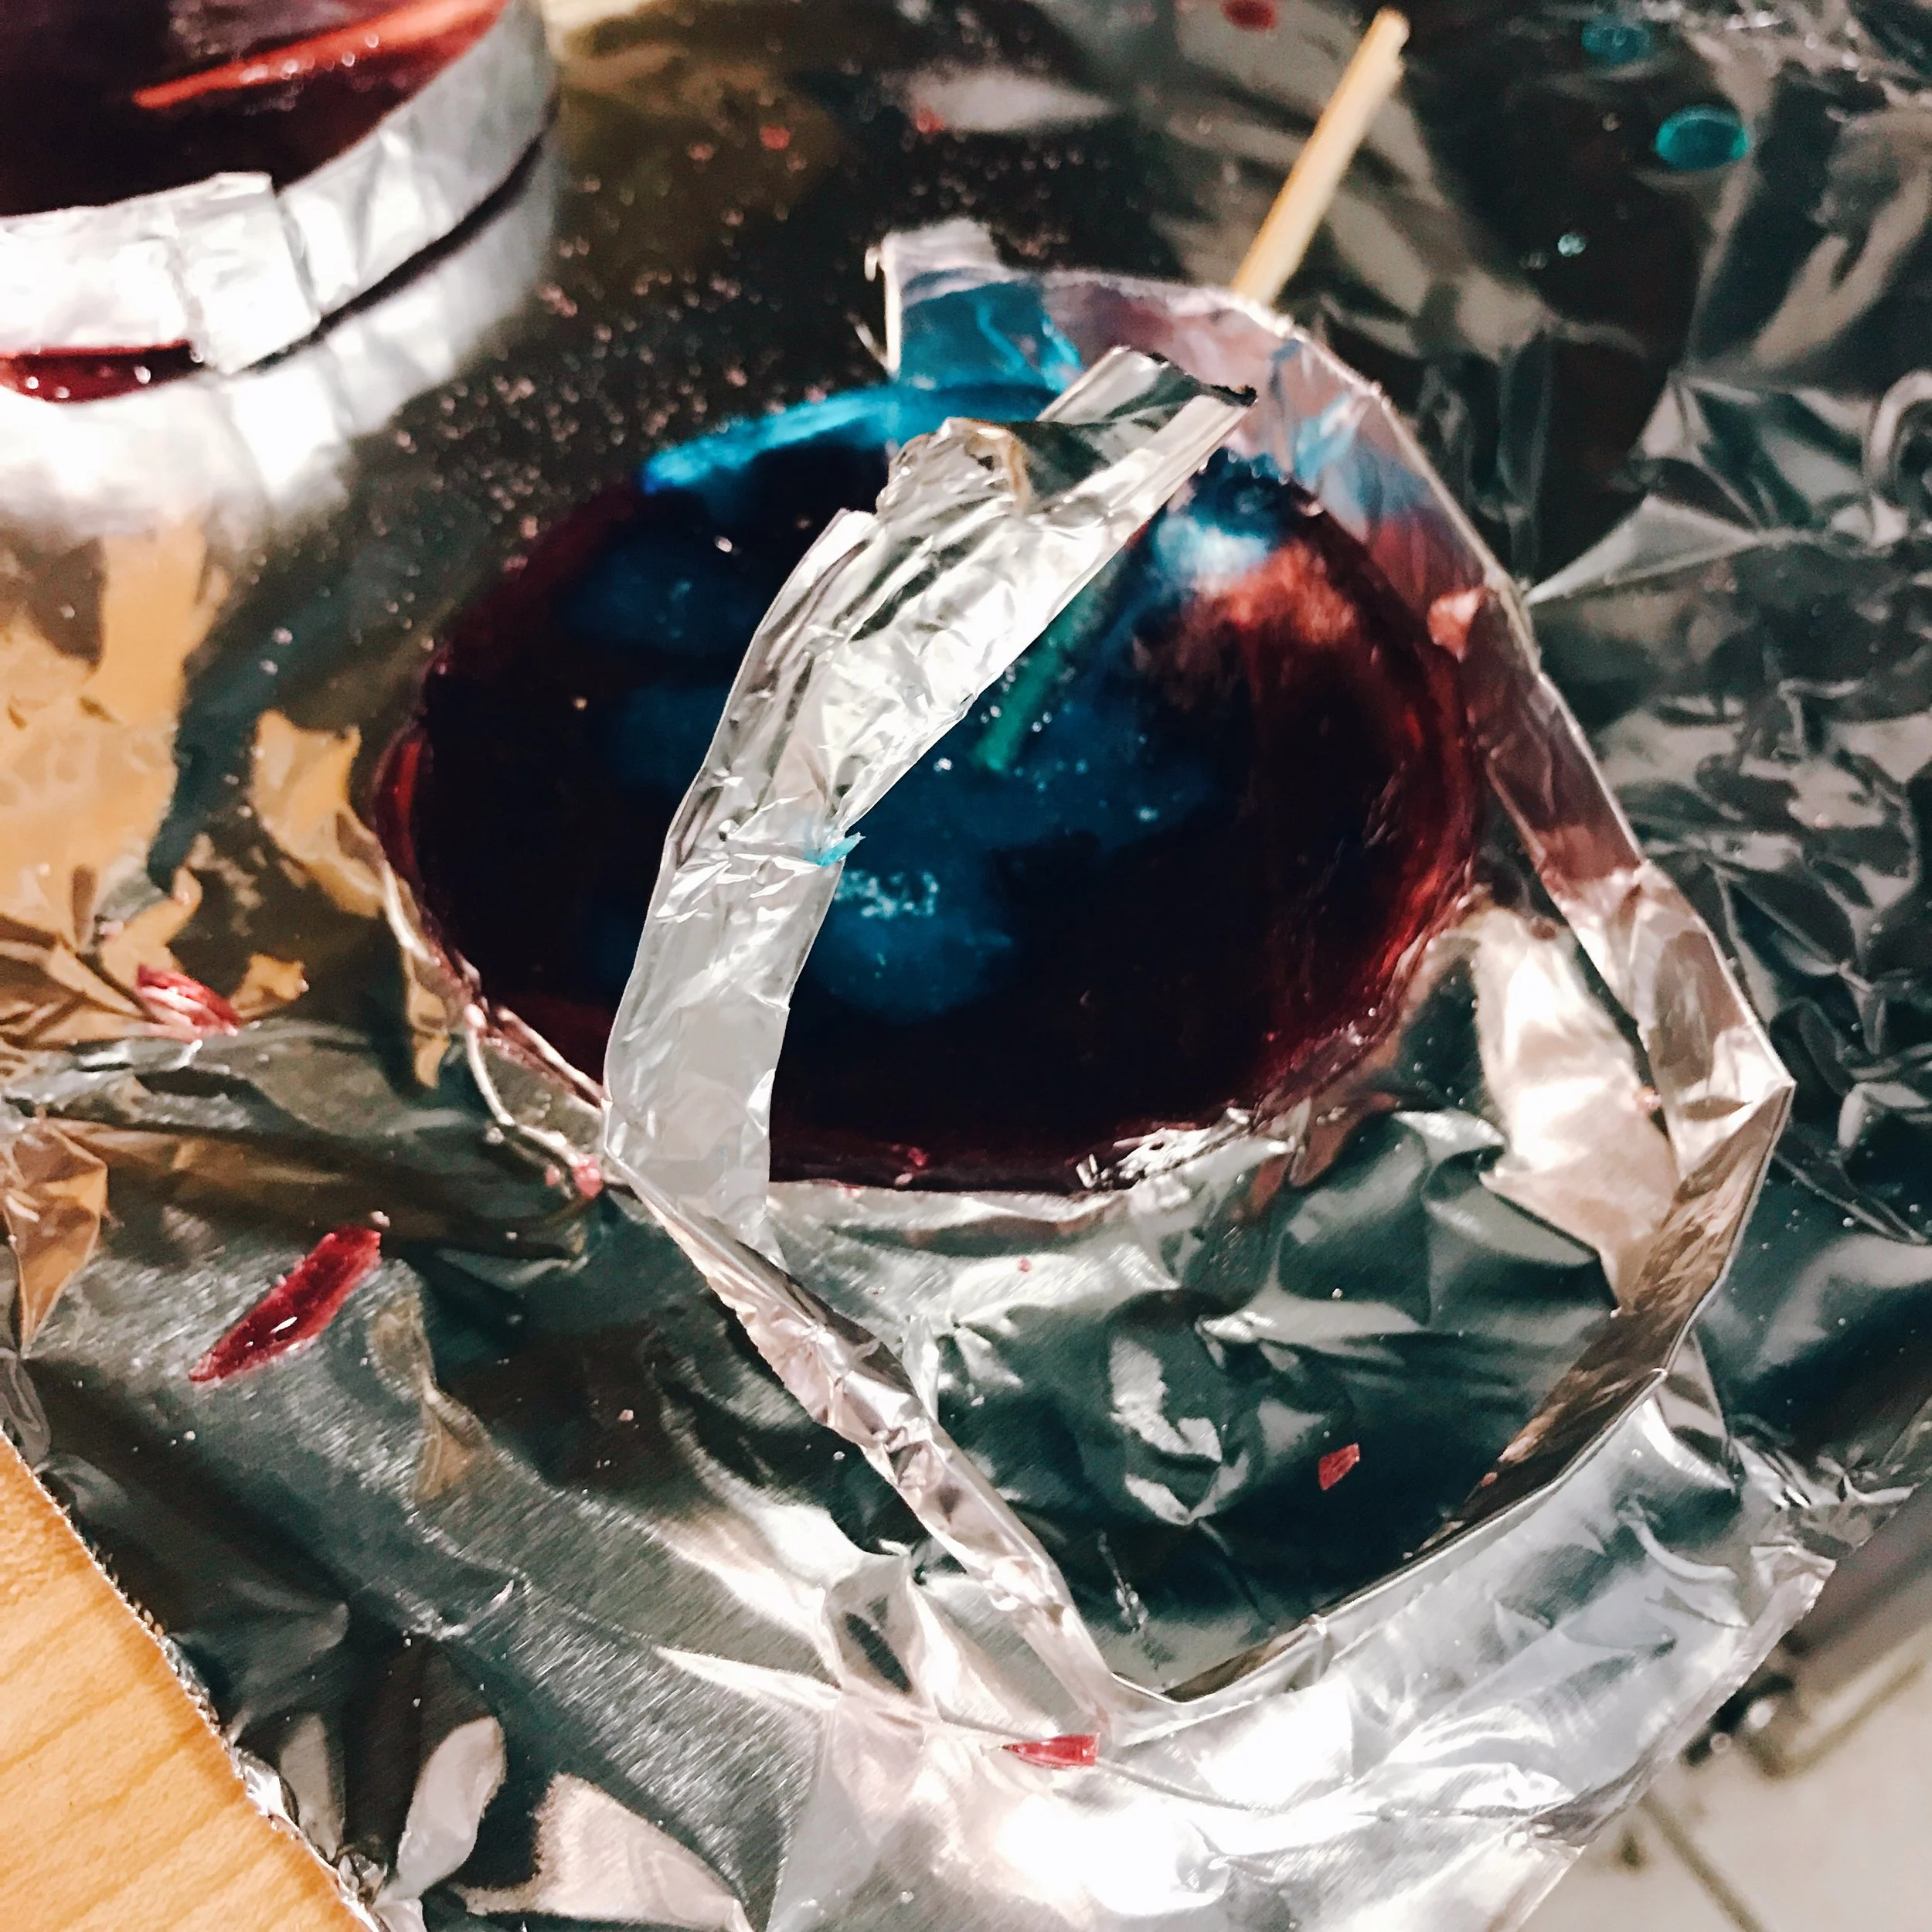
Round the foil molds and fill them with the smashed candies.  Put them in the oven for 5-7 minutes. Pull them out once all the candy has melted. Add sprinkles if you would like them inside your lollipop.

IMG_5767.JPG

While the candy is still hot, slip the sticks under the foil and twist it into the candy to coat both sides. 

IMG_5768.JPG

Once the candy has cooled and hardened, break apart the foil mold where you stapled it and peel it off around the sides of the lollipop. Then peel the foil off the bottom.  If you would like to add sprinkles to the outside, dampen the lollipop with water to make it sticky, add sprinkles, and allow it to dry again.

IMG_5769.JPG

Gift or enjoy! Get creative, and share with us on Instagram @etsydallas #EDCreativityCamp! 

Creativity Camp: Basic Shibori Dyeing

Welcome back! This week, we are making over some old white cotton shirts with shibori, a Japanese folding technique to create dyed patterns in fabric. You can use this folding method with any type of modern dye, or the beautiful, traditional indigo vat. For simplicity's sake, we are using Rit Dye on the stove top this time.

Gather your supplies, and keep reading for the tutorial. We need a bottle of dye, half a cup of salt, a squirt of dish soap, a gallon of water in a large pot, tongs, fabric or clothing, and rubber bands/clips/pipe cleaners/popcicle sticks.

IMG_5554.JPG

First, let's do an accordion fold on your item of clothing. Fold your item in half. Then fold the top half back to line up with the edge. Flip over your item and fold the other side back and match the edge again. Now fold the sleeves back. The goal is to make all the edges line up evenly for the next step. (You can stop here, And move on to rubber bands or keep on like the photo.) Now, fold one bottom corner to the edge to make a triangle. Flip the item over, and fold the triangle up along the edge. Flip and fold, flip and fold triangles all the way to the end. 

Use rubber bands, bottle caps, clips, pipe cleaners, and popsicle sticks to create resist patterns. Now let's prepare the dye.

Use rubber bands, bottle caps, clips, pipe cleaners, and popsicle sticks to create resist patterns. Now let's prepare the dye.

IMG_5535.JPG

This part is for adults or older kids. Be careful! Turn your stove on high to boil, and add the salt. Once dissolved, add the dye and a small squirt of dish soap. (We are using black on small items for saturated colors, so we only used half the recommended water.) Reduce your stove to medium heat, and dye your items for 30 minutes.

IMG_5525.JPG

Use your tongs to remove your folds, allowing the dye water to drain as much as possible.

IMG_5524.JPG

Rinse your items in the sink until the water runs mostly clear, then remove your rubber bands and clips.  (Don't use dye in porcelain or porous sinks, it will absolutely stain! You can take them straight to the washer, but your whites may not be as white.)

IMG_5545.JPG

Wash your items on cold with detergent, and dry them. From left, the patterns are the square accordion fold with popsicle stick resist, the pipe cleaner resist, the triangle accordion fold with bottle cap resist, and the binder clips resist.

I hope you enjoyed this project! Now you can make tea towels, napkins, pillow cases, wall hangings, and all sorts of good stuff! Be sure to tag us @etsydallas #EDCreativityCamp if you try it! 

IMG_5523.JPG

P.S. Use gloves! Lol! 

DIY Personalized Notepads with Katrina

IMG_4216.JPG

Katrina of Rhapsody Letterpress here with a little paper tutorial this morning! Looking for a fun, inexpensive and personal teacher appreciation gift? These homemade monogram notepads are an easy and pretty project you can make with relatively basic supplies you probably already have at home. Pair it with some cute pencils and a nice thank you note, and you will have a personal and practical gift that your kid's teacher would actually use. Check it out!

IMG_4225.JPG

First, set up your monogram layout on your computer using Word or a design program and print 50 sheets. Remember to print on paper the size you want to make notepads, or cut it down after printing. 4x6 or 5x7 are good standards sizes that most printers can print. I have a guillotine cutter, so I printed on letter paper and cut it down to 4x9 after binding. 

IMG_4224.JPG

Gather the remainder of your supplies. You will need binder or bulldog clips, cardstock that is cut to the same size as your paper, and rubber cement.

IMG_4220.JPG

Collate your paper, sandwiching the card stock on the top, the printed paper in the middle, and two pieces of card stock on the bottom. Tap the end of the stack on the table to create a flat edge, then use the binder clips on both sides to secure a tight binding. 

IMG_4223.JPG

Brush on a liberal layer of rubber cement, and place more binder clips over the area you just glued to keep the edge tightly bound. Allow the rubber cement to dry, and do another layer, placing the binder clips on again to let it dry once more. 

IMG_4222.JPG

Repeat on each notepad. Allow the cement to dry until it is no longer tacky to the touch, about two hours.  

IMG_4221.JPG

Once the rubber cement has dried completely and set (overnight or twenty-four hours), carefully peel off the top and bottom layer of card stock, and there you have it! (I used my guillotine to cut mine down in this step.) 

IMG_4219.JPG

Pat yourself on the back for being so thoughtful and crafty!  Your teachers are going to love it!

Cheater Quilt Tutorial with Katrina

Today, I'm going to share a post from my own blog with you. I am no talented seamstress, but this still came out beautifully, and would make a fantastic handmade gift for those new babies in your life. The whole project took me about 2 hours. Be sure to tag us @etsydallas with #etsydallascrafts, if you try it! 

I have slowly been finishing the baby's nursery one handmade project at a time.  I had very good intentions of completing everything before he arrived, but I didn't even manage to have his crib assembled.  It's funny how different everything is with the second baby.

I finally made some time to work on his cheater baby quilt, so I took some pics to share with you all how easy it is to do something custom and special.  This fabric actually inspired the color palette for the whole space. I bought two yards of the Kona Cotton from Spoonflower (search cheater quilt for different designs), and one package of crib sized batting from amazon. This process is very simple, and the results look much more impressive than it actually was to create.

First, fold your fabric in half, and lay it with the print side face to face, matching the printed areas.

IMG_3690.JPG

Next, roll out your batting, lay the fabric on top, match the corners, and pin all the way around to hold everything together. Trim the excess.

IMG_3692.JPG
IMG_3691.JPG

Roll up the stack to make it more manageable, and sew one side at a time, almost all the way around. Use the printed area as a guide. Leave a hole large enough to turn the quilt right-side-out.

IMG_3693.JPG

Trim the excess in a margin around the seam, and cut the corners at an angle so you can make a nice point.

IMG_3694.JPG

Turn the piece right side out.

IMG_3695.JPG

Use a hidden stitch to close the hole. Knot your thread, and begin your stitch from the inside. Go through the other side and back out again, and repeat until you've reached the end, occasionally pulling it tightly to bring the sides together smoothly.  Be consistent with the size of your stitches.

IMG_3696.JPG

Using the pattern as a guide again, carefully sew straight lines all the way across the quilt. Repeat for the other two sides of the triangles. Roll the quilt as needed to feed it through the machine.

IMG_3697.JPG

Trim any threads, and there you have it!

IMG_3624.JPG
IMG_3623.JPG