Dye

Full Moon Rug IKEA Hack

IMG_6261.JPG

Hey friends, Katrina from Rhapsody Letterpress here with a project for you sky watchers and DIYers. My family loves astronomy. I shopped for a moon rug before my son was born but never found one quite right, so we decided to stretch our creative muscles and make one ourselves this week. I put together a short video showing how we did it below using a 51" IKEA ÅDUM rug, a bottle of black liquid Rit dye, bleach, a squirt bottle, and a cloth rag.

We are so pumped about the upcoming eclipse on the 21st, my five year old especially. I hope you fellow moon lovers enjoy!​

Creativity Camp: Basic Shibori Dyeing

Welcome back! This week, we are making over some old white cotton shirts with shibori, a Japanese folding technique to create dyed patterns in fabric. You can use this folding method with any type of modern dye, or the beautiful, traditional indigo vat. For simplicity's sake, we are using Rit Dye on the stove top this time.

Gather your supplies, and keep reading for the tutorial. We need a bottle of dye, half a cup of salt, a squirt of dish soap, a gallon of water in a large pot, tongs, fabric or clothing, and rubber bands/clips/pipe cleaners/popcicle sticks.

IMG_5554.JPG

First, let's do an accordion fold on your item of clothing. Fold your item in half. Then fold the top half back to line up with the edge. Flip over your item and fold the other side back and match the edge again. Now fold the sleeves back. The goal is to make all the edges line up evenly for the next step. (You can stop here, And move on to rubber bands or keep on like the photo.) Now, fold one bottom corner to the edge to make a triangle. Flip the item over, and fold the triangle up along the edge. Flip and fold, flip and fold triangles all the way to the end. 

Use rubber bands, bottle caps, clips, pipe cleaners, and popsicle sticks to create resist patterns. Now let's prepare the dye.

Use rubber bands, bottle caps, clips, pipe cleaners, and popsicle sticks to create resist patterns. Now let's prepare the dye.

IMG_5535.JPG

This part is for adults or older kids. Be careful! Turn your stove on high to boil, and add the salt. Once dissolved, add the dye and a small squirt of dish soap. (We are using black on small items for saturated colors, so we only used half the recommended water.) Reduce your stove to medium heat, and dye your items for 30 minutes.

IMG_5525.JPG

Use your tongs to remove your folds, allowing the dye water to drain as much as possible.

IMG_5524.JPG

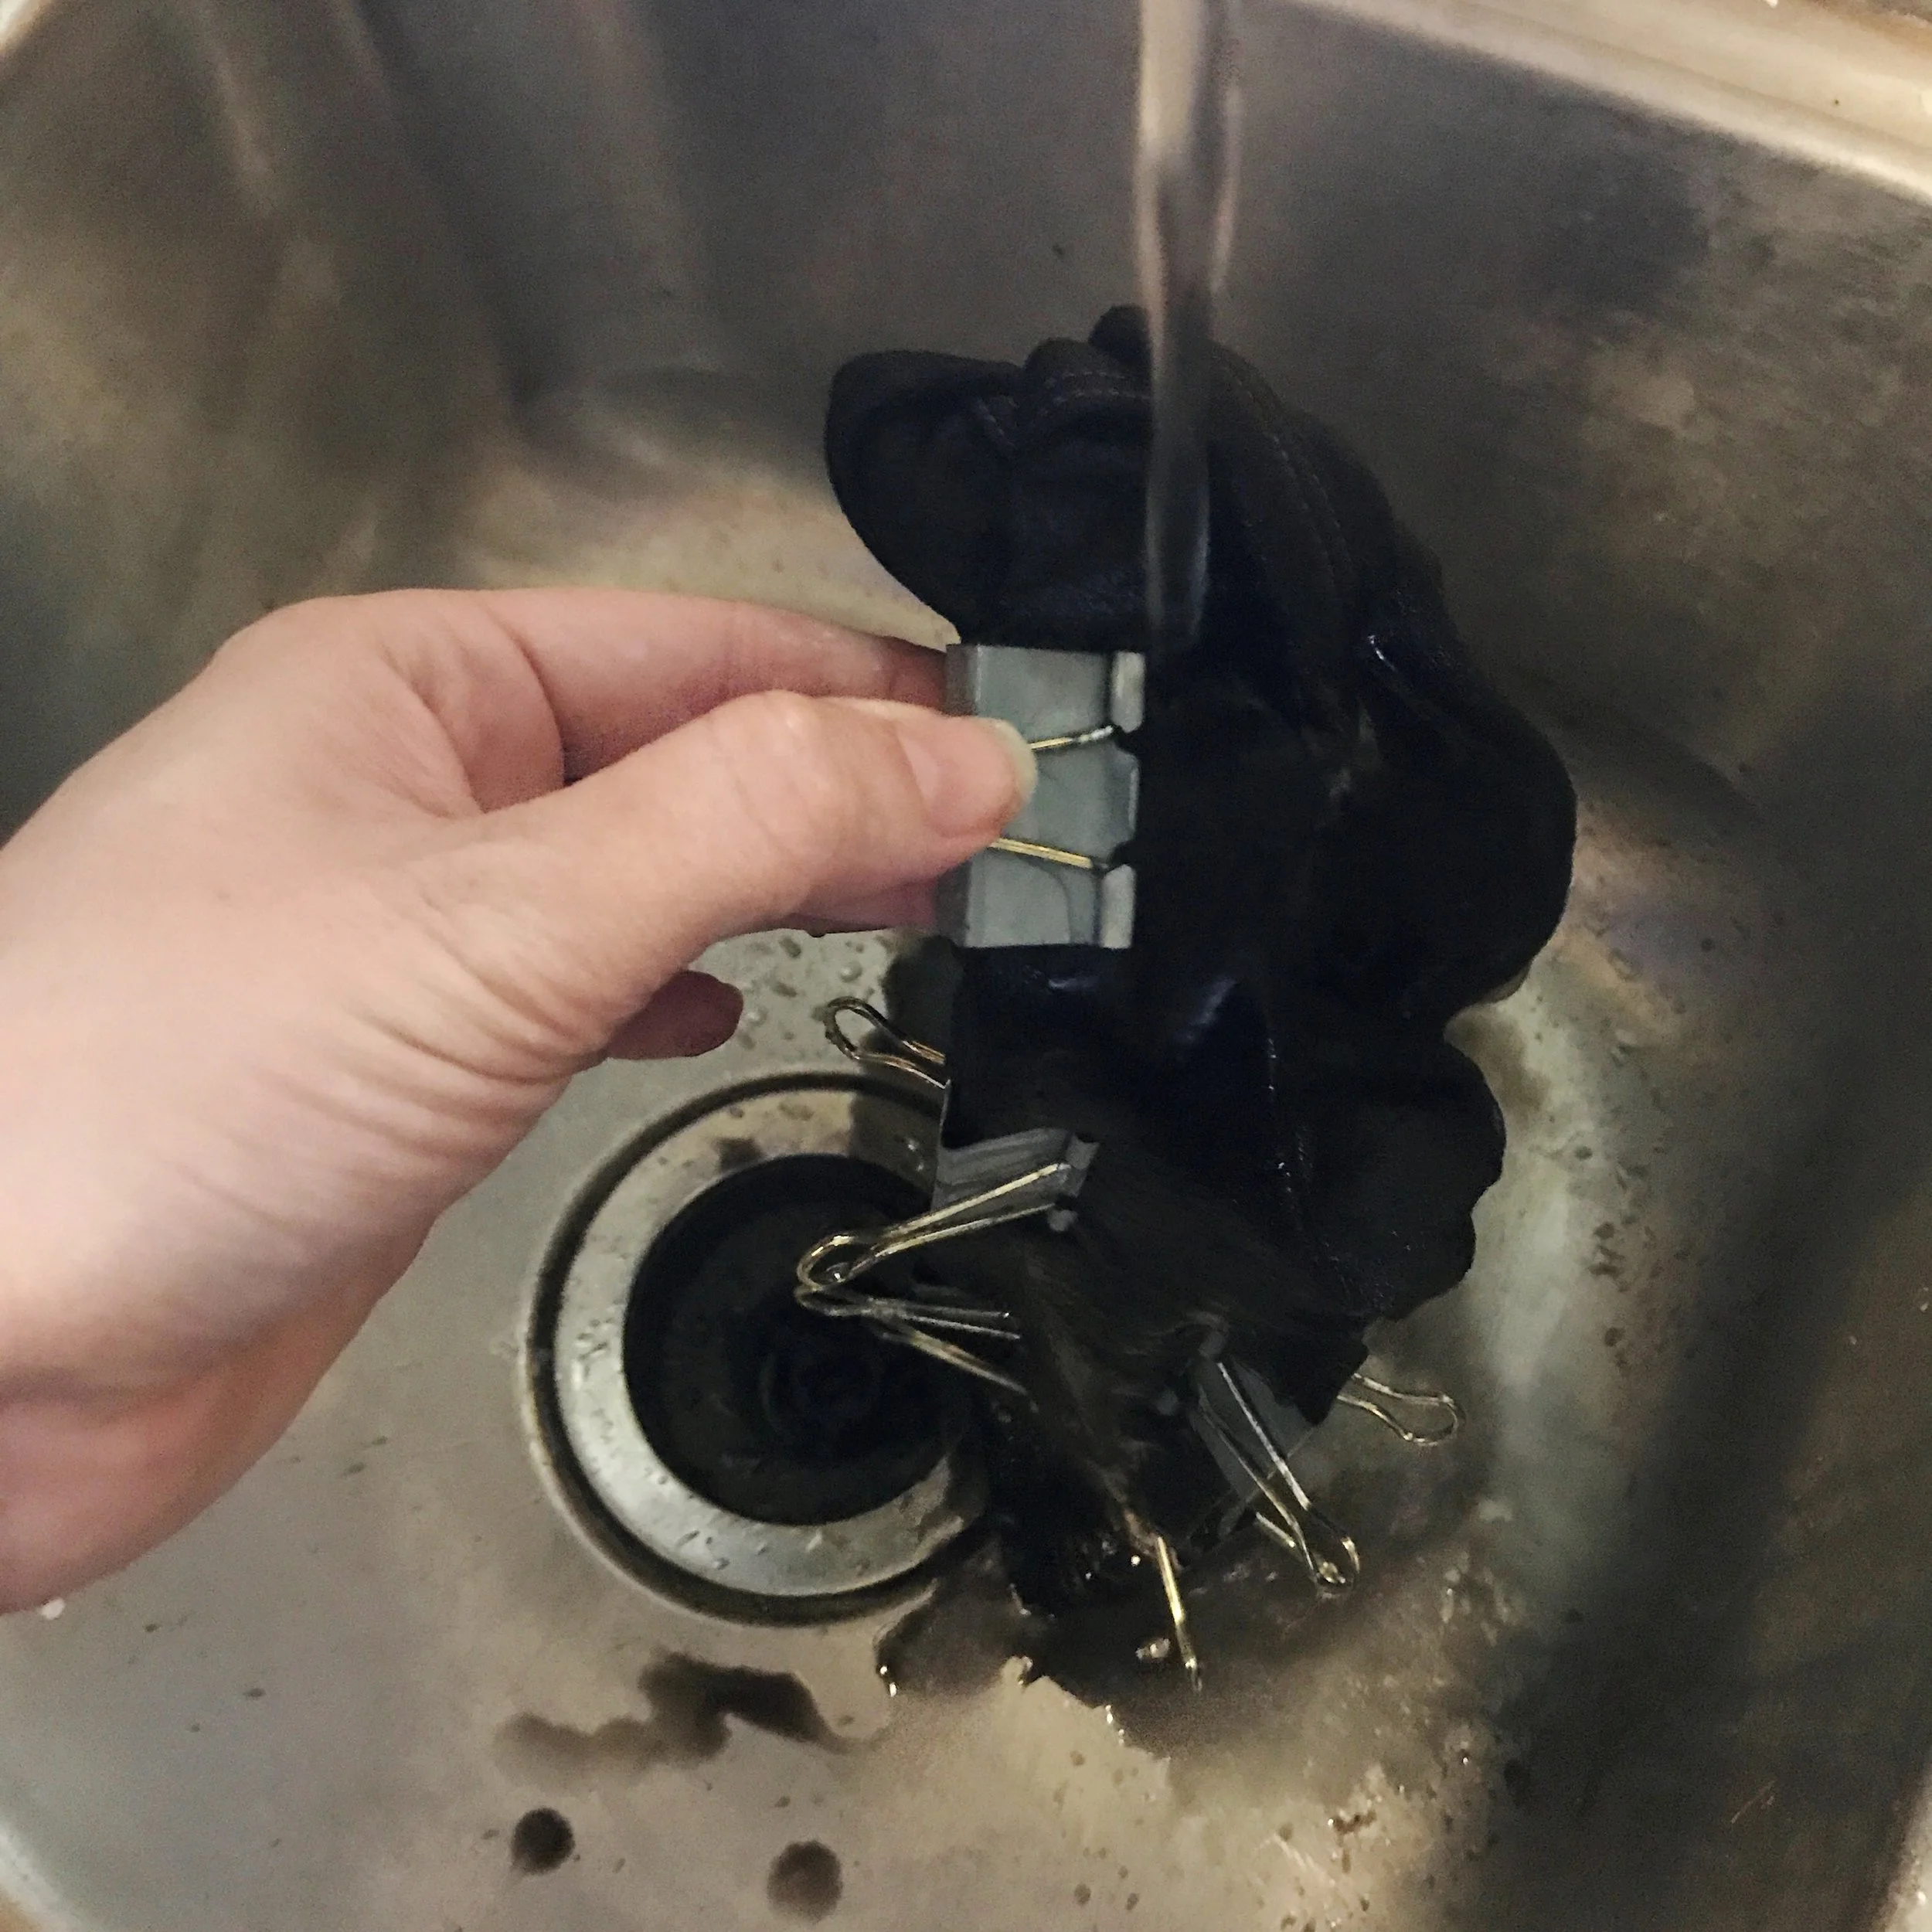
Rinse your items in the sink until the water runs mostly clear, then remove your rubber bands and clips.  (Don't use dye in porcelain or porous sinks, it will absolutely stain! You can take them straight to the washer, but your whites may not be as white.)

IMG_5545.JPG

Wash your items on cold with detergent, and dry them. From left, the patterns are the square accordion fold with popsicle stick resist, the pipe cleaner resist, the triangle accordion fold with bottle cap resist, and the binder clips resist.

I hope you enjoyed this project! Now you can make tea towels, napkins, pillow cases, wall hangings, and all sorts of good stuff! Be sure to tag us @etsydallas #EDCreativityCamp if you try it! 

IMG_5523.JPG

P.S. Use gloves! Lol!