Allow me to introduce you to Alex George, new Etsy Dallas member, and creative spark behind the eclectic, multicultural inspired prints and cards at Wandering Paper Co.
She has thoughtfully prepared a linocut and block printing tutorial, and has given me permission to share. Enjoy and check out her vibrant shop and blog!
Materials:Speedball Speedy-Carve block, size 4x6"Hard Rubber Brayer Pencil & Paper Adobe Illustrator (optional), Speedball Linoleum Cutter & Assorted Attachments
First, measure a 4x6 rectangle on a sheet of paper. You can do this quickly by tracing your 4x6 block.
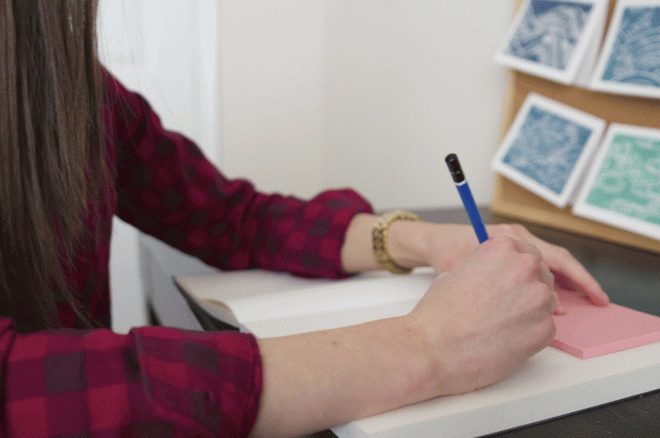
Sketch out your design in pencil first. After I sketch my design out, I usually scan the drawing and fine-tune it in Adobe Illustrator. If you don't have Illustrator, don't worry, this part is optional.
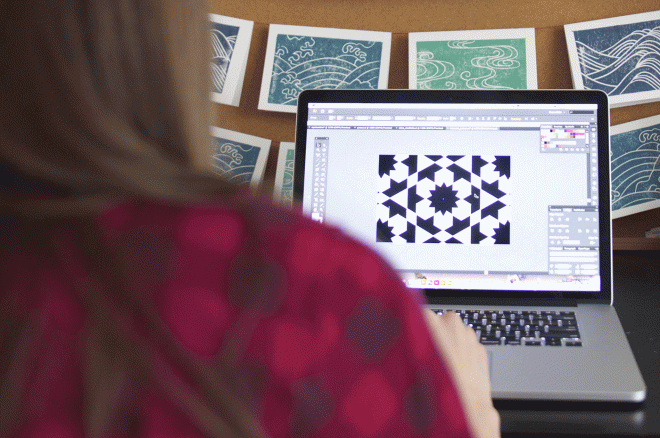
If you do design your print on the computer, print it out and color in the negative space with pencil. If you sketched your print out by hand, you can skip this step.
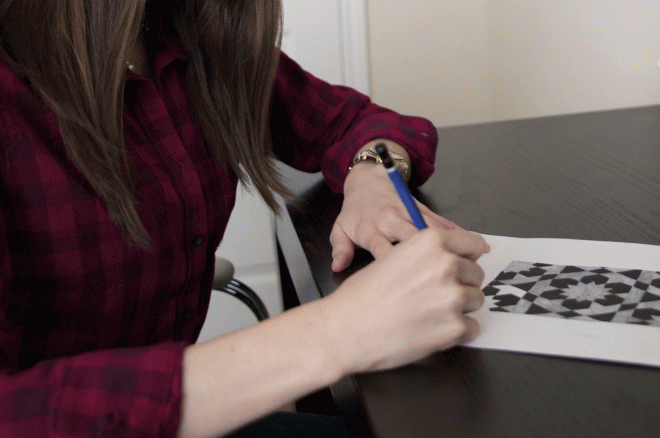
Now you will transfer your pencil sketch to the rubber block. Carefully lay your rubber block over your sketch so the edges align. Use your hard rubber brayer (or your fingers) to press down on the rubber block so the graphite from the pencil transfers from the paper onto the block.
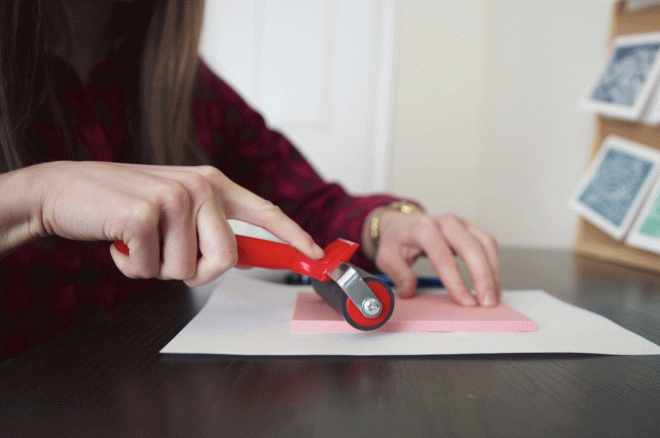
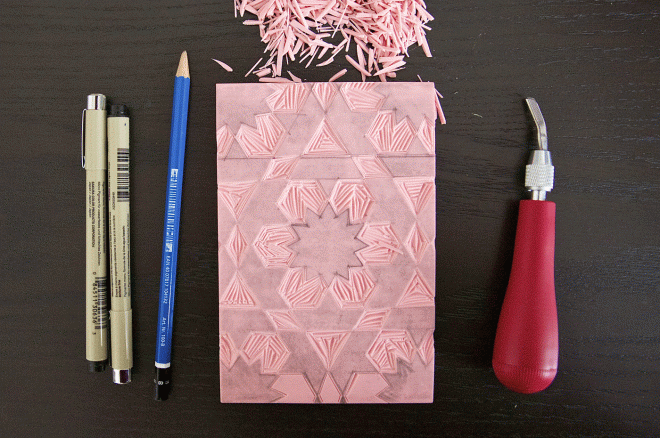
Lift up the block and use your pencil to touch up any areas where the graphite did not transfer.Now use your linoleum cutter to carve your design out of the block. A few tips: Use the tool in a pushing (not pulling motion) for best results. Also, turn the block, not your hand when making a curved line.
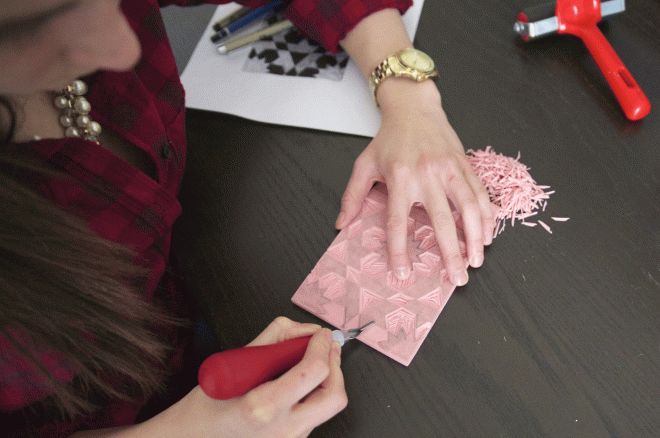
Voila! Your block is carved, and you're ready to print!
Thank you so much for sharing your art with us, Alexandra! Hop on over to her beautiful blog to see how to use your carved linocut block to print in Part 2 of her series! Happy Saturday, friends and crafters!


