Happy Easter! If you're looking for a fun and easy project to do with the kids, then look no further than this paper Easter bunny tutorial. Not only is this craft adorable and festive, but it won’t cost you a fortune in eggs (what’s up with these crazy egg prices anyways?!).
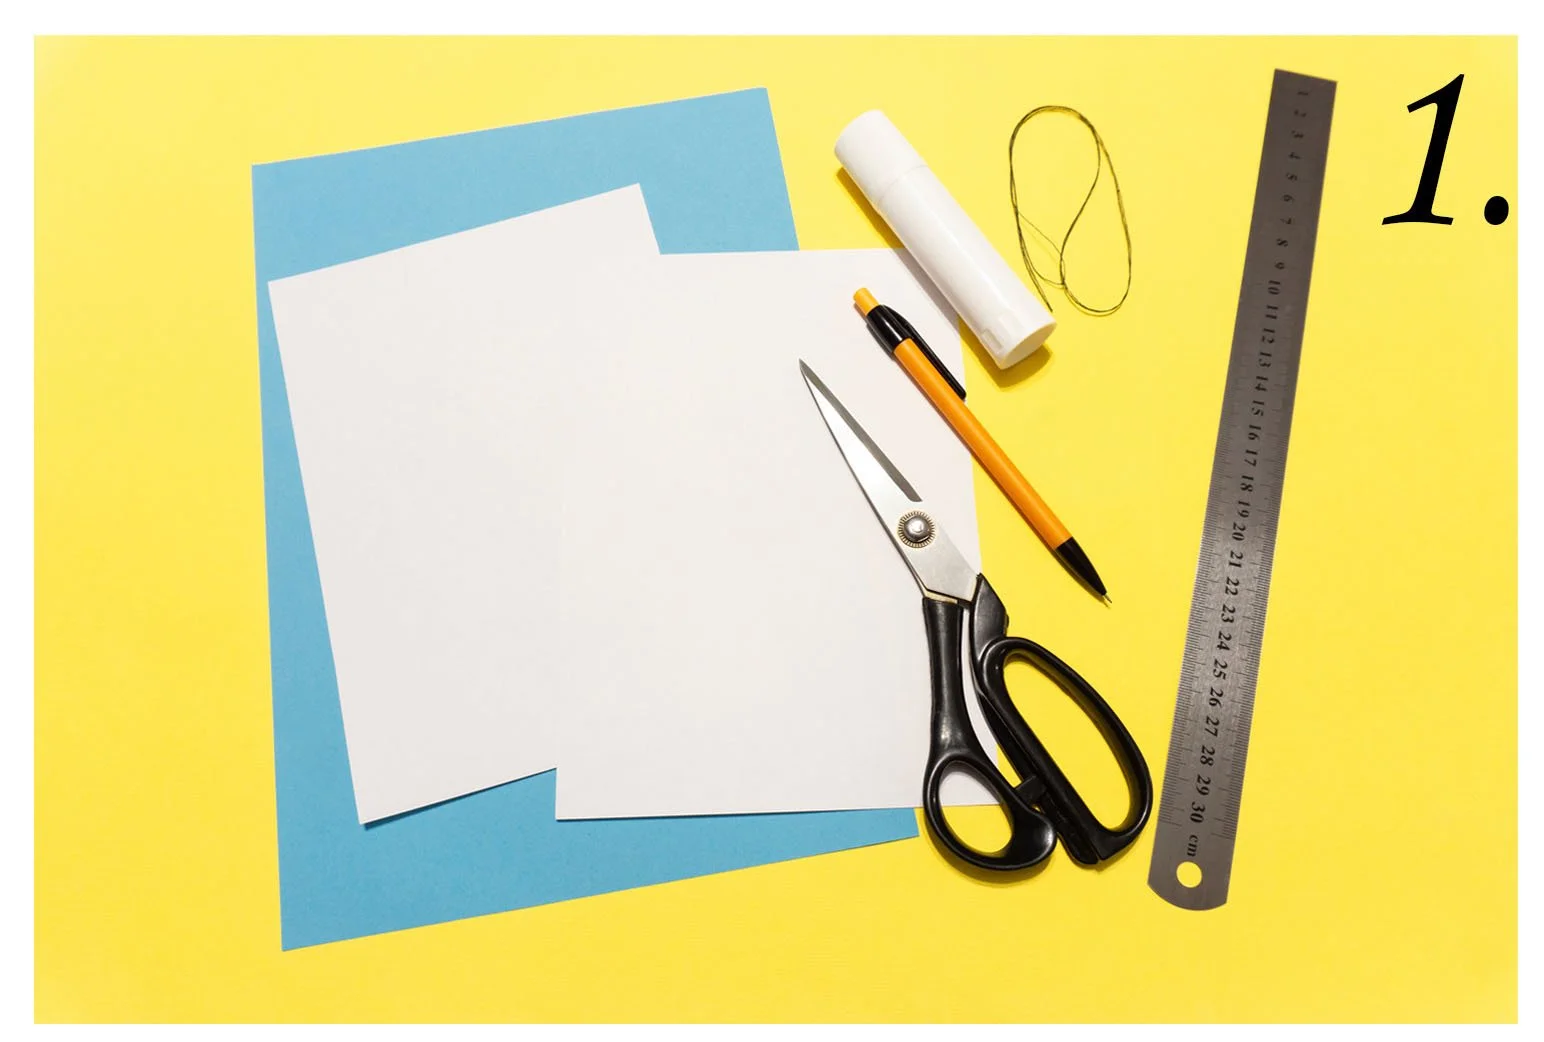
Supplies:
3 Sheets of white paper for the bunny’s body
1 sheet of color paper for the bunny’s ears, nose, and feet
Scissors
Ruler
Pencil or black marker
Twine or thread
Glue stick
Let’s Get Started!
Step 1: Gather your supplies and take your two sheets of white paper and cut them into 8” squares.
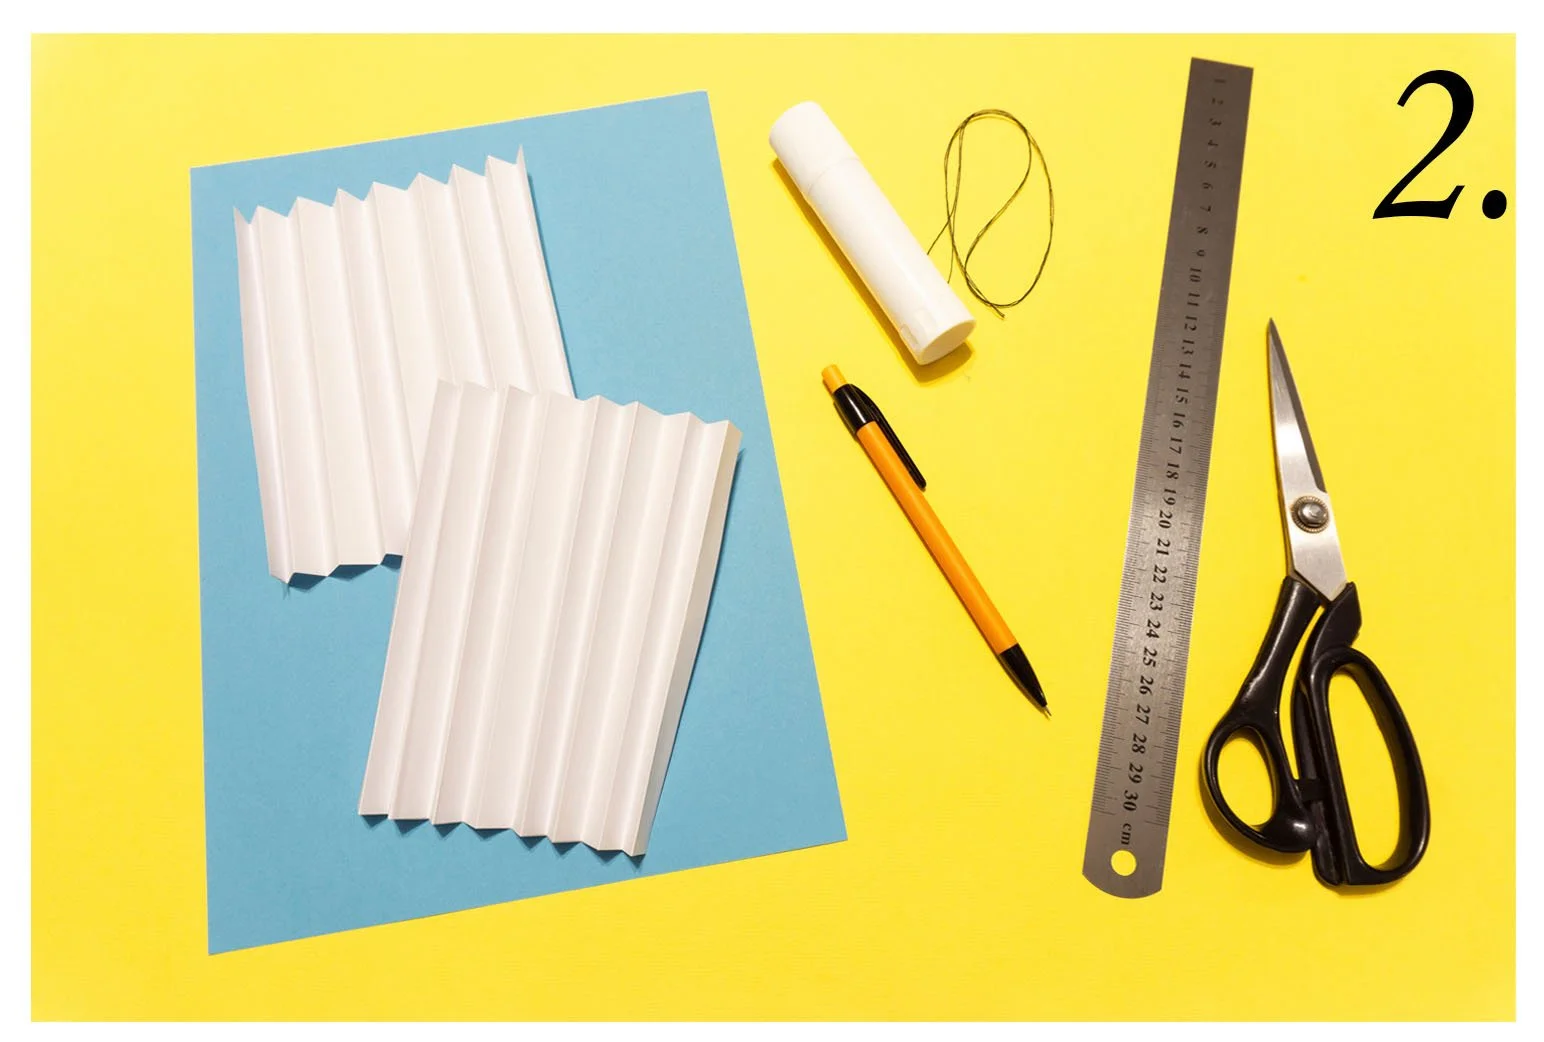
Step 2: Using your ruler fold the both pieces of white paper accordion/fan style in 1/2” sections.
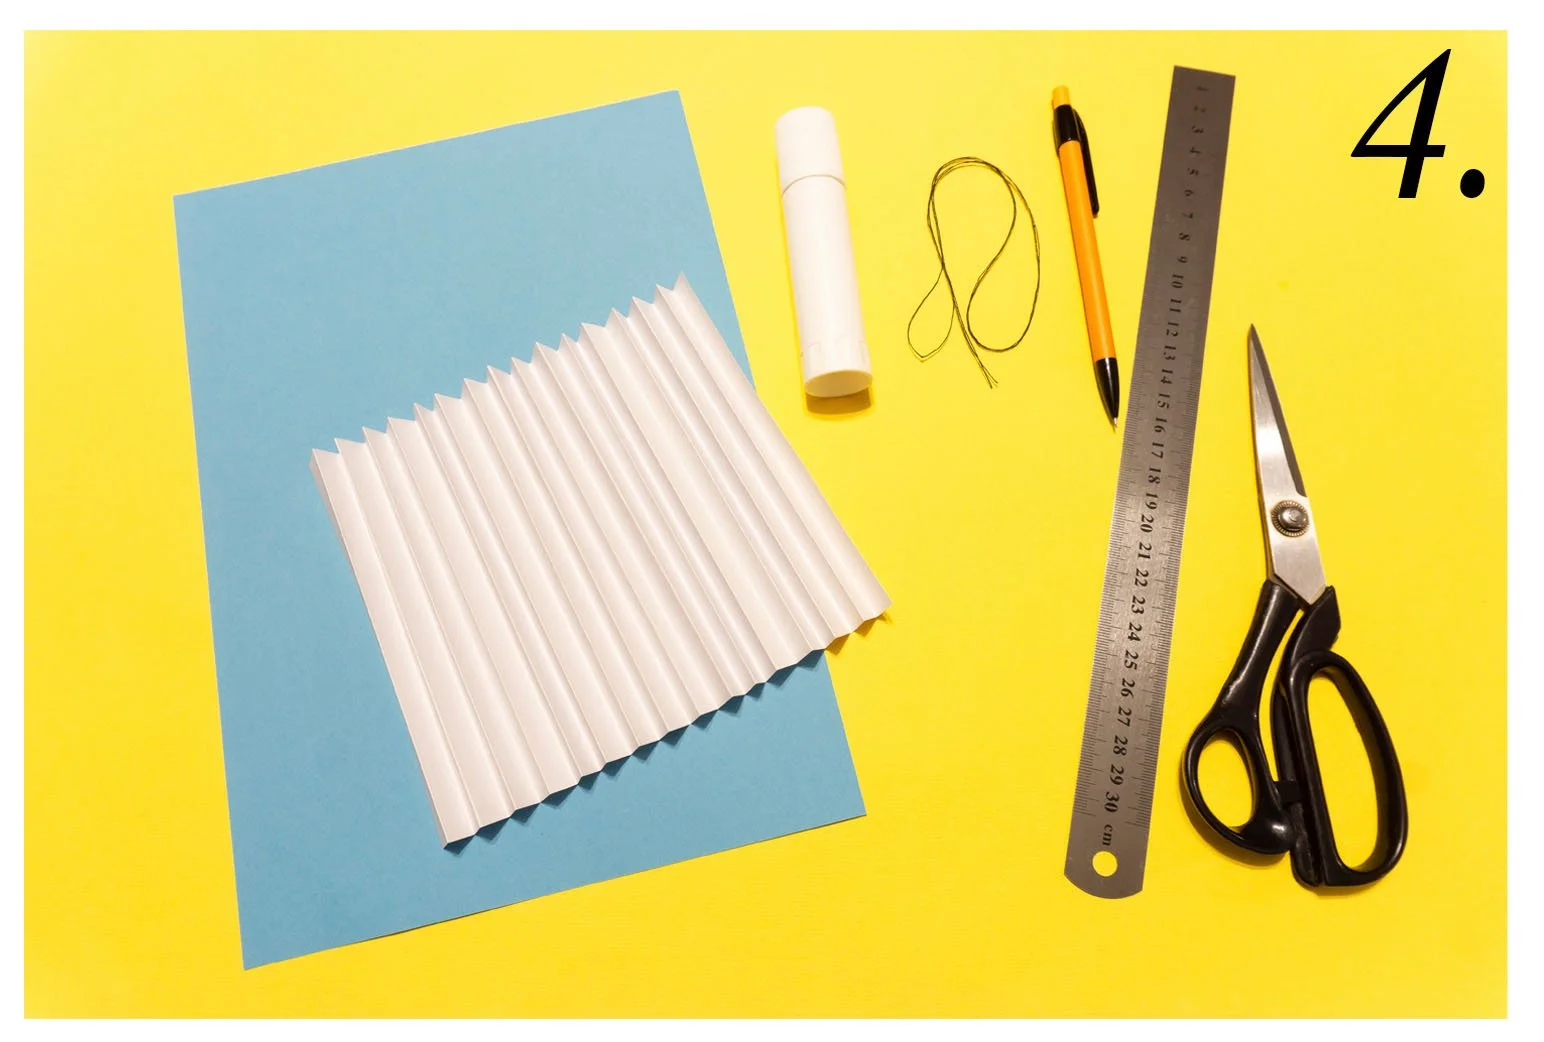
Step 3: Put glue on one end of each piece of accordion paper
Step 4: Attach the two individual pieces of paper together to make one longer accordion style piece of paper.
Step 5: Use your ruler to mark the middle (4”) of the paper, and take your twine or string and tie it around the paper to cinch it in the center.
Step 6: Use your glue stick to attach the flat ends of the paper fan to each other, forming a circle. This will be your bunny’s body.
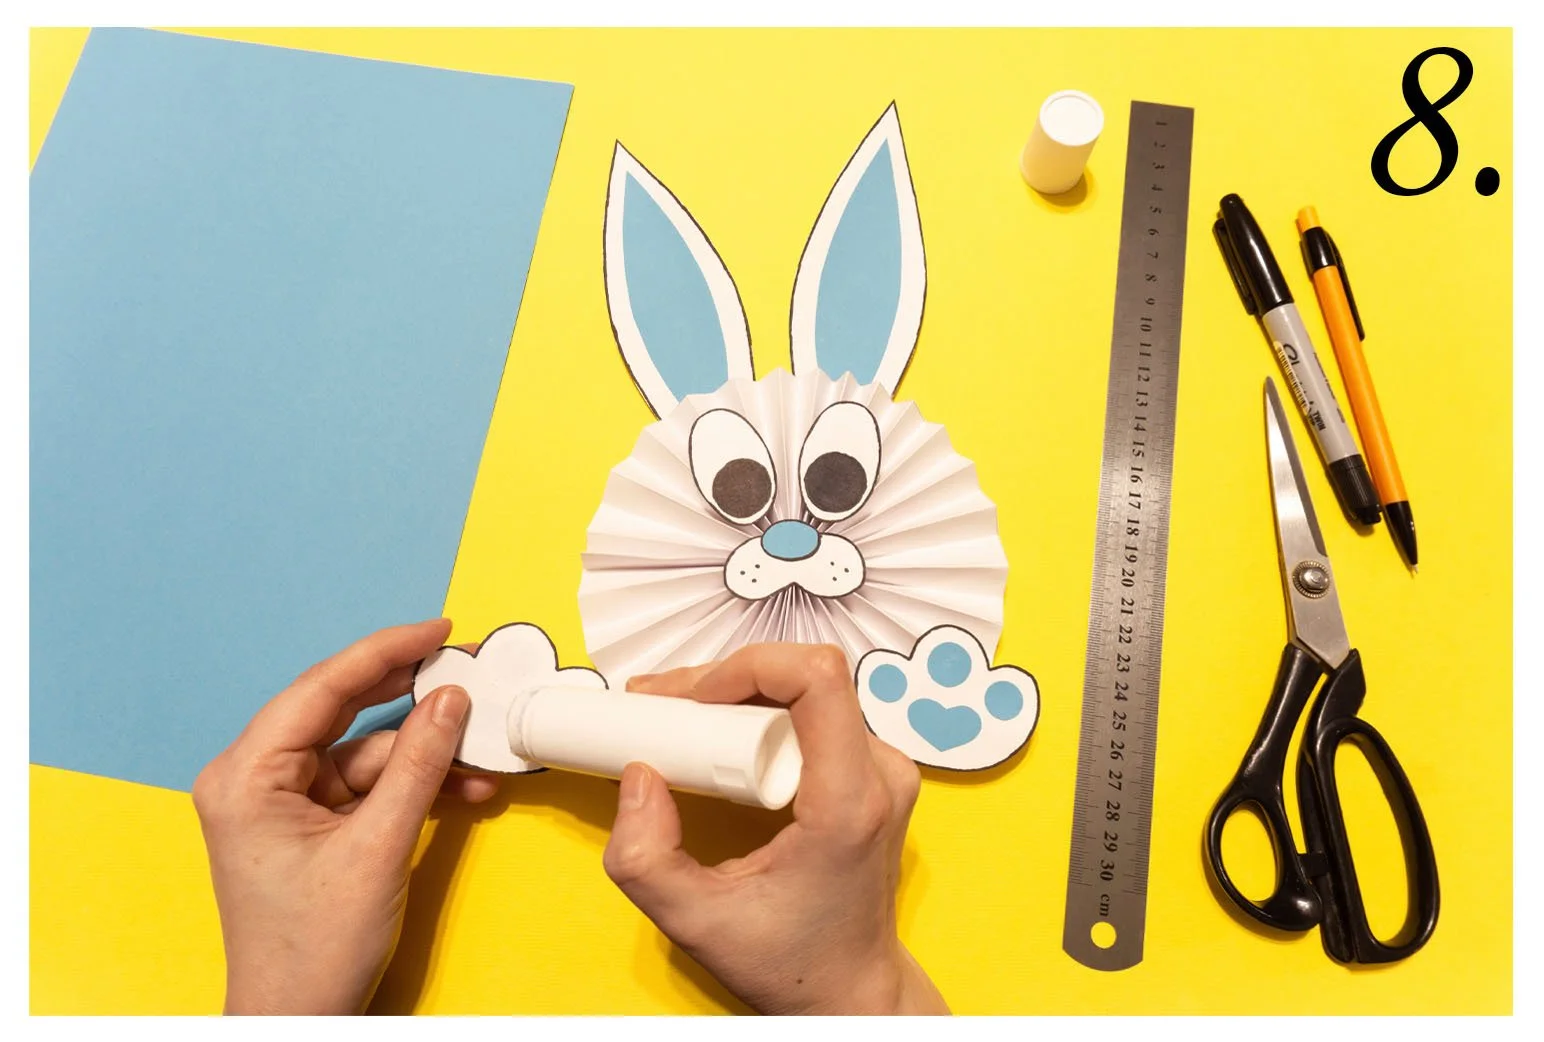
Step 7: On your remaining piece of white paper, draw and cut out the bunny’s ears, eyes, nose, and feet. Then taking your color paper, draw and cut out smaller ears, and circles or hearts for the bunny’s toes and nose.
Step 8: Use your glue stick to attach the color paper bunny parts to the white pieces. Then glue the bunny’s ears, eyes, nose, and feet to the body.
Step 9: Using a marker, color in the bunny’s eyeballs, and some whiskers on it’s nose. For some added fun, you can glue a cotton ball to the back for a tail.
This paper Easter bunny tutorial is a fun and easy craft that's perfect for the whole family. With just a few simple materials, you can create a cute and festive decoration that will brighten up your home this Easter. So, grab your paper, glue, and scissors, and get ready to craft your way to a hoppy Easter!


