crafts

DIY sugar skull tutorial

We love this sugar skull DIY from Emily of MushTushy. We are excited to share this with you in time for fall, Halloween and Dia de los Muertos. This tutorial is so fun.

The cool thing about this project is that you can pick anything to paint, whether you want to use a piggy bank, an animal statue or even salt and pepper shakers such as the ones we used here. The options are limitless. For this tutorial, I bought little ceramic salt and pepper shakers from Target for $3 each. The only other supplies you will need are:

- paint pens (my personal favorites are fine point Sharpie oil based ones from Michael's or JoAnn's; be sure to use your coupons too!)
- flat white spray paint primer (my favorite is Rustoleum painters touch 2x cover from Walmart or Home Depot)
- pencil/eraser
- gloss varnish (my favorite is Liquitex gloss medium and varnish from JoAnn's)

I always suggest priming your store-bought statues in order to get the paint to properly adhere. So even if you have a white object, be sure to prime it first, unless it's flat matte white. Be sure to use one thin coat in order to avoid drips, peeling paint and longer dry time. I always try to wait at least a few hours or even overnight before attempting the next steps. 

Once your statue is dry, you can begin drawing your shapes and patterns. The only part I draw on is anything that I want to stay white. For example, for sugar skull patterns with bones, I outline the bones. If you feel more comfortable drawing out your entire design, feel free to do so. But remember the pencil will likely show through your lighter paint colors. Pencil can be erased from the primed surface, so don't be afraid to experiment with designs before using the paint pens.

Look up sugar skull designs, henna patterns, mandala art or any patterns. You can even add words to customize your project. The options for decorating are only limited to your imagination. After I block in the white areas with pencil, I draw my patterns and shapes with the markers. 

Once all your white is outlined and you've filled in the colors, the tedious work begins. Be sure to have a steady hand, and maybe don't attempt this after your 5th coffee of the day. Haha! Use the fine point black Sharpie and start outlining all the shapes with black, and then go back in with the thicker black Sharpie to fill in the remaining background. Once all the black is drawn on, touch up any color areas that have white splotches and then brush on the clear varnish. Don't put it on too thick and don't brush repeatedly in the same areas or color can pull off and the clear may dry a cloudy white.

After it dries, you have your beautiful hand-painted statue ready for display on your mantle, desk, entryway, etc. I hope you have enjoyed this tutorial. Please feel free to follow me on Instagram and share photos of your completed projects! 


Full Moon Rug IKEA Hack

IMG_6261.JPG

Hey friends, Katrina from Rhapsody Letterpress here with a project for you sky watchers and DIYers. My family loves astronomy. I shopped for a moon rug before my son was born but never found one quite right, so we decided to stretch our creative muscles and make one ourselves this week. I put together a short video showing how we did it below using a 51" IKEA ÅDUM rug, a bottle of black liquid Rit dye, bleach, a squirt bottle, and a cloth rag.

We are so pumped about the upcoming eclipse on the 21st, my five year old especially. I hope you fellow moon lovers enjoy!​

Creativity Camp: Faux Agate Sun Catcher

I have had so much fun doing projects with my family and sharing with you all Summer! I can't believe we only have two weeks left. This week we made a magical little sun catcher out of glue, food coloring, and glitter. I have to say, the finished product looks much more sophisticated than the $5 I put into this. Chances are, you already have the supplies around your house, too. Gather your school glue (clear for more transparency, but white will work too), food coloring, glitter, wax paper, skewers, small plastic cups, dental floss or thin string, a stick, and twine. Read on for the tutorial!

IMG_6019.JPG

Lay out your wax paper, and draw the outline of some organic blobs with your glue. 

IMG_6020.JPG

Sprinkle on your glitter, and move the bits that fell in the center towards the edge. 

IMG_6018.JPG

Mix some food coloring and glue in your plastic cups. Stir with a skewer. 

IMG_6021.JPG

Squirt or pour your colored glues inside the blob, alternating colors. You can reuse an old bottle, or an old nose bulb like we did. (Lol) Careful not to fill the center higher than the edge, or the glue will leak over.

IMG_5859.JPG

Allow your slices to dry 24 hours or more, then slowly peel them from the wax paper.  They will look hard, but still feel flexible.

IMG_5923.JPG

Lay out your pieces in the way you would like to hang them, and poke holes in the top and bottom as needed.

IMG_5925.JPG

Cut your floss to the proper lengths leaving enough room to tie onto the stick at the top.

IMG_5924.JPG

String the floss through the holes being careful to maintain the correct distance as you tie.

IMG_5964.JPG

Tie the floss to the stick. Knot a piece of twine at both ends of the stick to create a hanger, and find a sunny window to enjoy your colorful creation!

Be sure to tag us on Instagram @etsydallas #EDCreativityCamp if you give this project a try. We would love to see! 

Creativity Camp: Jolly Rancher Lollipops

FullSizeRender.jpg

I have a super easy and fun treat for you all today! This was a five star project as rated by my five year old. There is smashing, and sprinkling, and candy licking! You will need foil, skewers (halved) or lollipop sticks, a stapler, Jolly Ranchers, sprinkles, plastic baggies, and a hammer. Gather your supplies, and read on for the tutorial!

IMG_5761.JPG

Sort your candies by color/flavor, and preheat your oven to 275°F.

IMG_5762.JPG

Smash them with a hammer inside a plastic bag. 

IMG_5763.JPG

Roll out several squares of aluminum foil to make the molds, and line a pan with another sheet of foil.

IMG_5764.JPG

Fold your foil up by half inches all the way up to make a sturdy, pliable mold.

IMG_5765.JPG

Staple the ends together, being careful to line up the bottom edge of the foil. 

IMG_5766.JPG

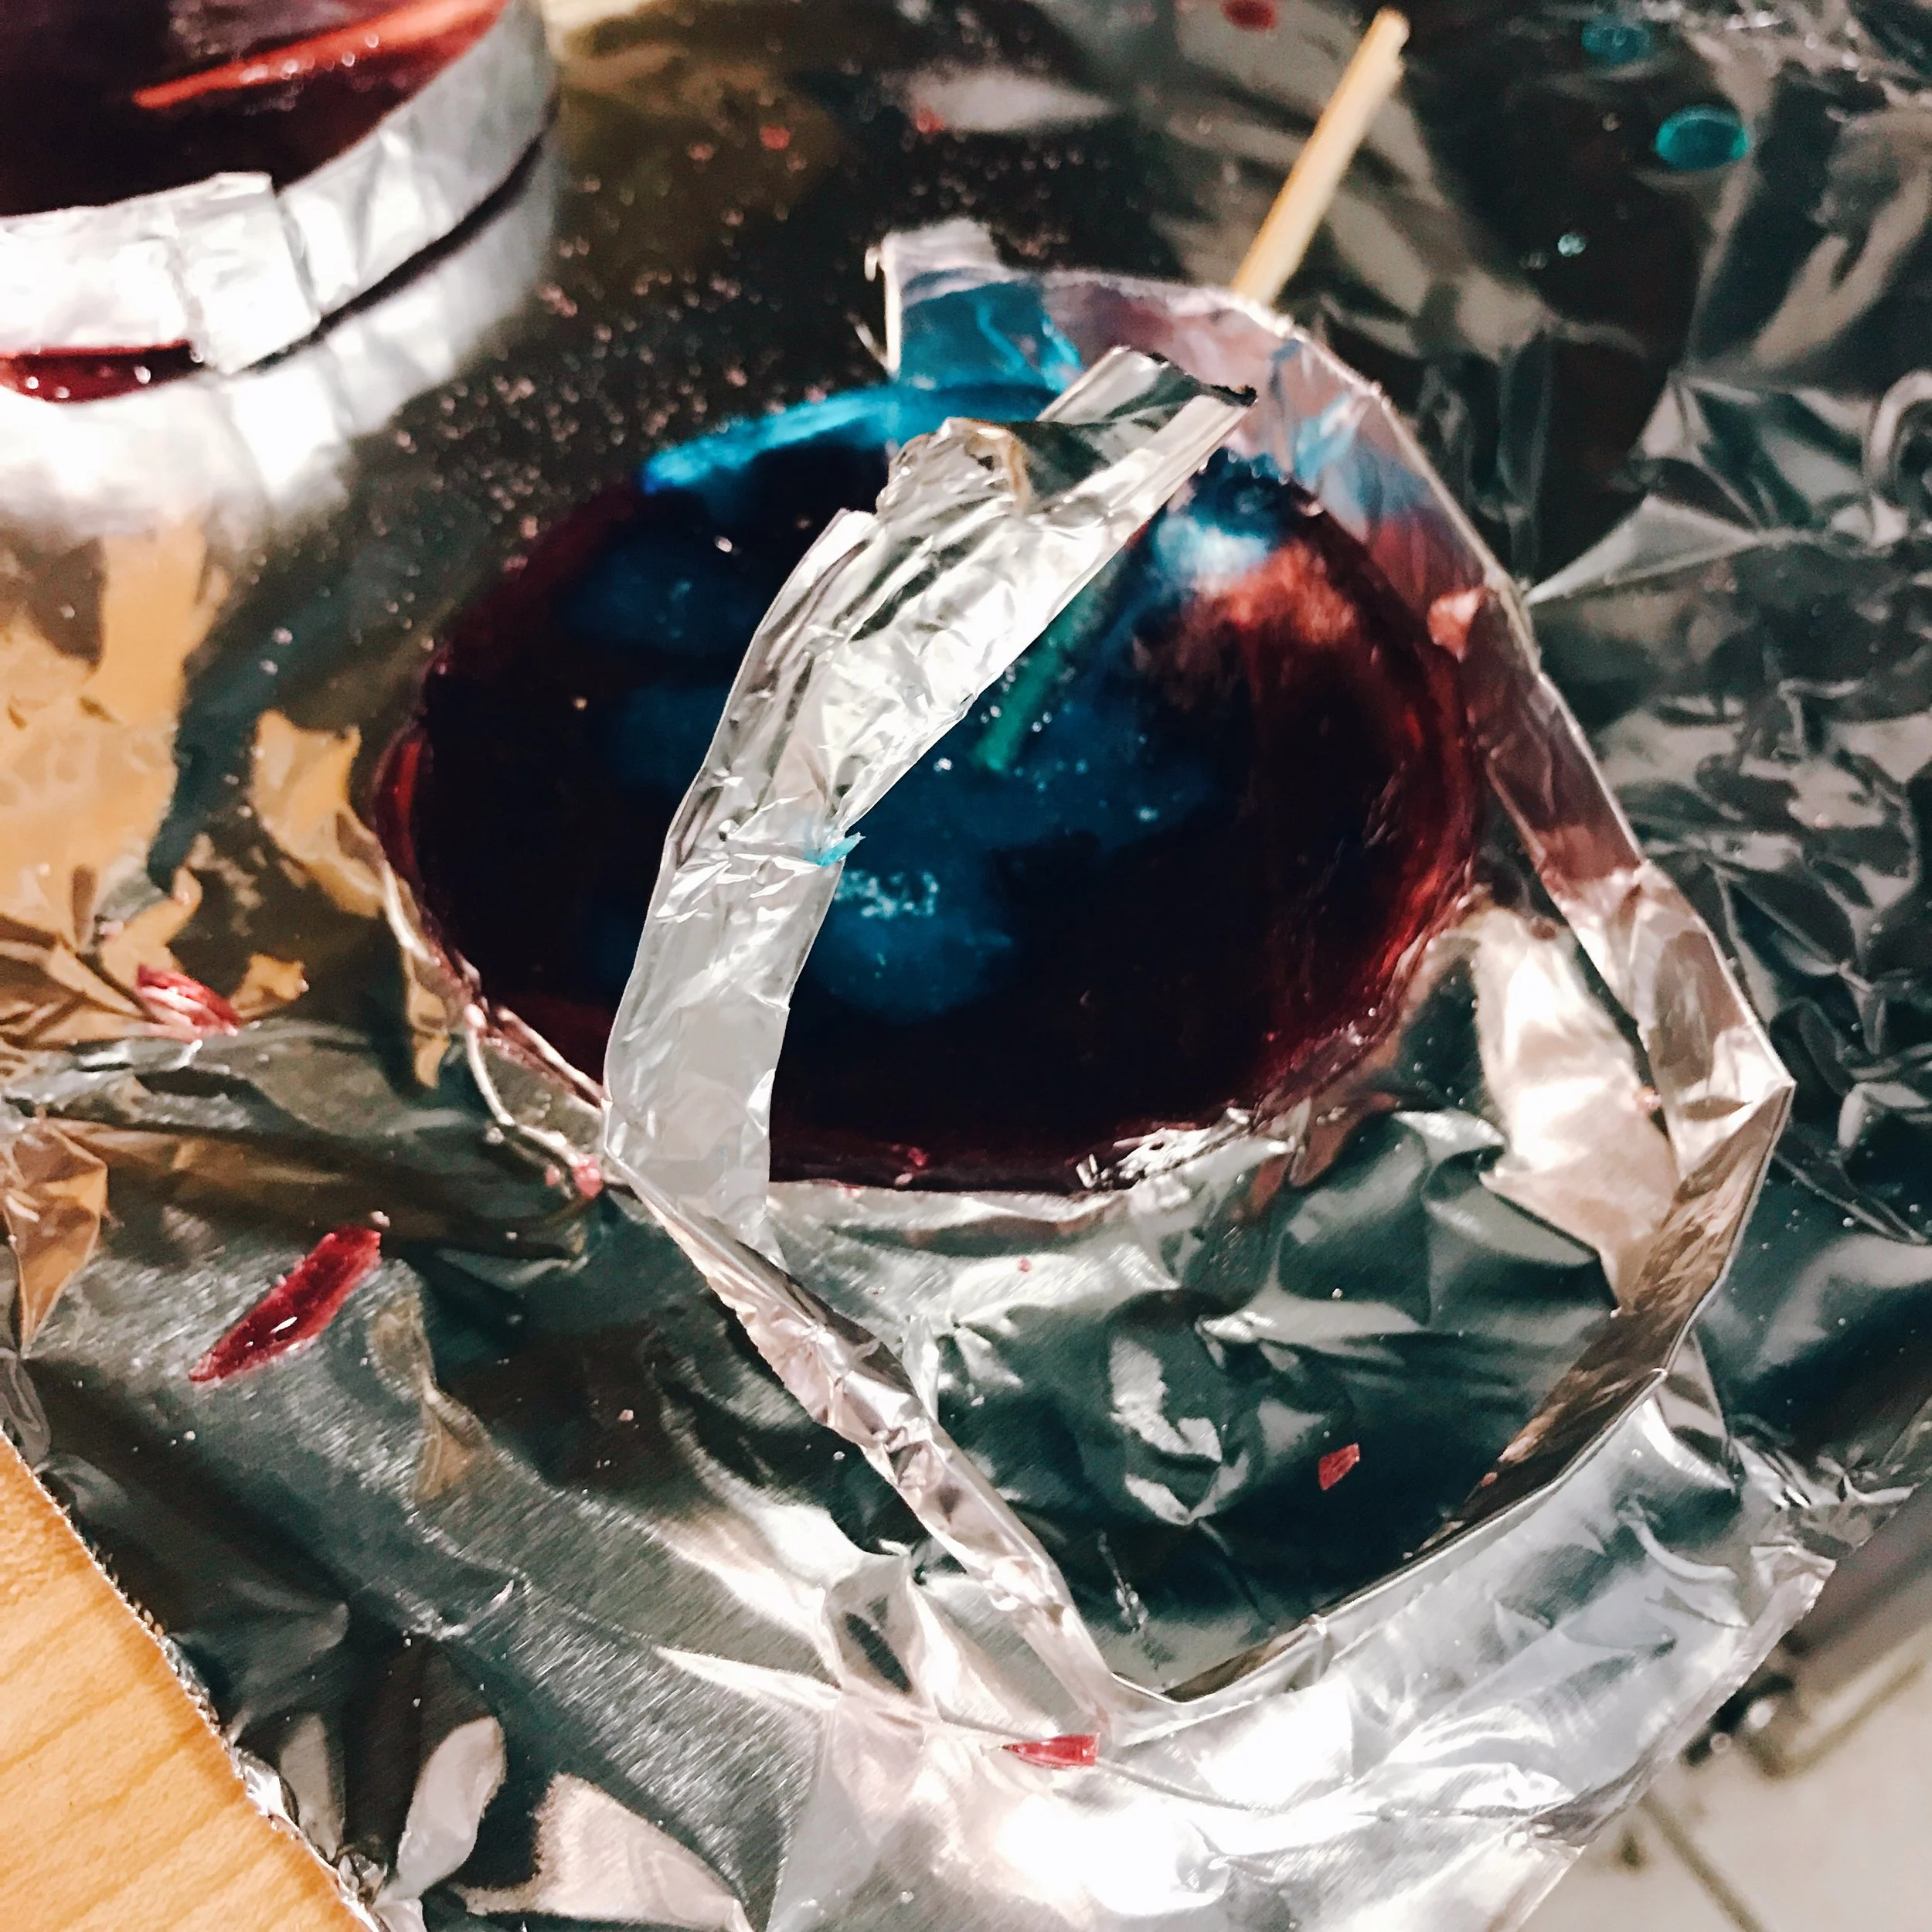
Round the foil molds and fill them with the smashed candies.  Put them in the oven for 5-7 minutes. Pull them out once all the candy has melted. Add sprinkles if you would like them inside your lollipop.

IMG_5767.JPG

While the candy is still hot, slip the sticks under the foil and twist it into the candy to coat both sides. 

IMG_5768.JPG

Once the candy has cooled and hardened, break apart the foil mold where you stapled it and peel it off around the sides of the lollipop. Then peel the foil off the bottom.  If you would like to add sprinkles to the outside, dampen the lollipop with water to make it sticky, add sprinkles, and allow it to dry again.

IMG_5769.JPG

Gift or enjoy! Get creative, and share with us on Instagram @etsydallas #EDCreativityCamp! 

DIY Natural Bug Repellent

Hello Summer! It’s time for the pool, BBQ’s, and all sorts of outdoor fun.  It's also time for mosquitoes, flies, gnats and all kind of other buggy invasions-especially this summer in Texas.

Sabrina & Jenny, of The Pig and the Peacock are here to help you out giving you all natural ways to keep the bugs at bay. Today they are covering essential oils that you can easily get at your local natural grocers that target annoying outdoor bugs. Read on for more info and a recipe to make your own!

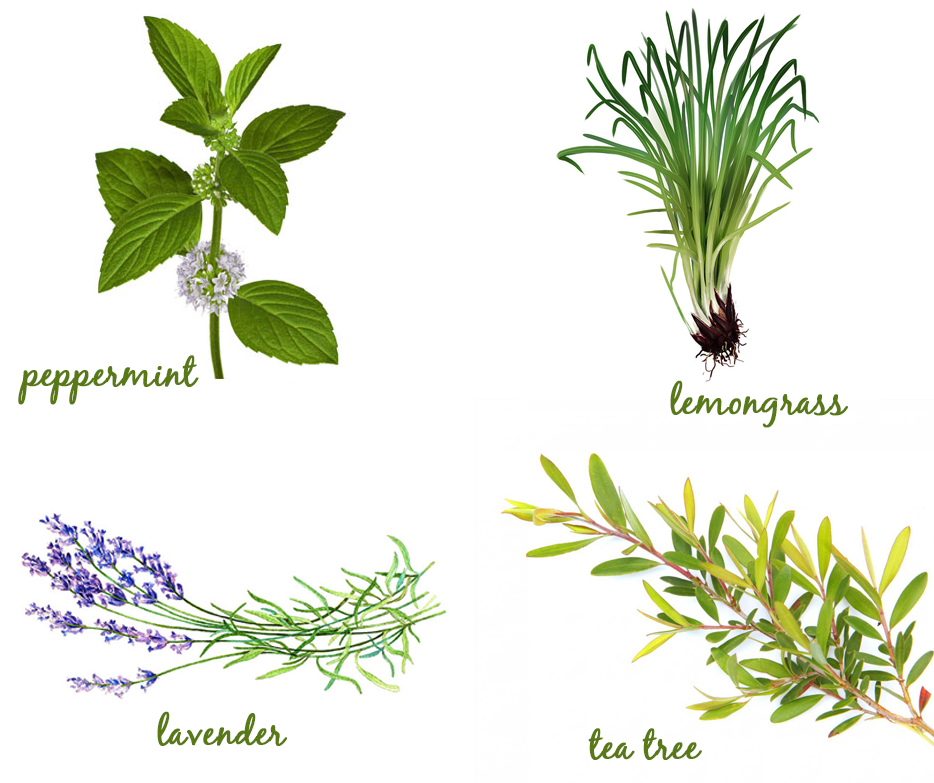
Peppermint Oil

With its strong scent and tingly sensation, it is great for repelling lots of different types of bugs. The minty clean aroma of peppermint repels mosquitoes, ants, fleas, beetles,flies. It will even repel spiders! There are a number of ways to use peppermint oil, you can make a spray, burn a candle, or soak cotton balls with the oil.

Lemongrass Oil

Lemongrass is a natural bug repellent. Spend a lot of time in you yard having parties or grilling? Plant some lemongrass around your yard to keep the pests away. You can also make a spray and use this in your home to repel fruit flies (and leave your house smelling oh so citrusy)!

Lavender Oil

If you don’t already have a bottle of Lavender Oil at home, run and get yourself a bottle asap! This magical oil has been used for centuries for a plethora of things, including keeping bugs at bay. In addition to keeping moths out of your closet, it will keep mosquitoes, fleas, and ticks at bay outdoors. Bonus that it smells so good!

Tea Tree Oil

Like Lavender Oil, Tea Tree Oil is another must have around the house with many beneficial properties in addition to repelling bugs. Using Tea Tree Oil either in a spray or on a cotton ball can keep flying insects, spiders, and even lice away.

IMG_5645.PNG

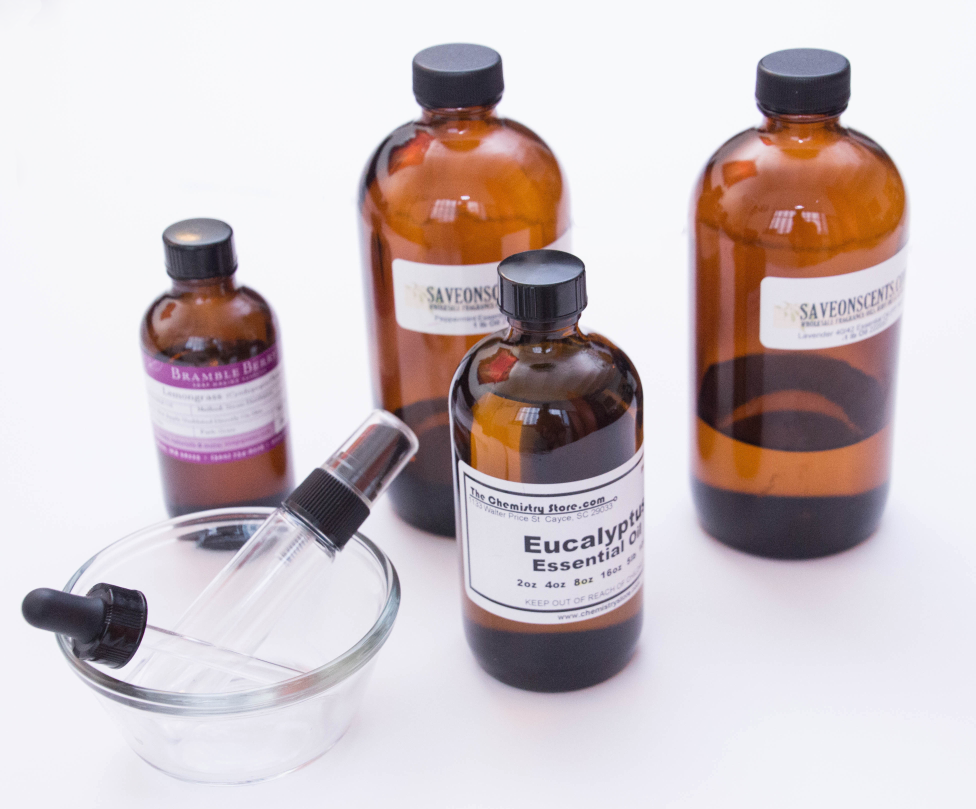
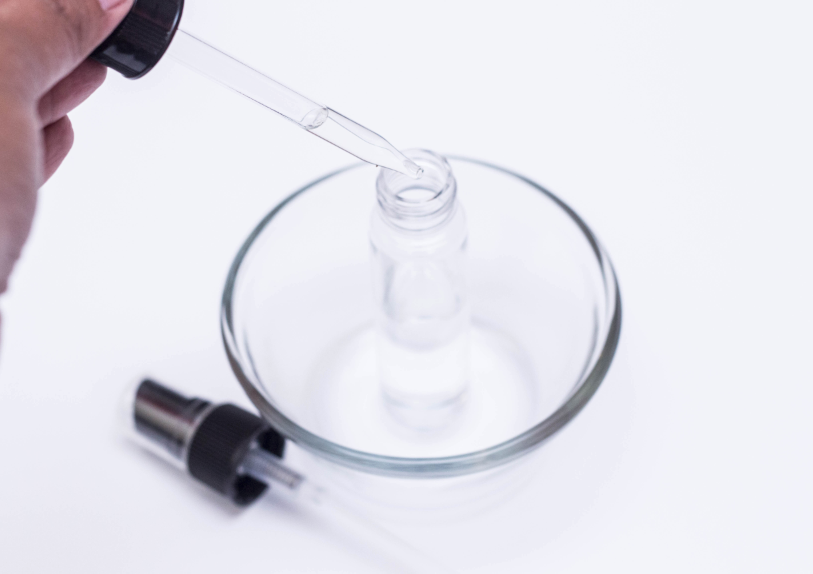
How to use these oils? The best part about these four Essential Oils besides being easy to find and buy is that they all blend well together.What you’ll need is Lavender and Peppermint Essential Oils, a 2 ounce fine mist spray bottle, witch hazel or vodka,  an eyedropper (if your essential oils did not come with one), and a small bowl or cup. 

IMG_5646.PNG

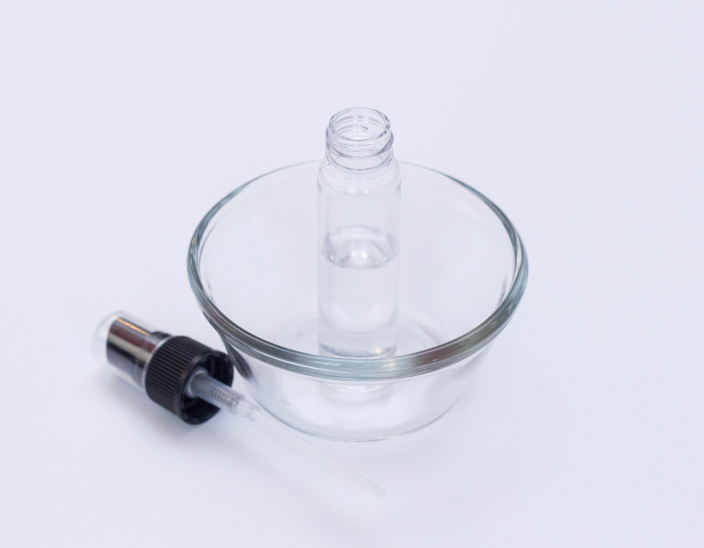
To make, take your spray bottle and put it in your bowl or cup to prevent spills. Pour 1 ounce of your witch hazel or vodka into the spray bottle. You could also use rubbing alcohol or a light oil, like sweet almond here too. 

IMG_5647.PNG

Next, add 10 drops of peppermint oil and 20 drops of lavender oil. If you will be using this on small children, cut the amount of essential oils to 25% as their skin is more sensitive. 

IMG_5648.PNG

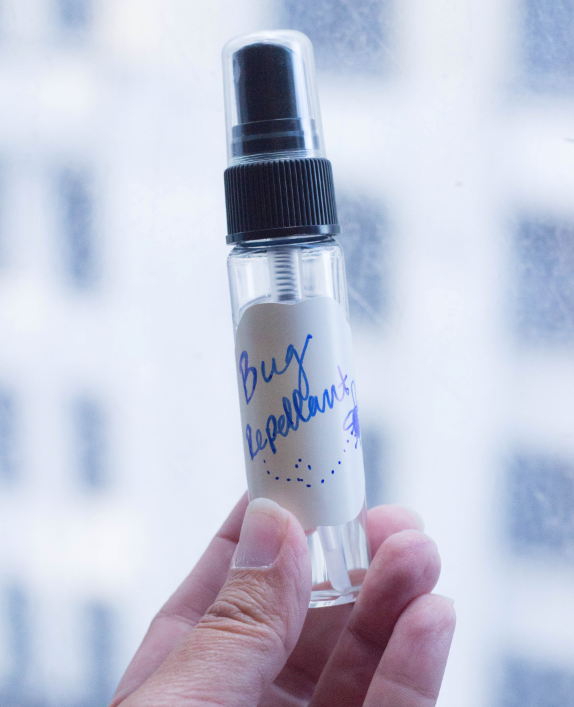
Finally, shake it up to mix it well and put a label on it! Not only will this recipe help keep bugs away but you will smell great too! 

IMG_5649.PNG

Creativity Camp: Chalk Pastel Fireworks

Happy Monday, folks! We have an explosive 4th of July inspired project today, and an introduction to drawing with pastels. You are going to need a set of chalk pastels, some black paper, and a reference photo of some fireworks. Google a good one, and meet me back here for instructions.

IMG_5334.JPG

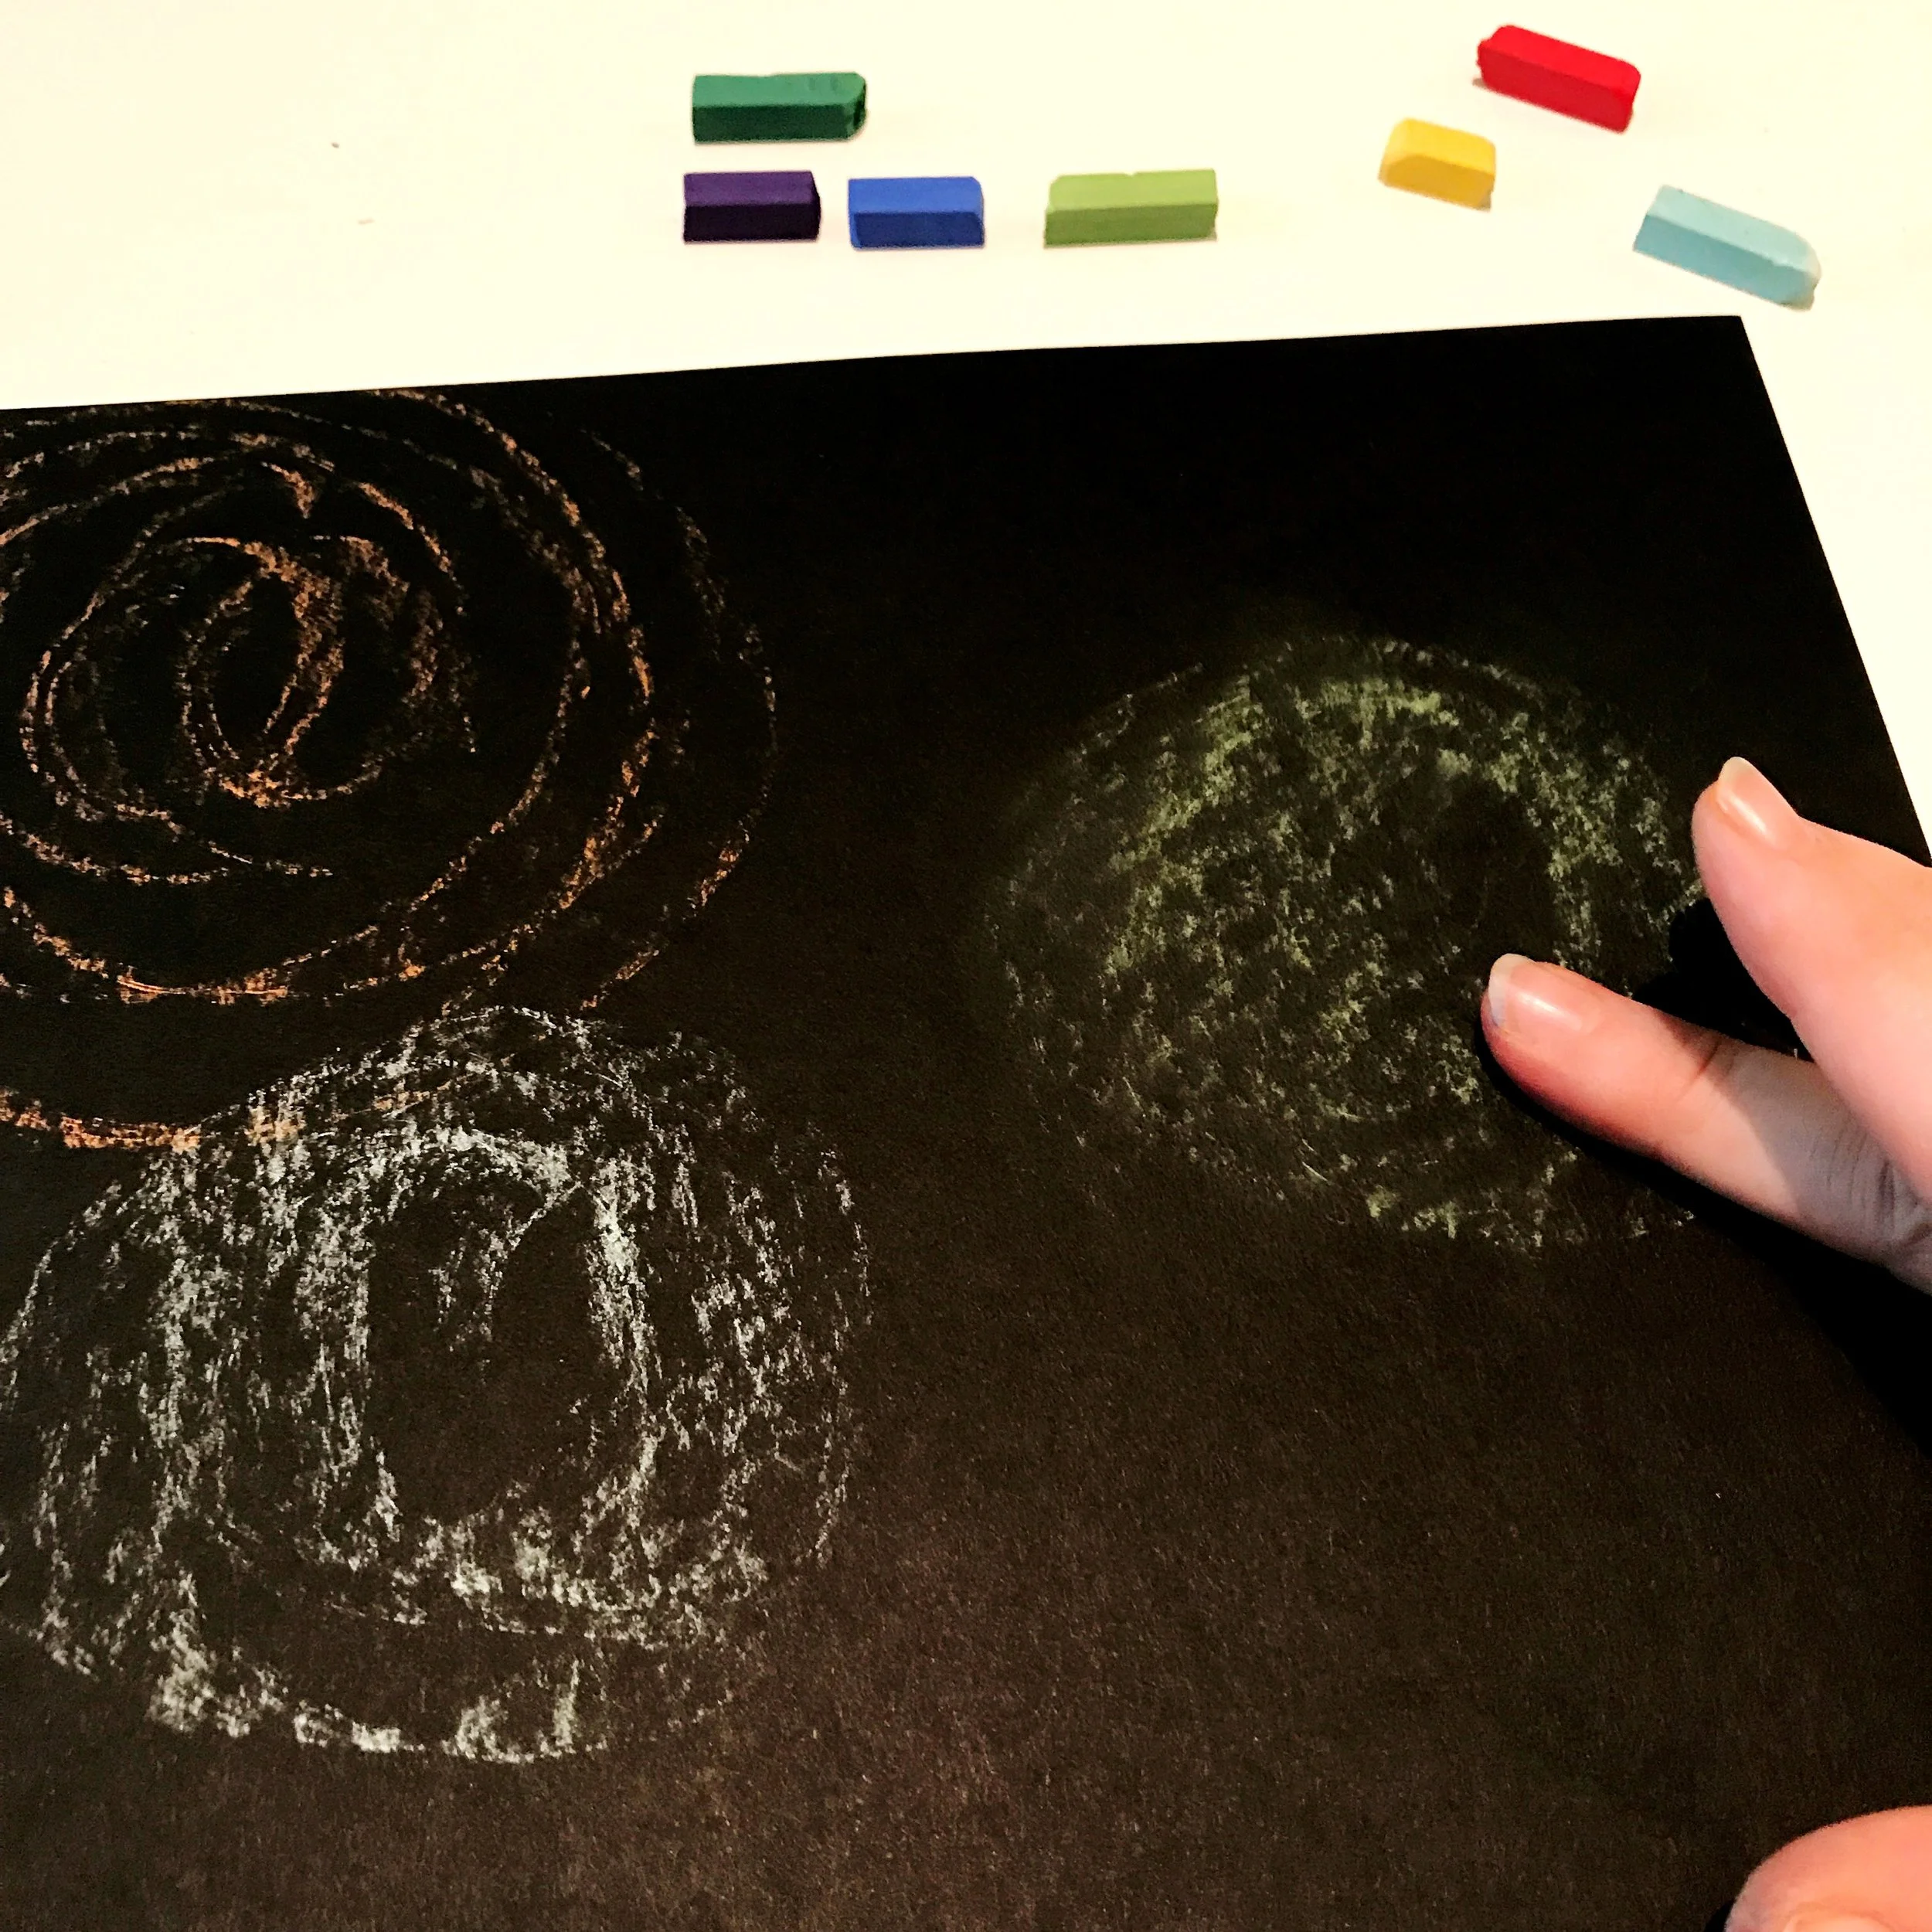
Now that you are ready, pick a color and make a smoky haze by lightly rubbing the side of the pastel in a circular pattern on the paper. This is a great time to map out your composition. Chalk pastels are highly pigmented, so they seem to glow against dark backgrounds. 

IMG_5329.JPG

Use your finger to rub the pastel into smoke. 

IMG_5330.JPG

Find the center of your circle, and work your way around it with short organic lines.

IMG_5331.JPG

Choose another color, and draw more lines. Be aware of the direction you drew your original lines and try to match the angles.  

IMG_5335.JPG

Keep going and alternating colors and building lines until the explosion looks full. A little imperfection in the lines makes it look more realistic, so allow your lines to be different lengths.

Begin and build your other fireworks the same way. 

Begin and build your other fireworks the same way. 

IMG_5337.JPG

Use lighter colors on top of darker colors to connect areas and create highlights.

IMG_5338.JPG

It gets really fun when the lines start overlapping! 

IMG_5339.JPG

To finish, use your finger to smudge some of the ends of the lines as though you were continuing the lines. This will soften the edges and create areas of focus in your composition. 

IMG_5340.JPG

That's it! Happy Independence Day! We wish you all a safe and exciting 4th with your loved ones! Be sure to tag us @etsydallas #EDCreativityCamp, we would love to see! 

IMG_5341.JPG

Creativity Camp: Marbled Clay Monogram Charms

IMG_5131.JPG

Today's project is a gateway technique, you've been warned. You can make anything with polymer clay! Until you get the hang of it, start small with simple, rewarding projects like coasters or beads. There are tons of videos on YouTube for inspiration. Google "polymer clay cane tutorial" and prepare to be amazed. For this project, you'll need some Sculpey in a few different colors, a fine tipped metallic paint pen or metallic acrylic paint, an x-acto knife, toothpicks, a nickel, a nail file, and a necklace chain with a jump ring or string.

First, make three "snakes" with your different colored clays. 

IMG_5107.JPG

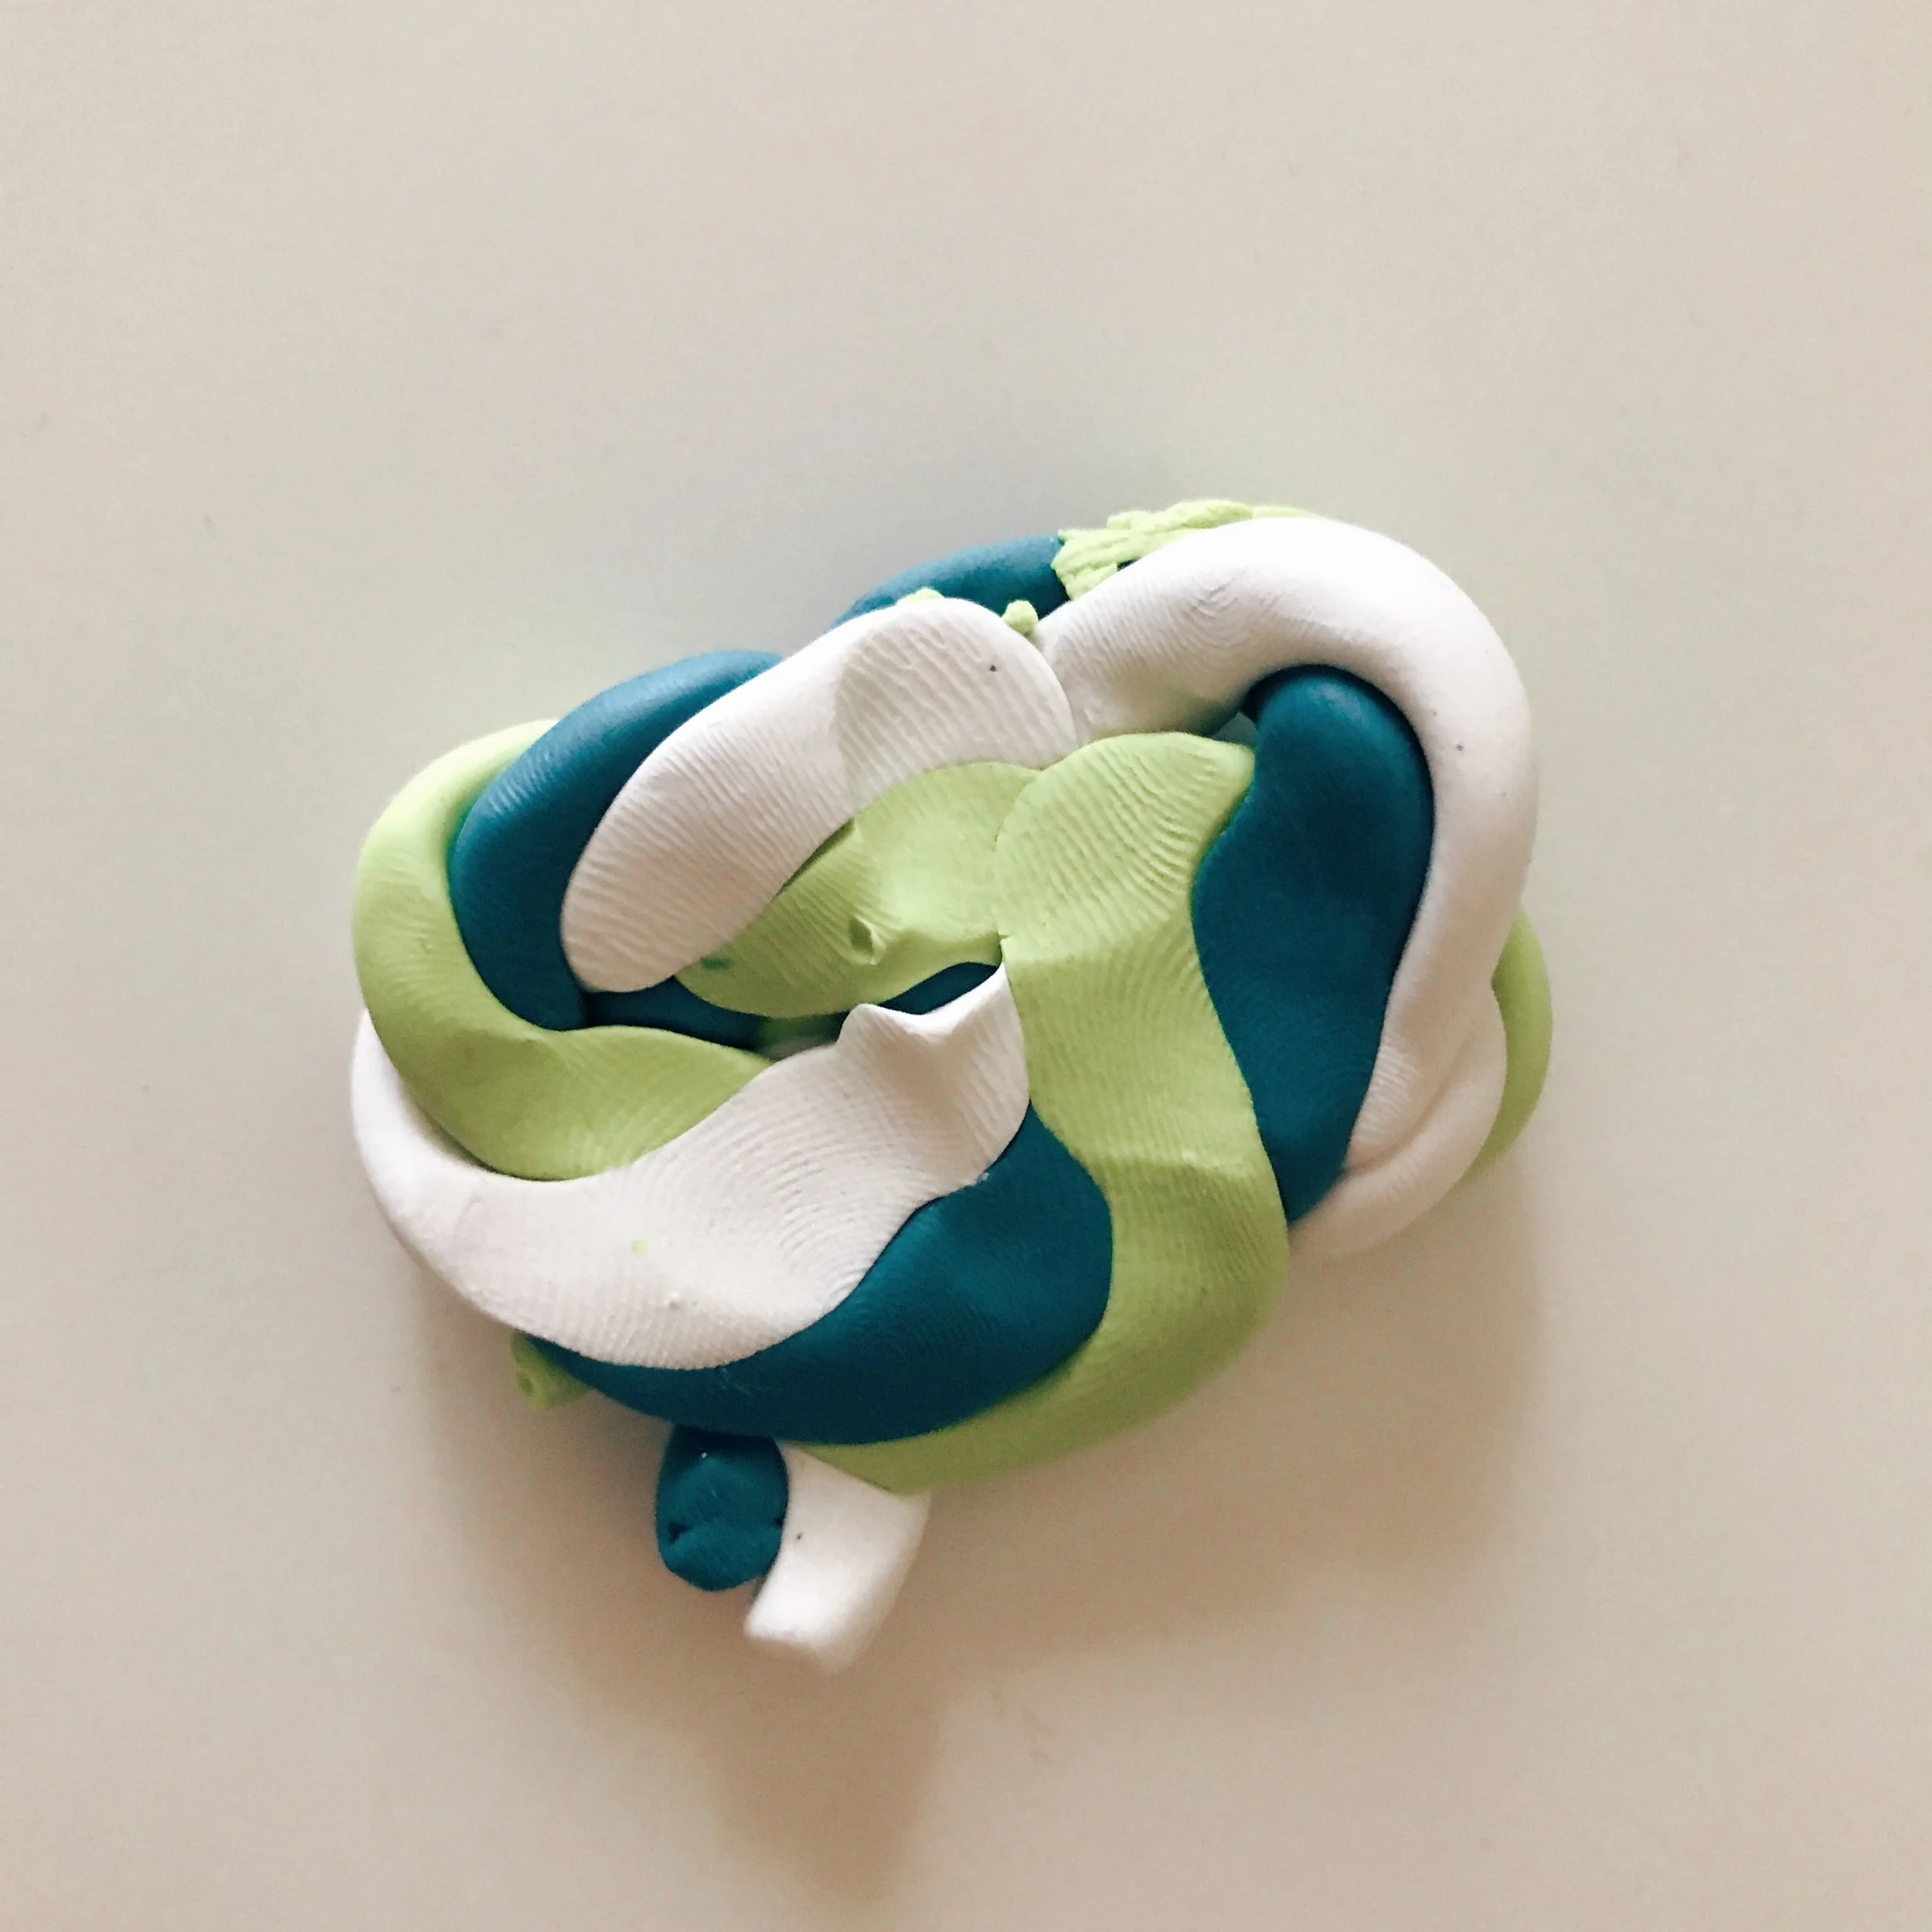
Then, twist your snakes together.

Fold, break, and smash the clay. 

Fold, break, and smash the clay. 

IMG_5105.JPG

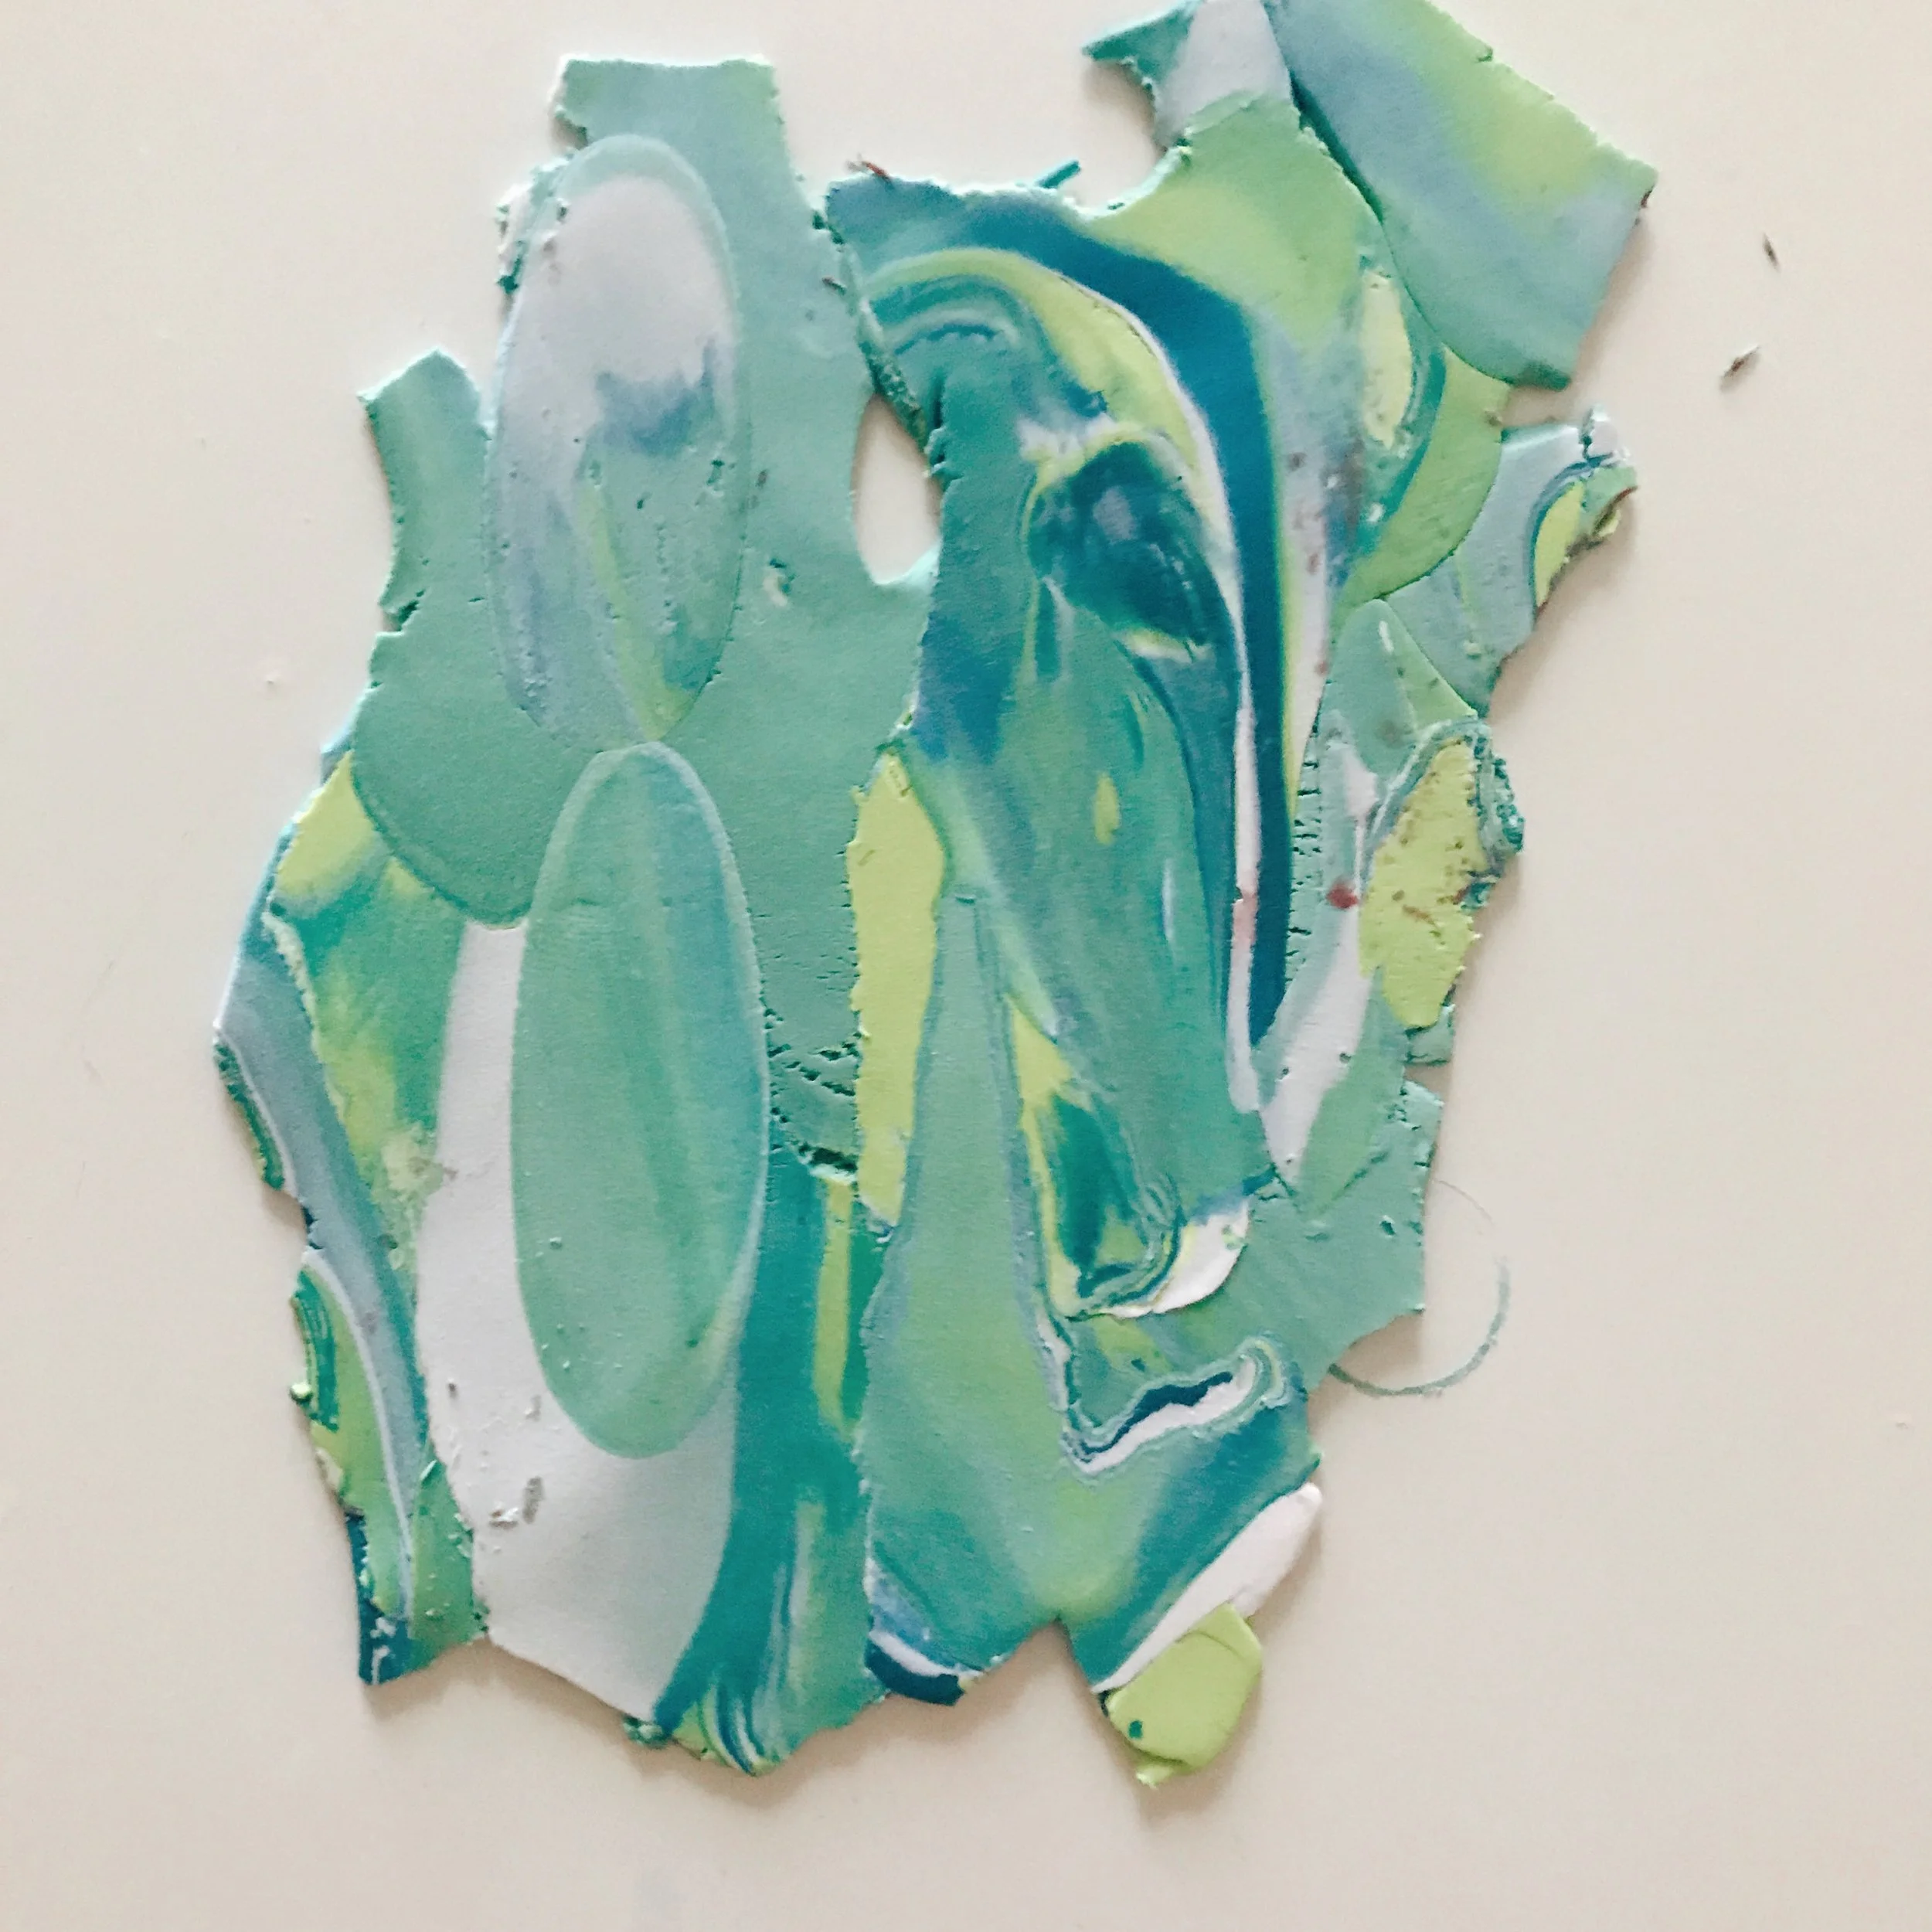
Keep going until everything is mixed, but not so far that the white disappears.

IMG_5104.JPG

This looks like a good place to stop. Now, smash with a book or roll it flat with a rolling pin.

IMG_5103.JPG

Pick out a section you like, and set your nickel on top. Use your x-acto knife to cut around the nickel.

IMG_5102.JPG

Spin a toothpick in the top to make the hole for the jump loop. 

IMG_5101.JPG

Carefully lift your polymer clay "coins" and place them on a lined baking sheet. 

IMG_5100.JPG

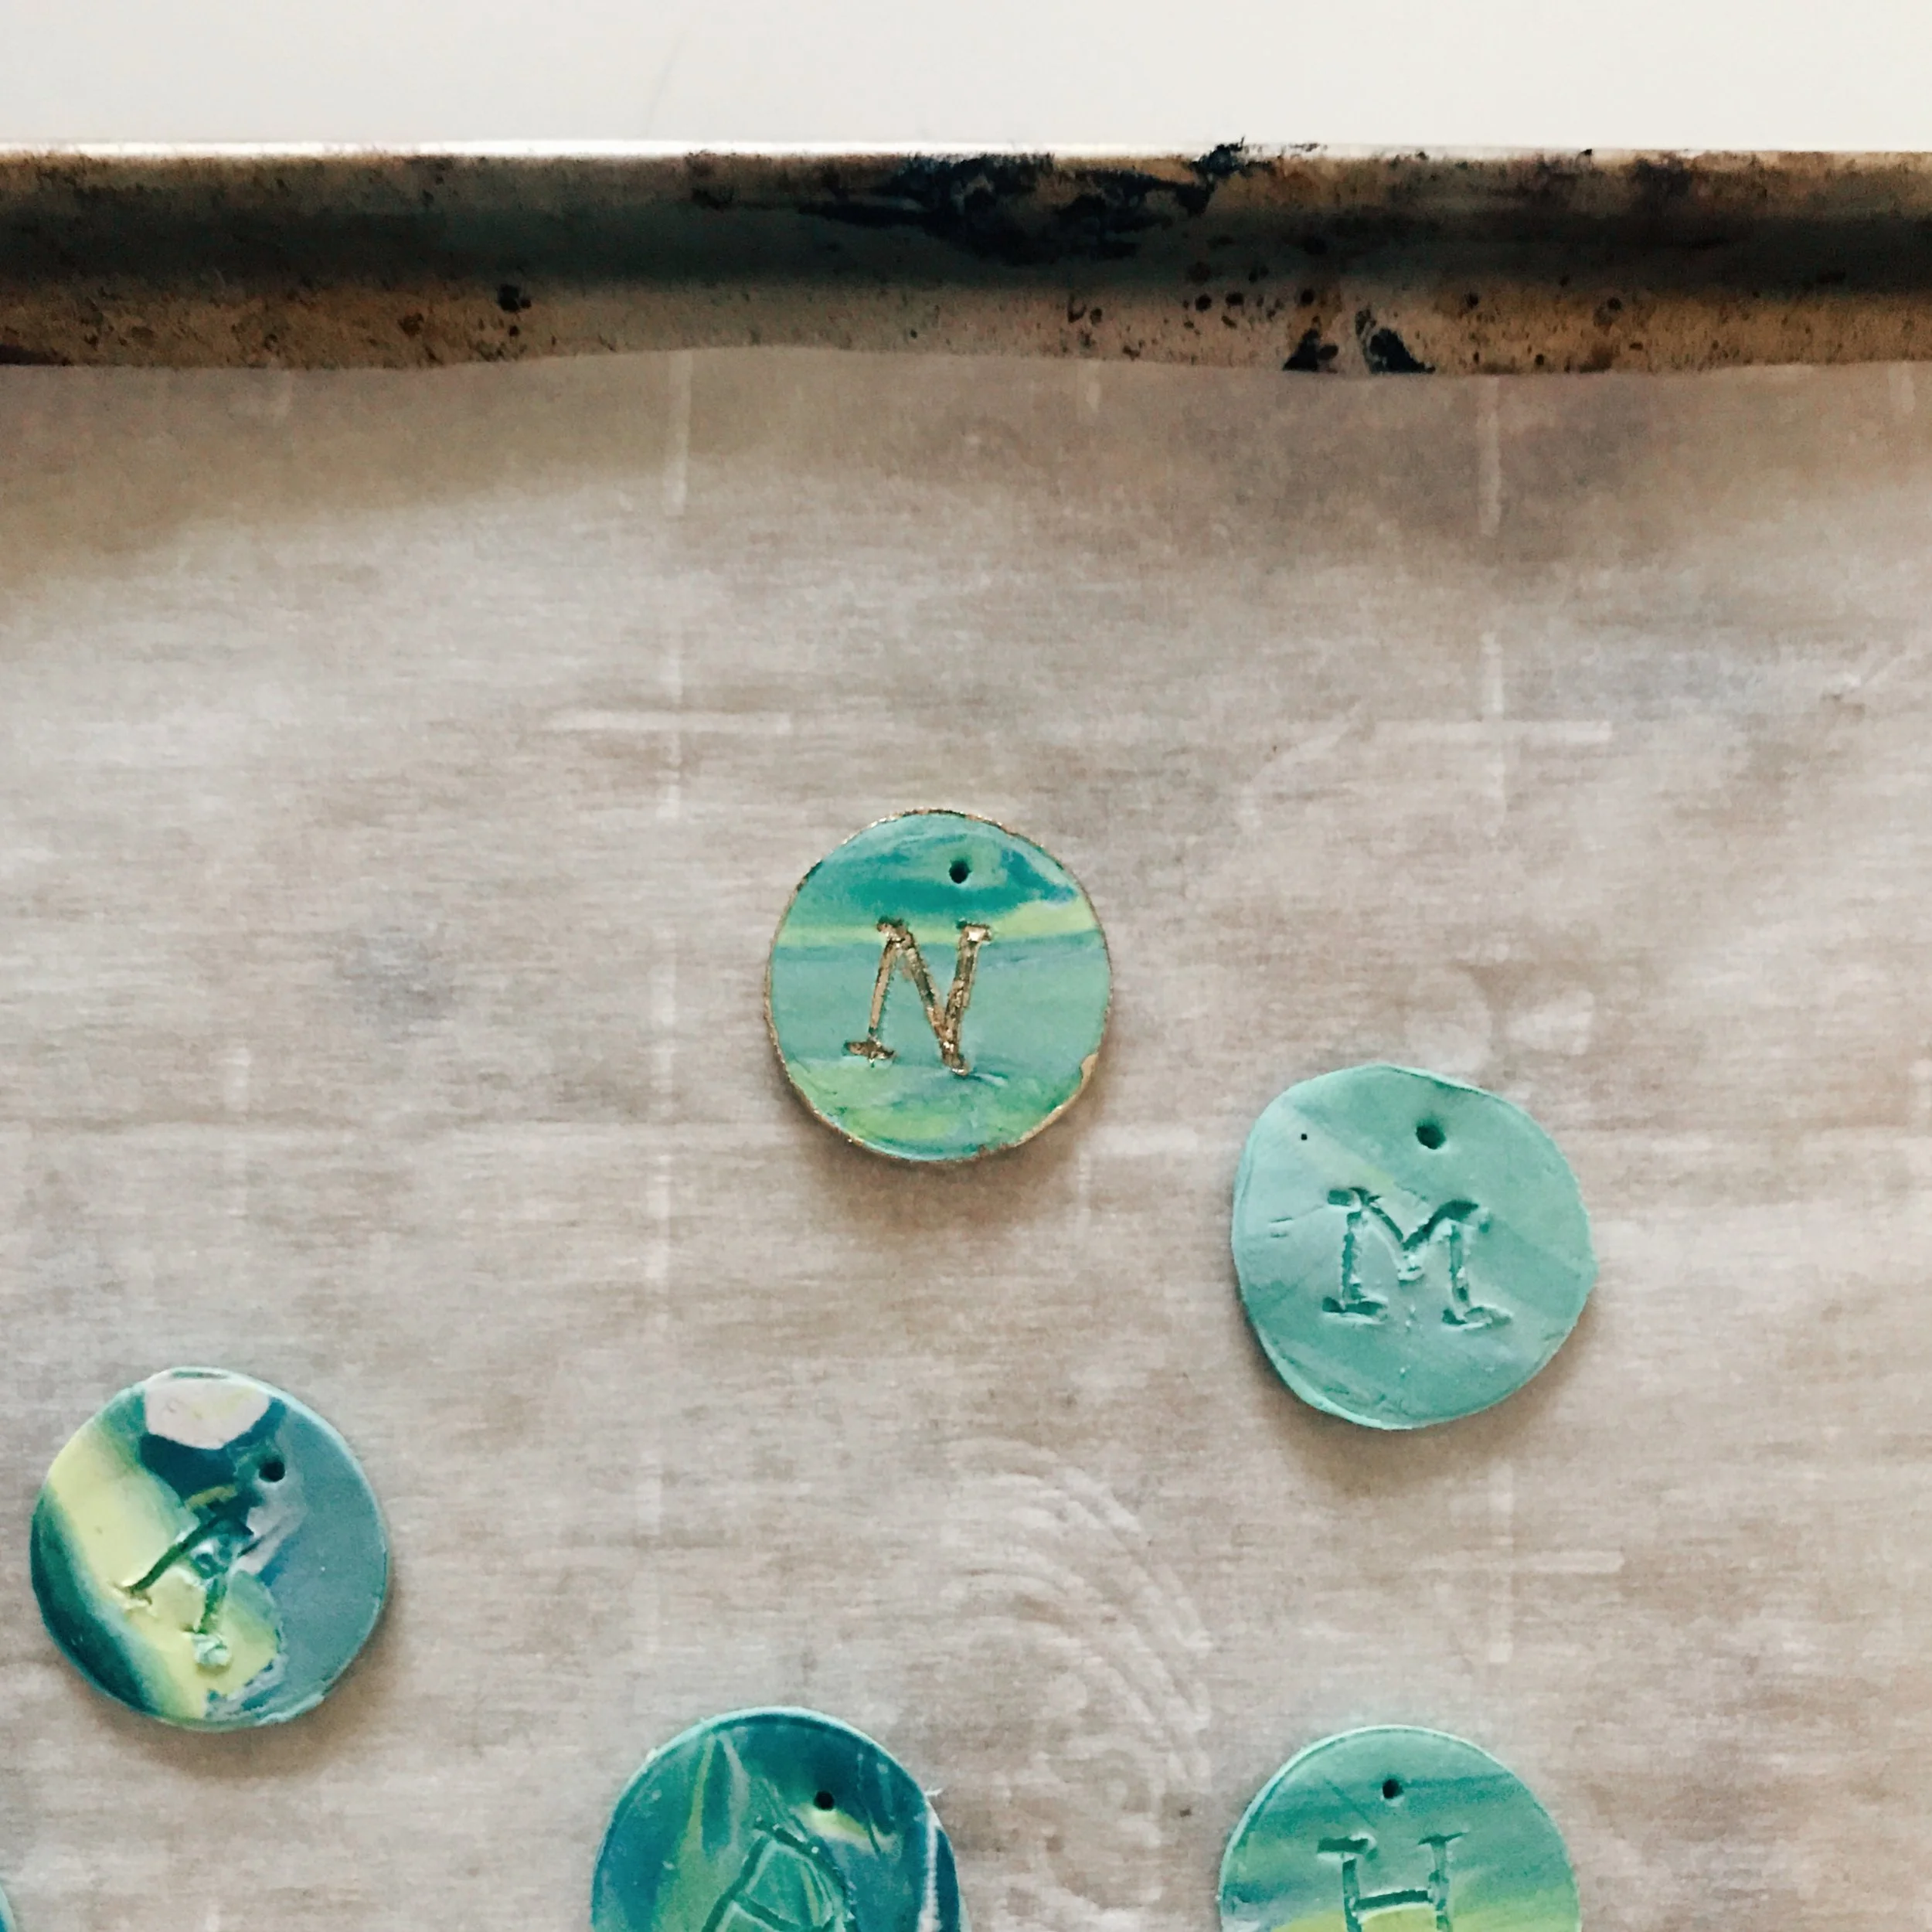
Use your x-acto knife or toothpick to press in a letter. You could also use a rubber stamp.  Bake your pendants at 275°F for 15 minutes.

IMG_5110.JPG

Once they have finished cooking, sand off the rough bits with a nail file, and use your metallic paint pen inside the letter and around the edges. 

IMG_5114.JPG

Let the paint dry and you're almost done! Use nice string or a jump loop and chain to turn this into a little necklace. Seal your pendant with varnish or polyurethane to make it more durable. Attach your jump loop,  string it on your chain, and voila! Your handmade marbled clay monogram necklace is finished. We made several to share with some friends.

FullSizeRender.jpg

Thanks for joining us again this week, we hope you are having fun! Remember to tag us @etsydallas #EDCreativityCamp if you give this project a try!

Creativity Camp: Faux Watercolor Painting

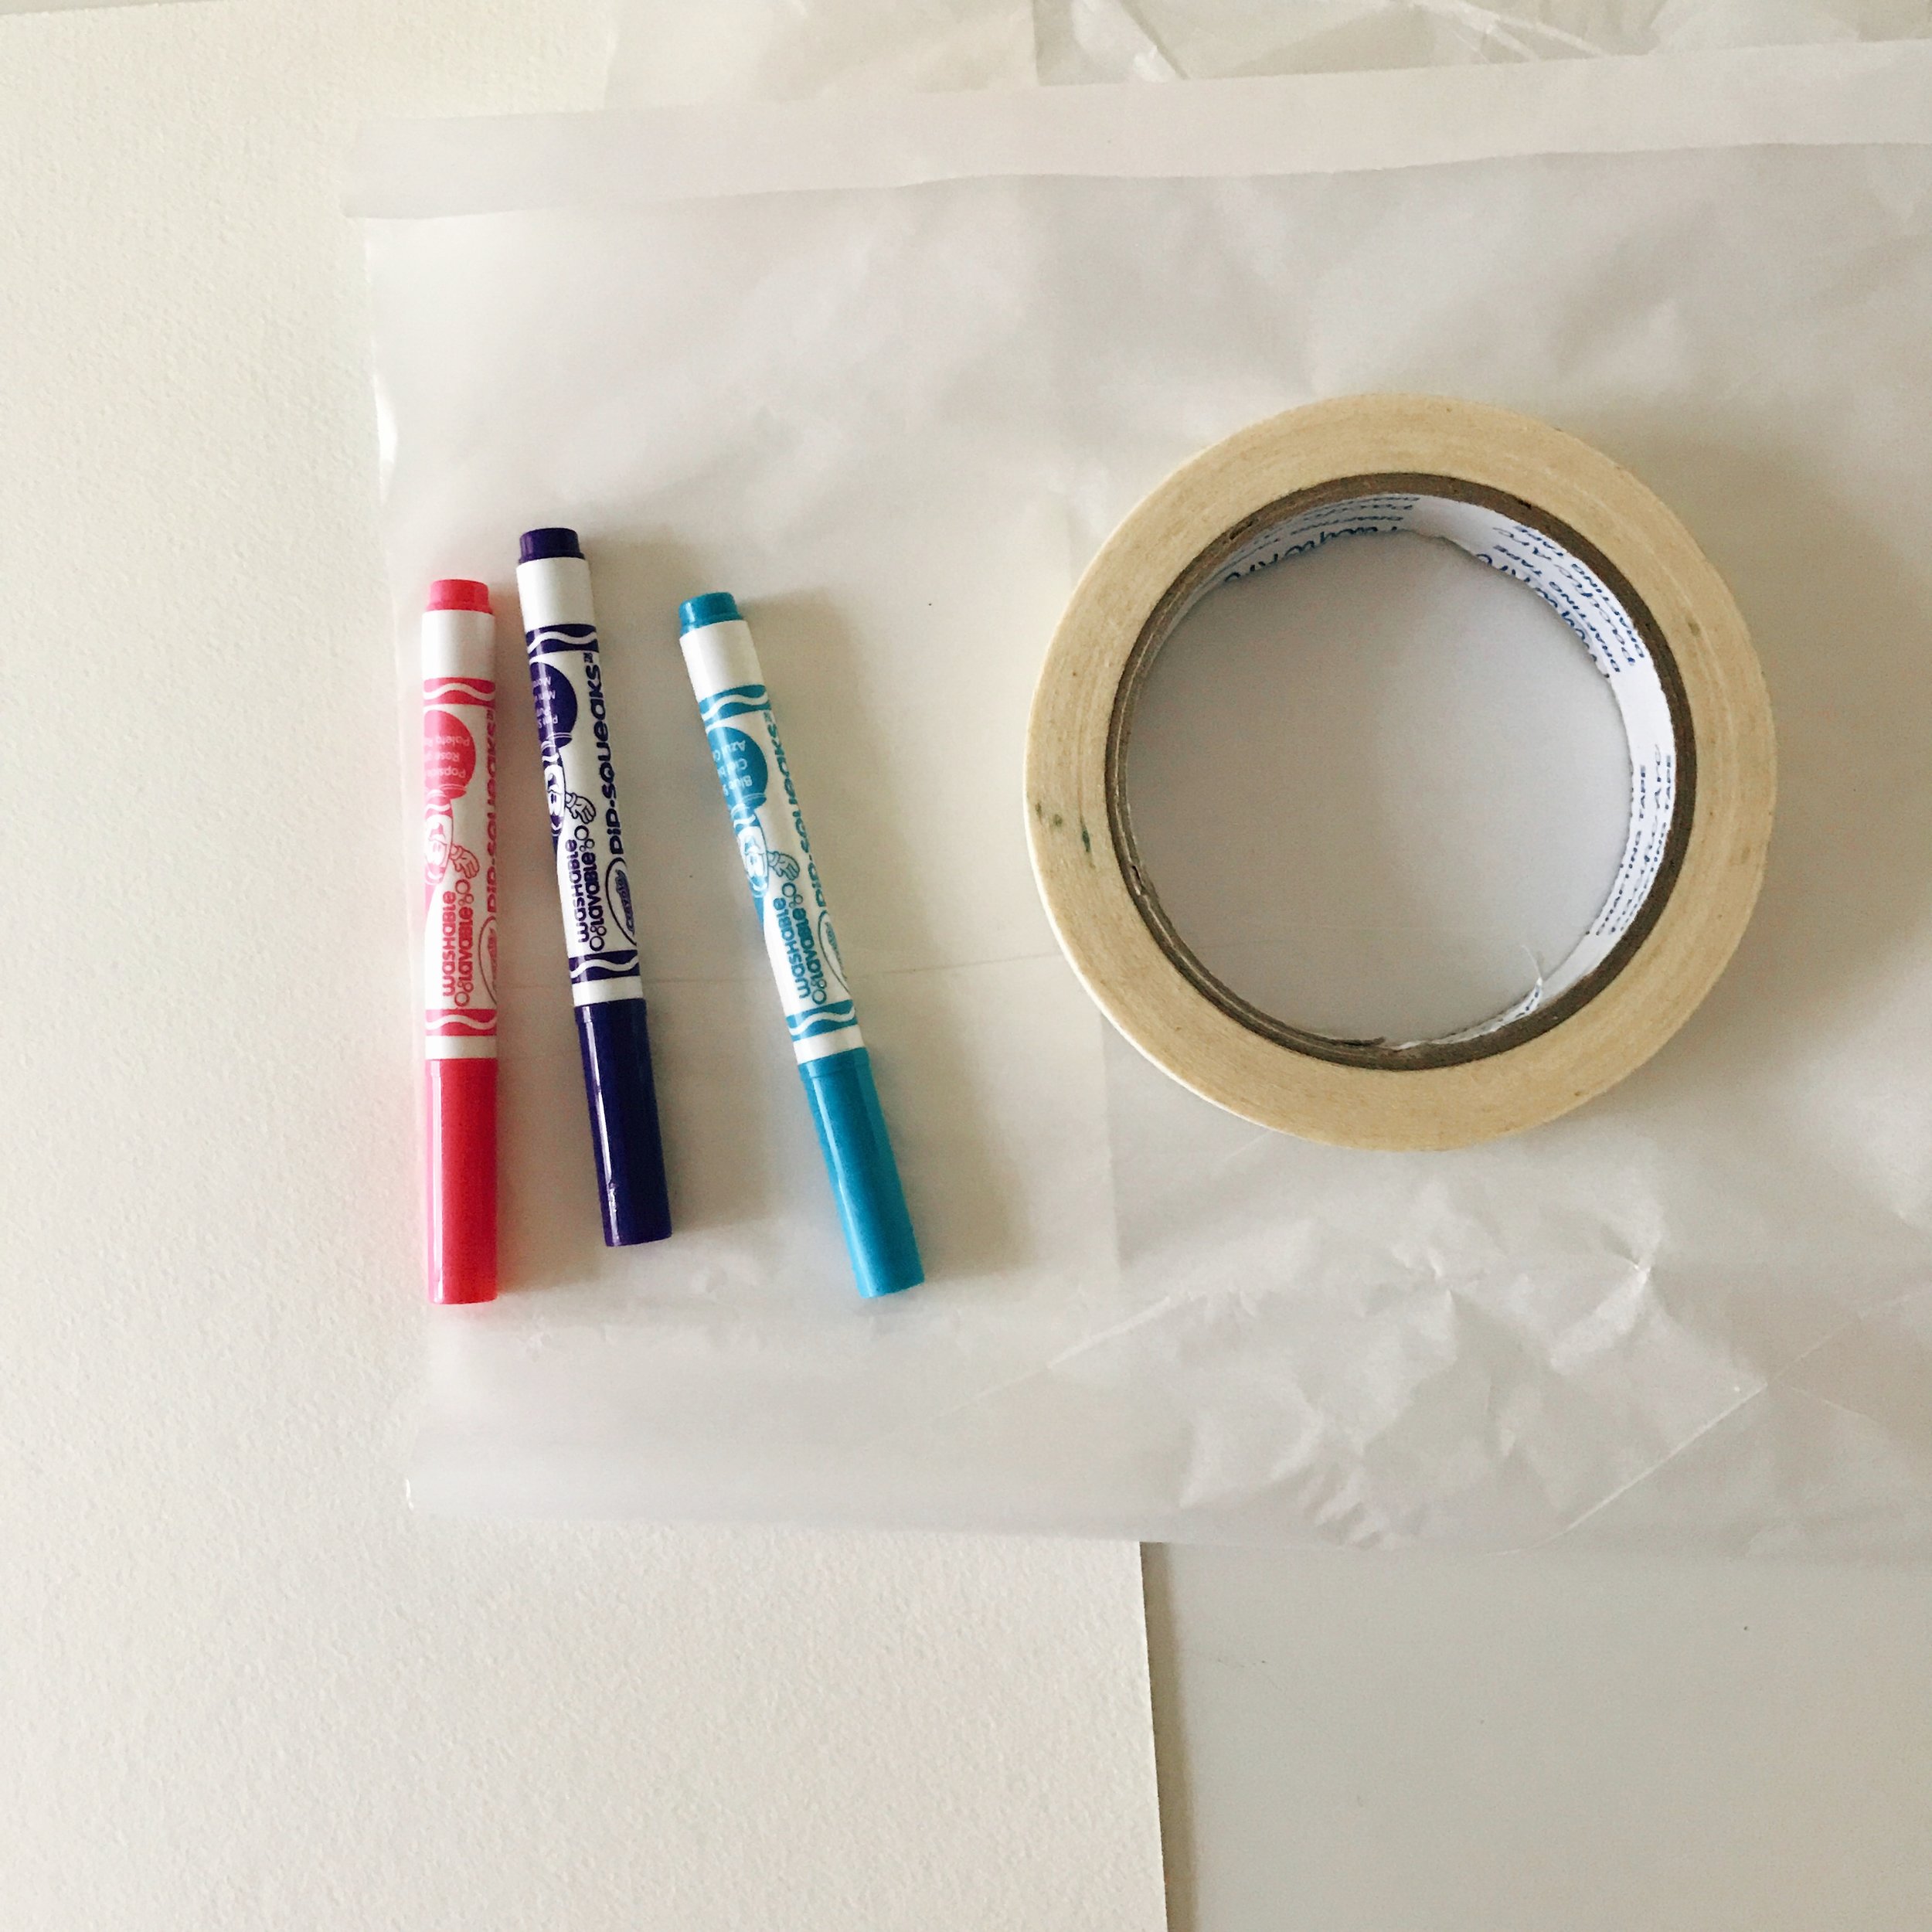
Hello! Welcome back to our Creativity Camp. I hope you are enjoying this series, and that you and your kiddos are feeling inspired! Today, we are beating the rainy day blues with some colorful faux watercolor paintings. All you need is some watercolor paper (or heavy paper), tissue paper, tape, washable markers, and a water spritzer. Follow along!

IMG_4942.JPG

Wrap your watercolor paper with the tissue paper, and tape on the back. 

IMG_4940.JPG

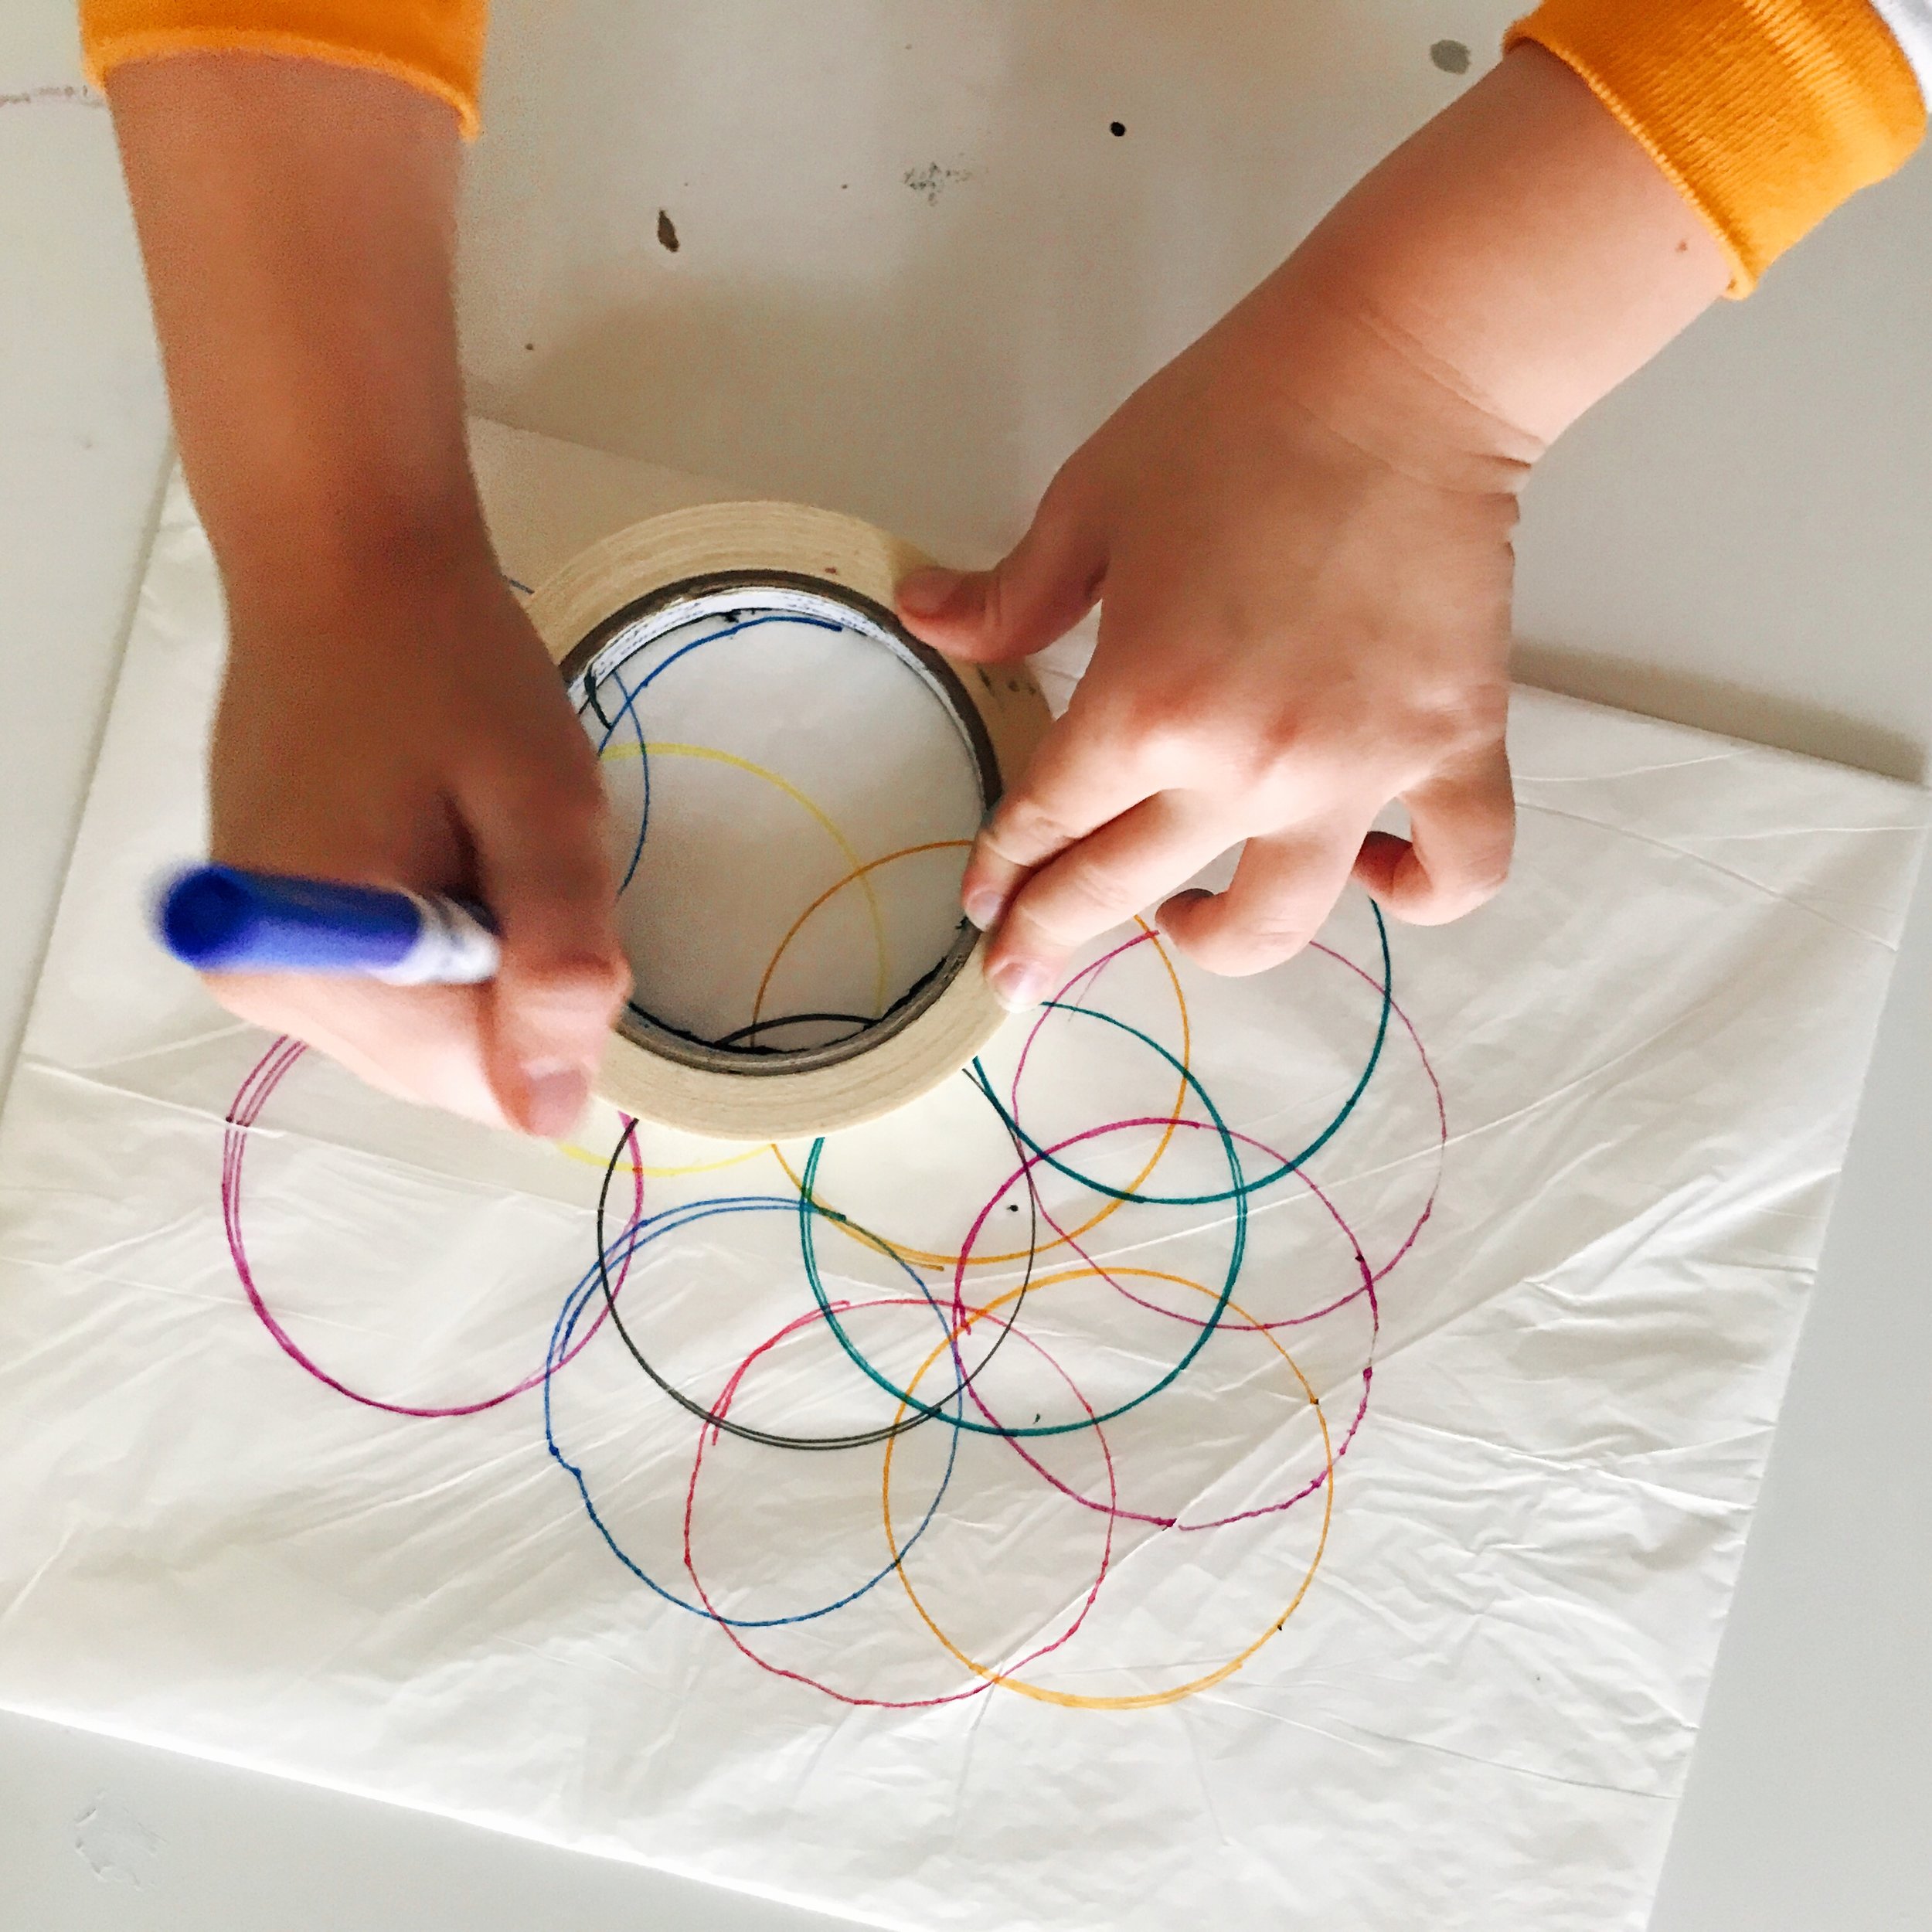
Use the markers and tape to draw circles in all different colors around the paper. Leave a little bit of white space for a more interesting composition.

IMG_4939.JPG

Once you have finished, it is time for some color theory magic! Use the water spritzer to lightly spray the colored tissue paper.  Watch the colors merge and change!

IMG_4938.JPG

Try not to over-wet the paper, or it will muddy the vibrancy of the colors. Tap it down, and allow your piece to dry. 

IMG_4937.JPG

Once the water has dried, you get to unwrap your painting like a present.

IMG_4936.JPG

Surprise! Check out your abstract watercolor painting! The areas where the tissue paper was lifting off the paper remained white. 

IMG_4931.JPG

This is an easy technique for such sophisticated results. You can frame it as is, use it as a background for drawing, or use shaped punches to make scrapbooking or card making elements. I decided to frame mine, after she signed of course. Pretty good for a five year old!

FullSizeRender.jpg

If you give this project a try, be sure to share with us @etsydallas #EDCreativityCamp. See you next week!  

Creativity Camp: DIY Superhero Costume

Happy Monday! This week's craft takes minutes, and costs nothing. Yes! That is my kind of crafting! It also brings up an important topic with your kiddos... recycling. Getting creative with something old is a wonderful way to recycle. Rummage through some colorful old t-shirts, and grab your scissors. This afternoon, we are becoming superheroes! BOOM!

IMG_4745.JPG

First, use chalk to draw out lines on the back of your shirt, and around the neckline where you will cut. WHACK!

IMG_4743.JPG
IMG_4746.JPG

Next, cut along the sides and those chalk lines. Be careful not to stretch the jersey or the edges will curl. BAM!

IMG_4748.JPG

Now, find the longest length in your remaining fabric, and chalk out a strip for the mask. We used the design from the front of the shirt to create some interest. You can also use the design on the cape instead! SWISH!

IMG_4749.JPG

Cut out the mask, and chalk and cut the eye-holes as well.  Tip: it's easier to cut circles if you fold them in half. BANG!

IMG_4754.JPG

You could stop here, or take it to the next level with a little fabric paint and a sponge.

My daughter came up with a clever super hero name, The Galigator! So, we picked a green shirt, and I cut a sponge into a triangle so she could stamp spikes down the back.   It may help to mark out the design in chalk first to keep things straight. SPLAT!

IMG_4755.JPG
IMG_4741.JPG

Let the paint dry, and your imagination run wild! You are brave, and strong, and bright! KA-POW!

IMG_4756.JPG
IMG_4757.JPG

Thanks for joining us! See you next Monday for another fun project. We would love to see your little superheroes in action, so tag us on Instagram! @etsydallas #EDCreativityCamp

Join Us Every Monday for Creativity Camp with Etsy Dallas

Summer has finally come again! The kids are out of school and excited about their relaxed routine, and spending more time with family and friends. To celebrate, we would like to officially invite you all to participate in a weekly project all Summer long! Each Monday, we will post a fun for all ages tutorial to help you put away the screens, learn something new, and make some memories. We can't wait to see your pics, so be sure to share with us on Instagram, @etsydallas #EDCreativityCamp.

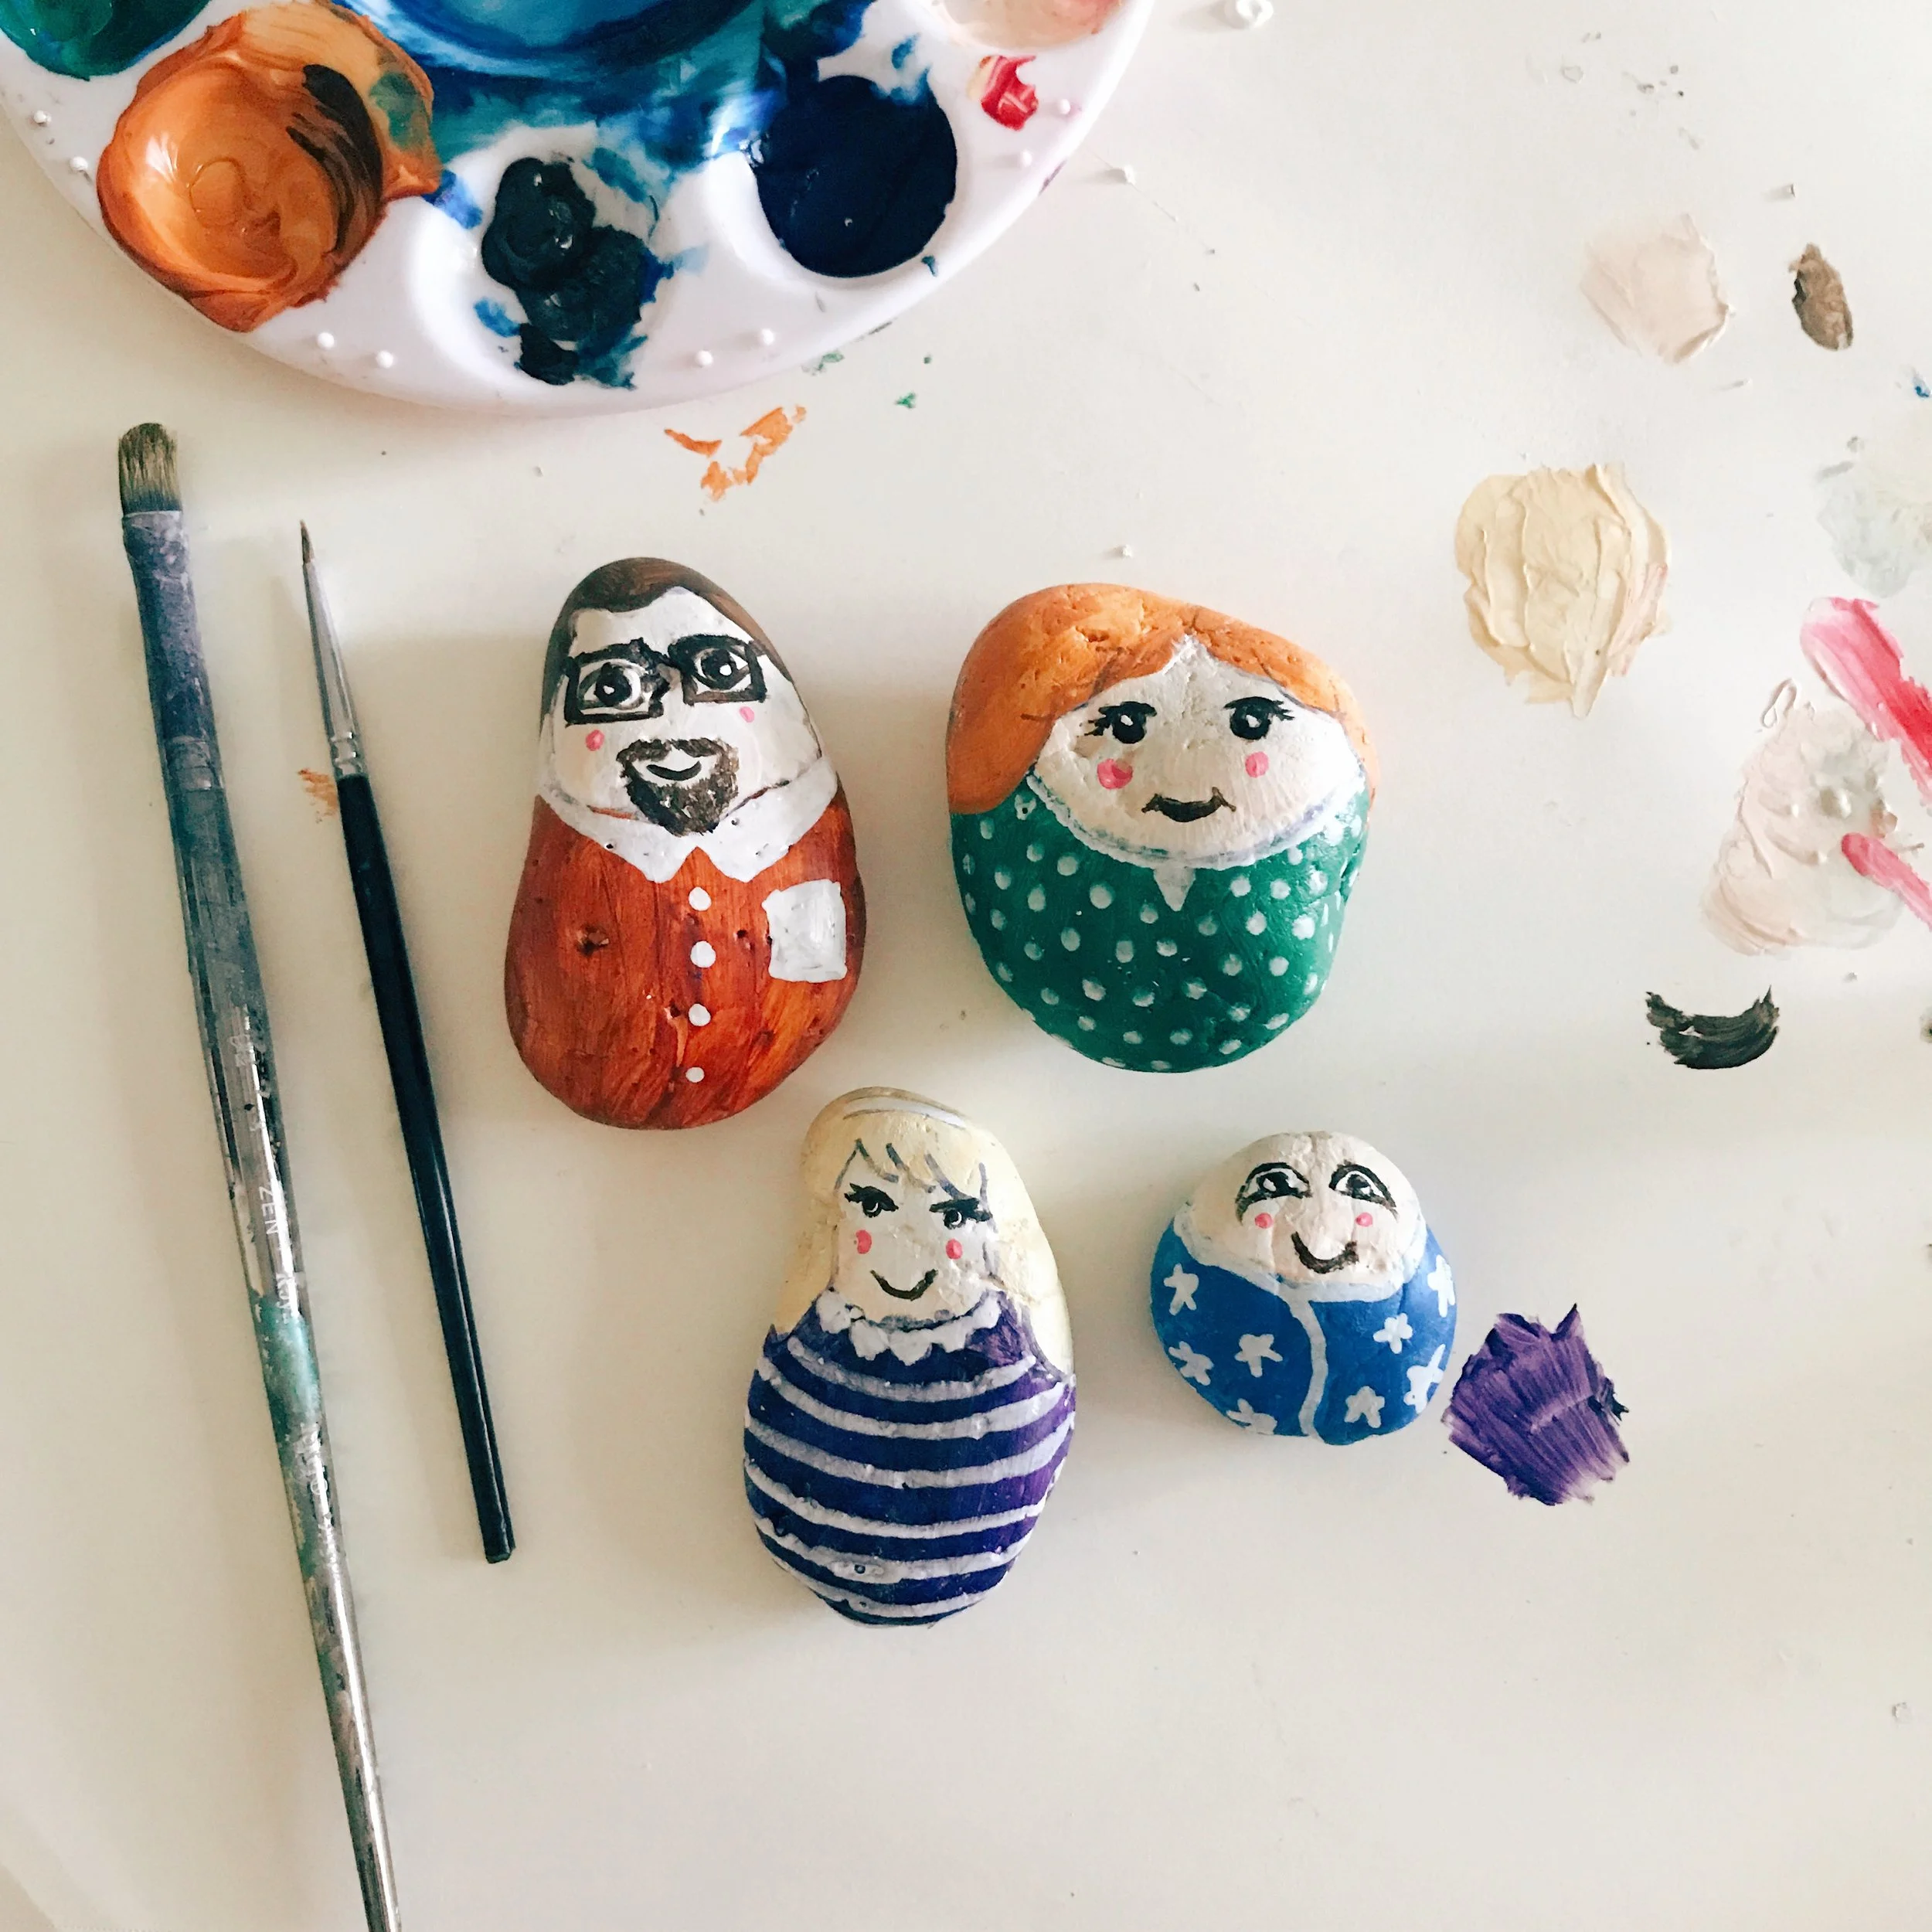
To begin, let's get out our paint and brushes, and collect some smooth rocks to make some cutie painted rock family portraits! We found a bag of river rock at At Home, if you can't find some in nature.

IMG_4598.JPG

First, paint your rocks white so we have a solid base for your colored paints. 

IMG_4597.JPG

Once they have dried completely, take a sharpie to carefully draw the hairline and chin line. I used semi transparent acrylic paint. Choose or mix colors for your hair, skin, and clothing, and fill in those areas.

IMG_4596.JPG

Depending on what paint you use, the sharpie may show through, so be conscientious of your lines.  This is a great way to add visual texture to hair and clothing.

IMG_4595.JPG

Our rocks are starting to look familiar! Use a small brush or paint pens in white to create clothing details. Allow each side to dry before working on the other side.

IMG_4594.JPG

Use a fine tipped black paint pen, or liner brush and black paint to draw the eyes and mouth. If your family member has glasses or facial hair, paint it on next.  Use the back end of your paint brush to dot on tiny pink dots for the cheeks.

IMG_4593.JPG

Paint your rocks with a clear sealer, and place them in your front garden to enjoy for years to come.

Thanks for crafting with us! See you next week for another fun project!

DIY Personalized Notepads with Katrina

IMG_4216.JPG

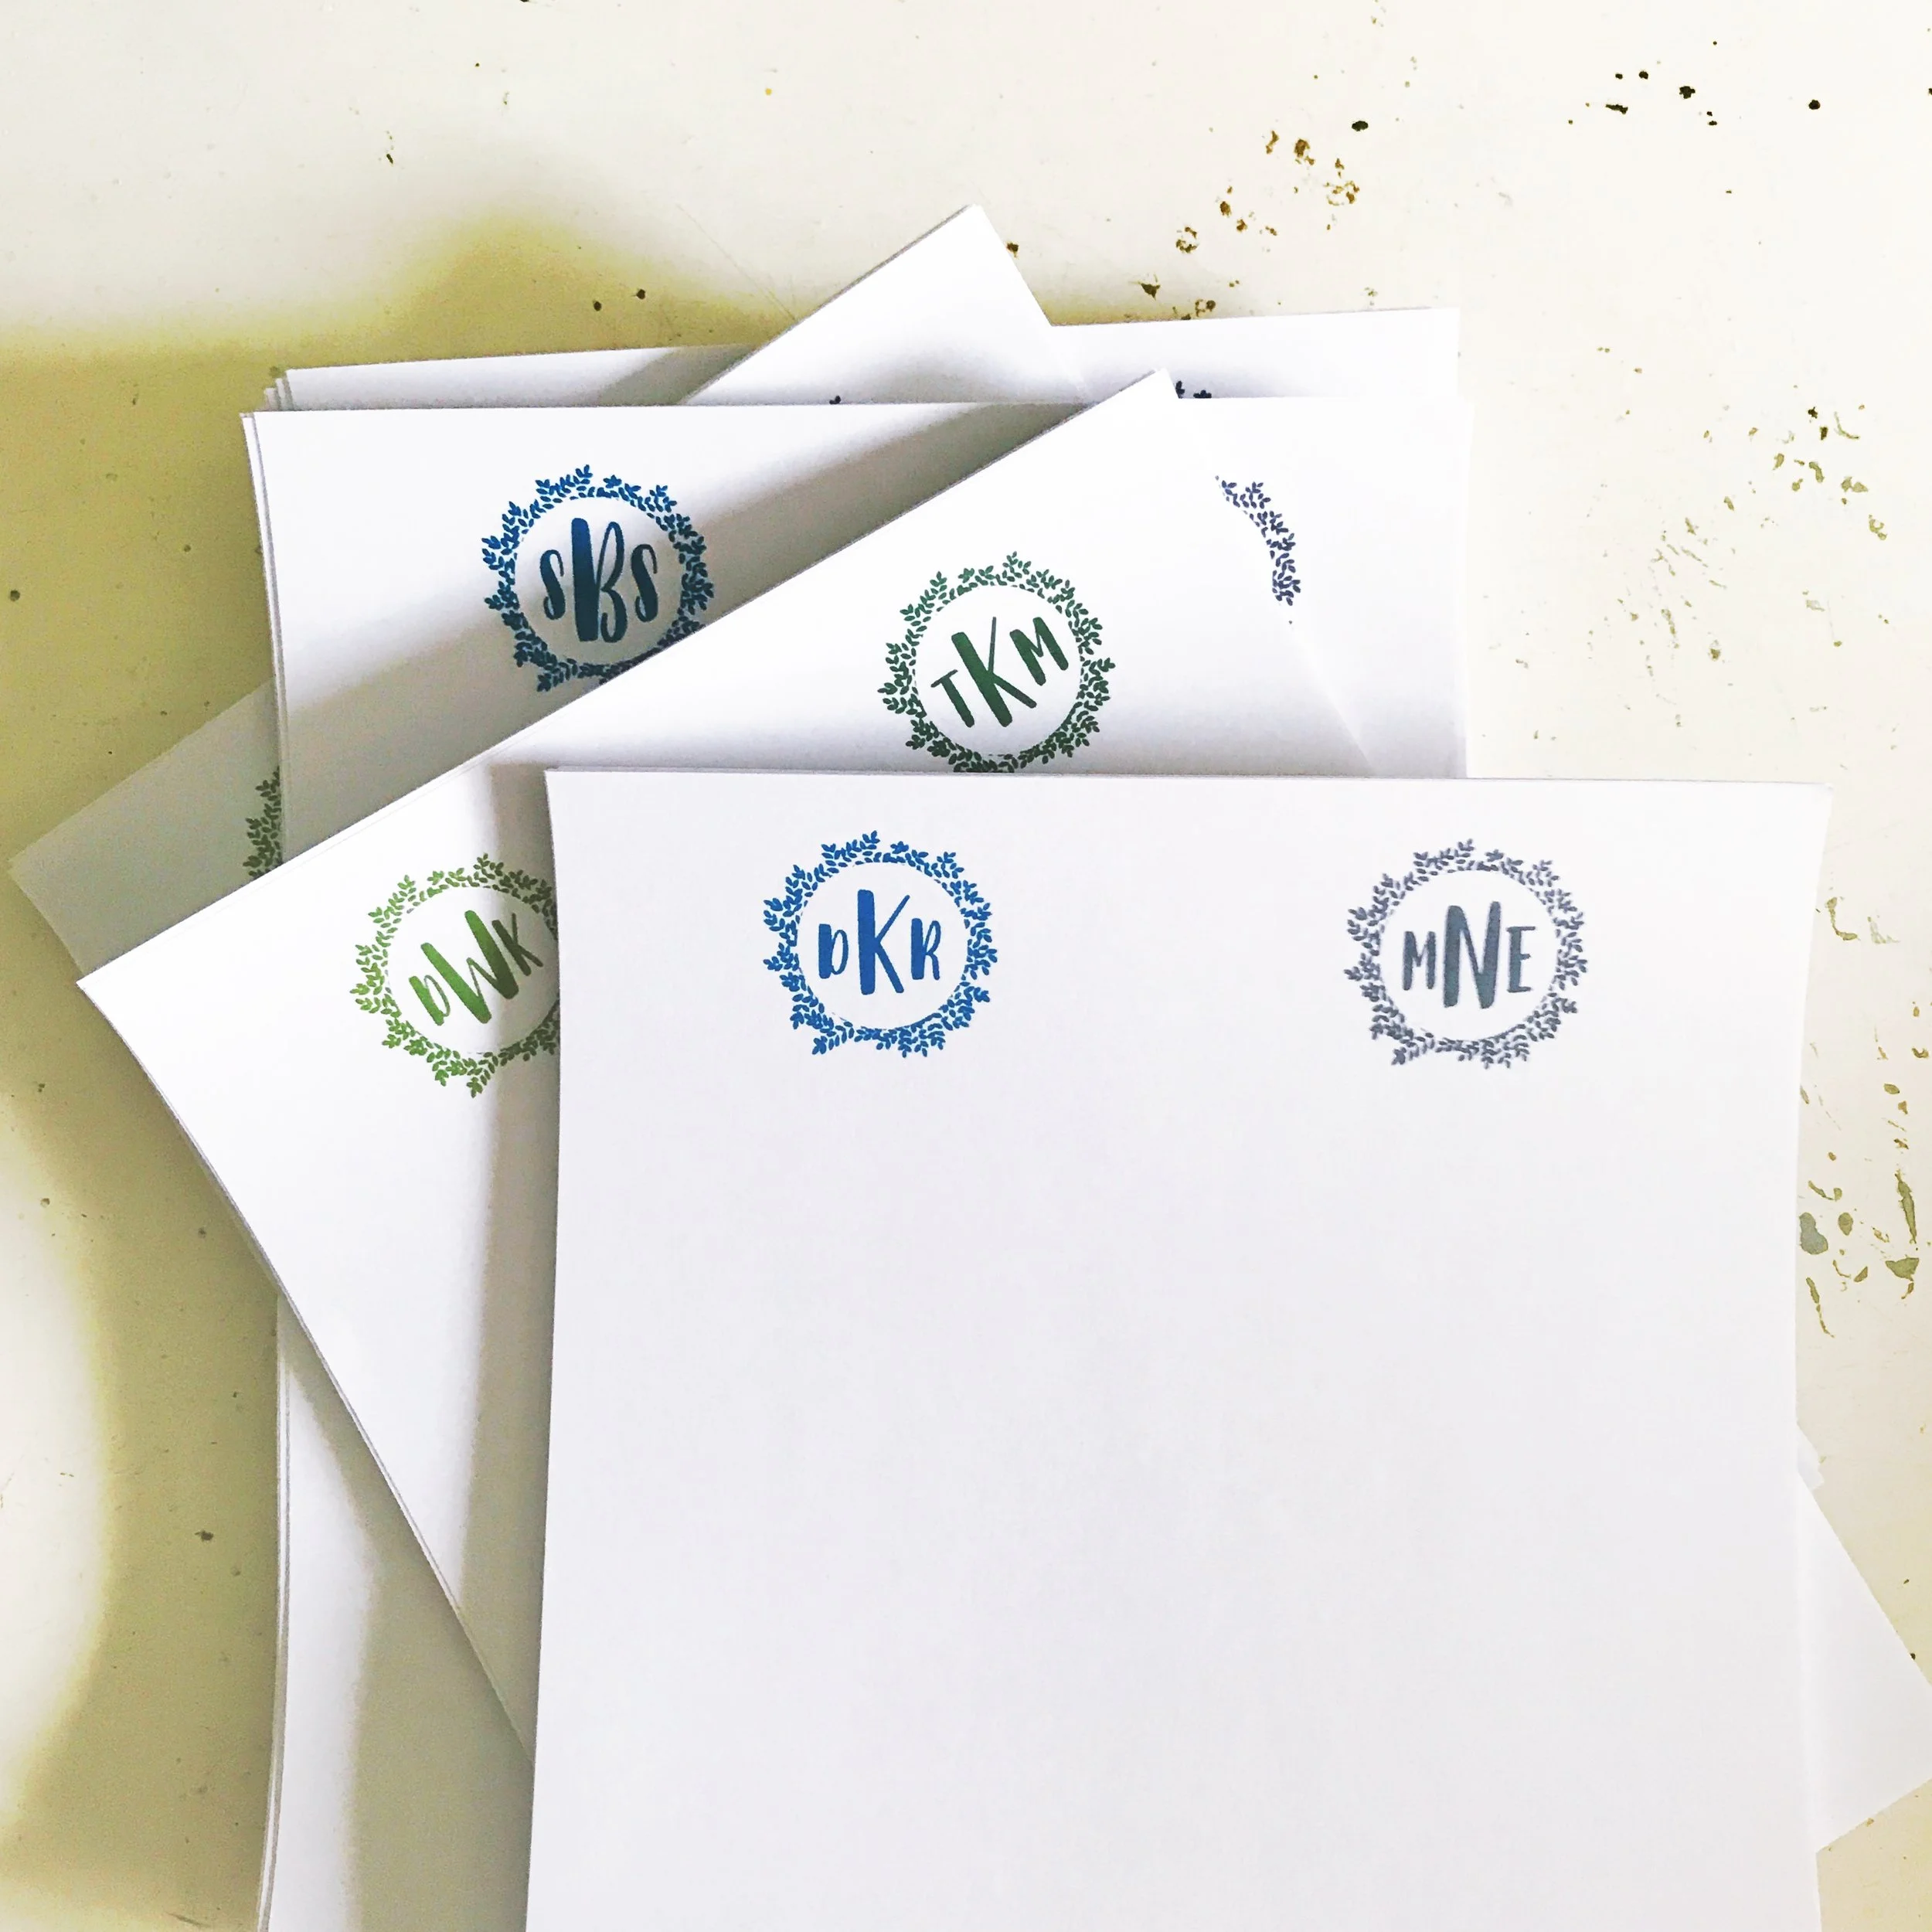
Katrina of Rhapsody Letterpress here with a little paper tutorial this morning! Looking for a fun, inexpensive and personal teacher appreciation gift? These homemade monogram notepads are an easy and pretty project you can make with relatively basic supplies you probably already have at home. Pair it with some cute pencils and a nice thank you note, and you will have a personal and practical gift that your kid's teacher would actually use. Check it out!

IMG_4225.JPG

First, set up your monogram layout on your computer using Word or a design program and print 50 sheets. Remember to print on paper the size you want to make notepads, or cut it down after printing. 4x6 or 5x7 are good standards sizes that most printers can print. I have a guillotine cutter, so I printed on letter paper and cut it down to 4x9 after binding. 

IMG_4224.JPG

Gather the remainder of your supplies. You will need binder or bulldog clips, cardstock that is cut to the same size as your paper, and rubber cement.

IMG_4220.JPG

Collate your paper, sandwiching the card stock on the top, the printed paper in the middle, and two pieces of card stock on the bottom. Tap the end of the stack on the table to create a flat edge, then use the binder clips on both sides to secure a tight binding. 

IMG_4223.JPG

Brush on a liberal layer of rubber cement, and place more binder clips over the area you just glued to keep the edge tightly bound. Allow the rubber cement to dry, and do another layer, placing the binder clips on again to let it dry once more. 

IMG_4222.JPG

Repeat on each notepad. Allow the cement to dry until it is no longer tacky to the touch, about two hours.  

IMG_4221.JPG

Once the rubber cement has dried completely and set (overnight or twenty-four hours), carefully peel off the top and bottom layer of card stock, and there you have it! (I used my guillotine to cut mine down in this step.) 

IMG_4219.JPG

Pat yourself on the back for being so thoughtful and crafty!  Your teachers are going to love it!

Cheater Quilt Tutorial with Katrina

Today, I'm going to share a post from my own blog with you. I am no talented seamstress, but this still came out beautifully, and would make a fantastic handmade gift for those new babies in your life. The whole project took me about 2 hours. Be sure to tag us @etsydallas with #etsydallascrafts, if you try it! 

I have slowly been finishing the baby's nursery one handmade project at a time.  I had very good intentions of completing everything before he arrived, but I didn't even manage to have his crib assembled.  It's funny how different everything is with the second baby.

I finally made some time to work on his cheater baby quilt, so I took some pics to share with you all how easy it is to do something custom and special.  This fabric actually inspired the color palette for the whole space. I bought two yards of the Kona Cotton from Spoonflower (search cheater quilt for different designs), and one package of crib sized batting from amazon. This process is very simple, and the results look much more impressive than it actually was to create.

First, fold your fabric in half, and lay it with the print side face to face, matching the printed areas.

IMG_3690.JPG

Next, roll out your batting, lay the fabric on top, match the corners, and pin all the way around to hold everything together. Trim the excess.

IMG_3692.JPG
IMG_3691.JPG

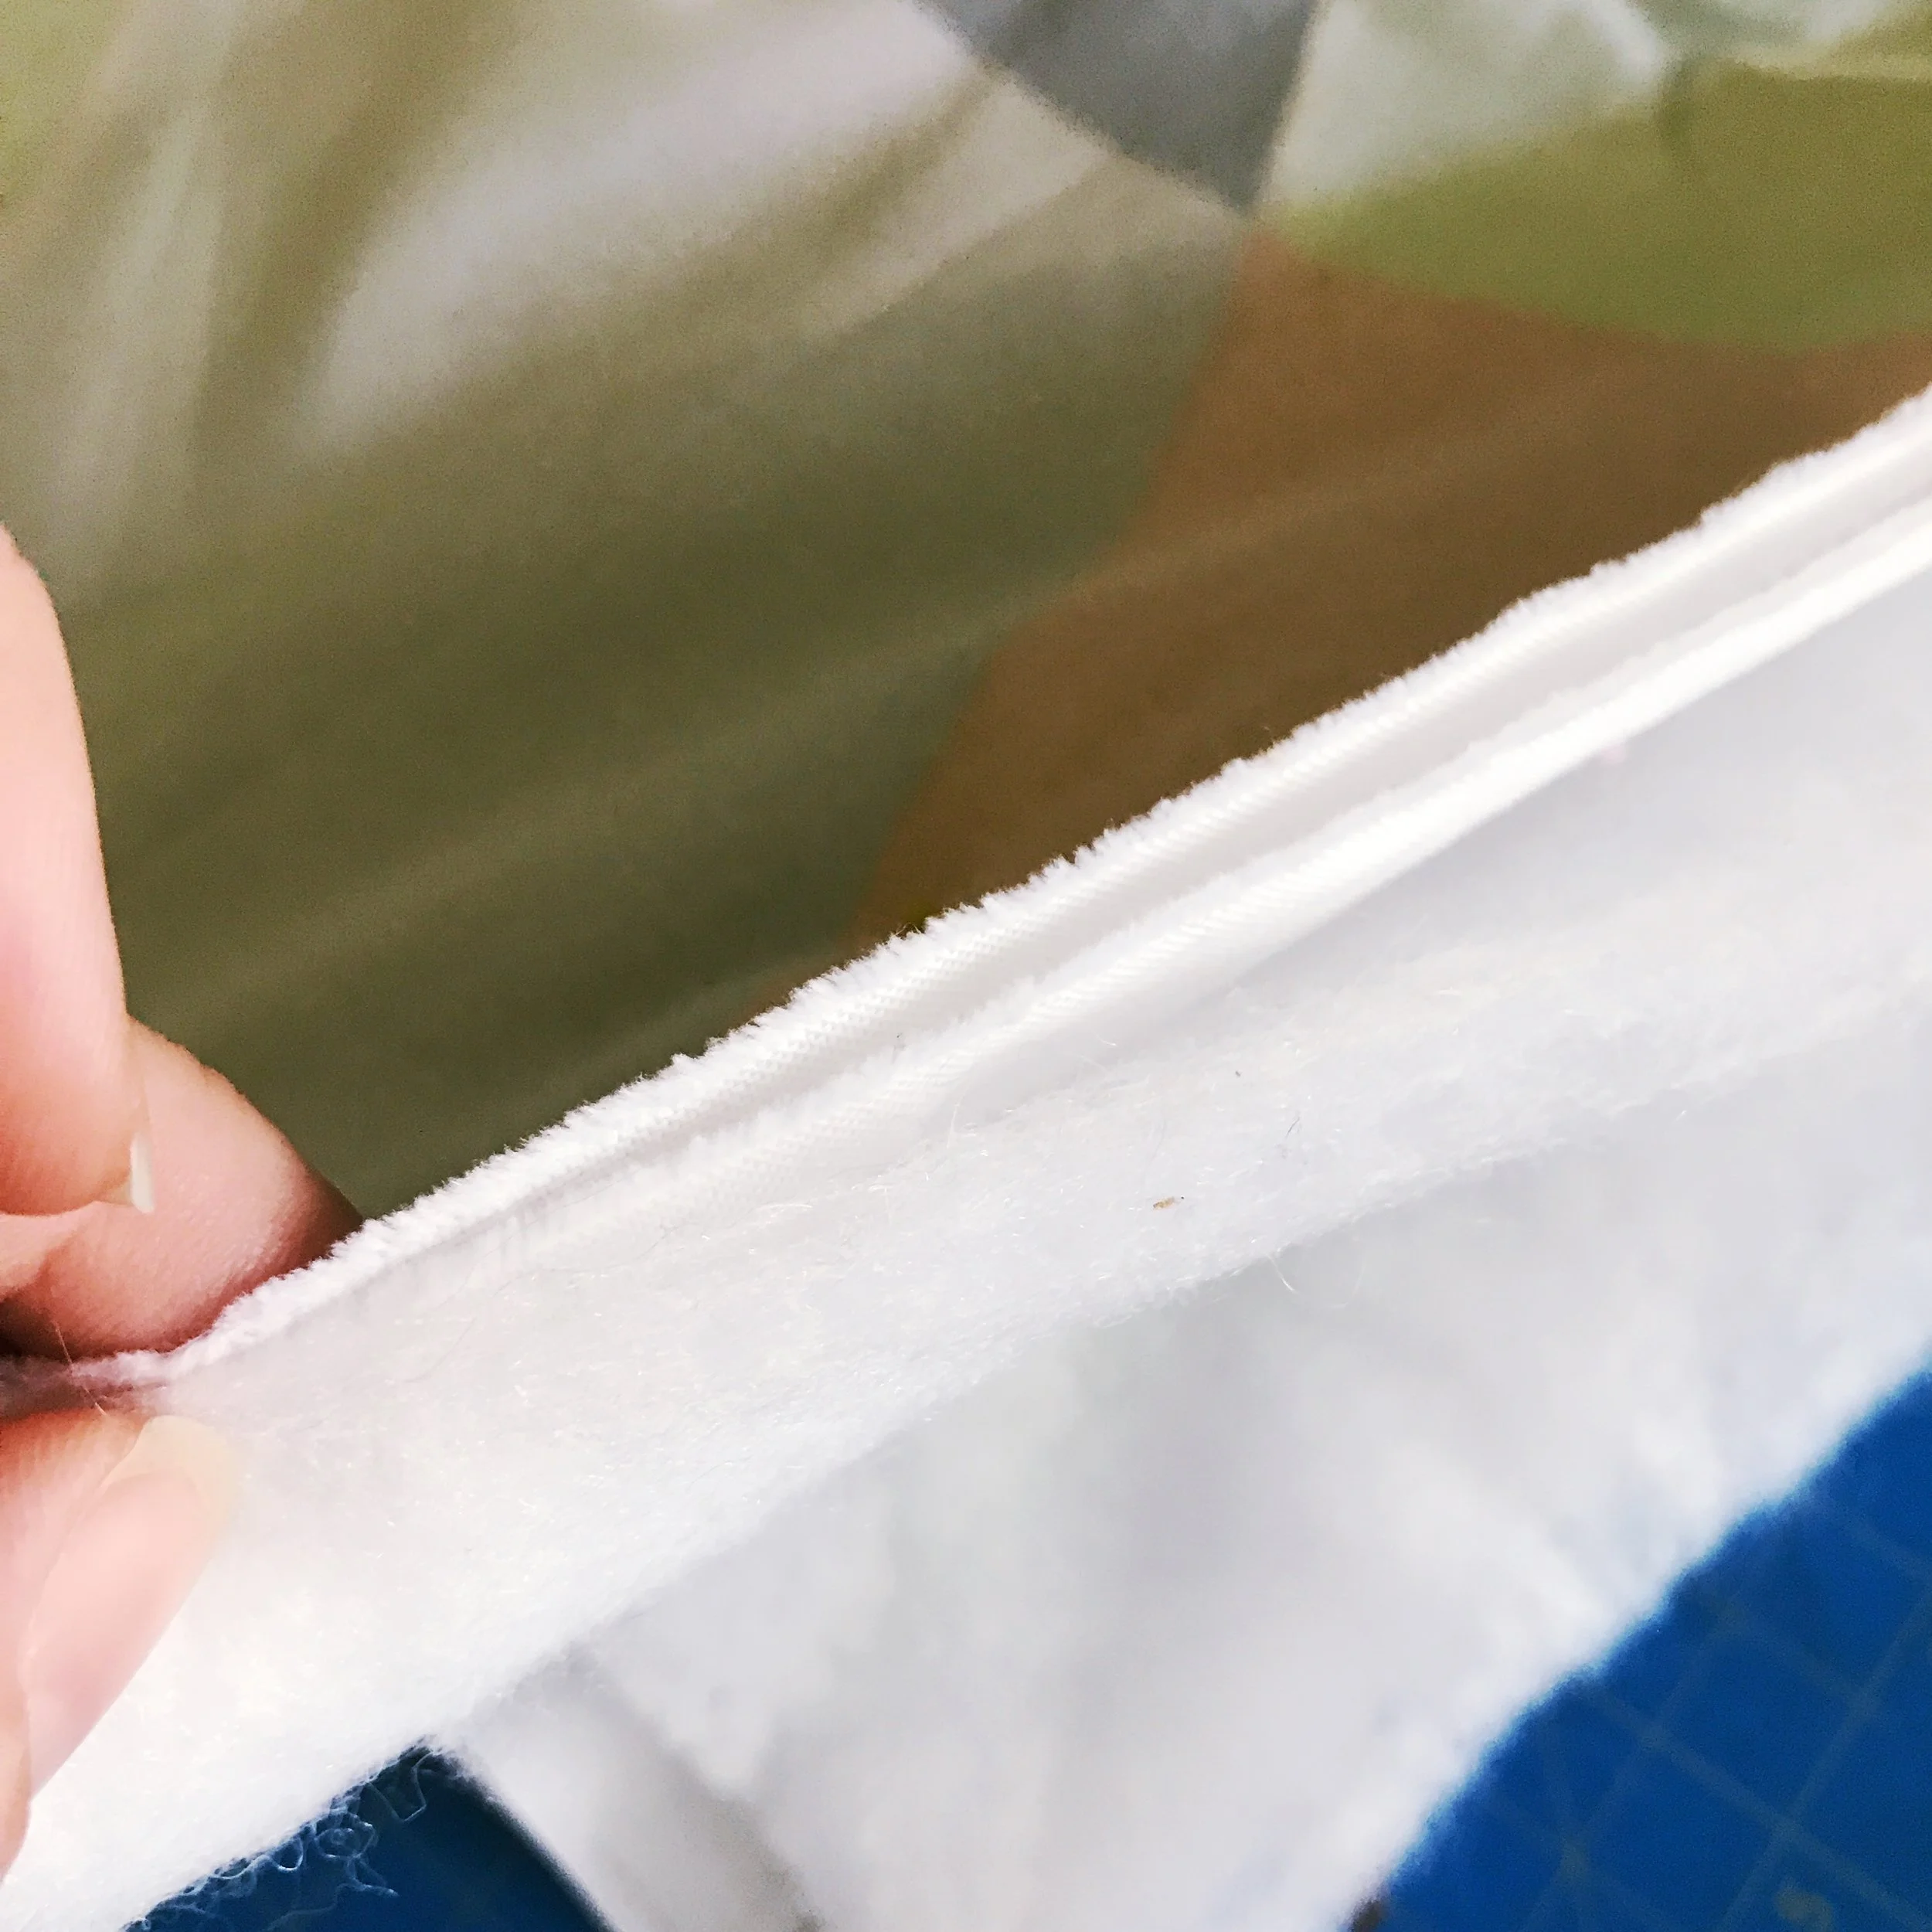
Roll up the stack to make it more manageable, and sew one side at a time, almost all the way around. Use the printed area as a guide. Leave a hole large enough to turn the quilt right-side-out.

IMG_3693.JPG

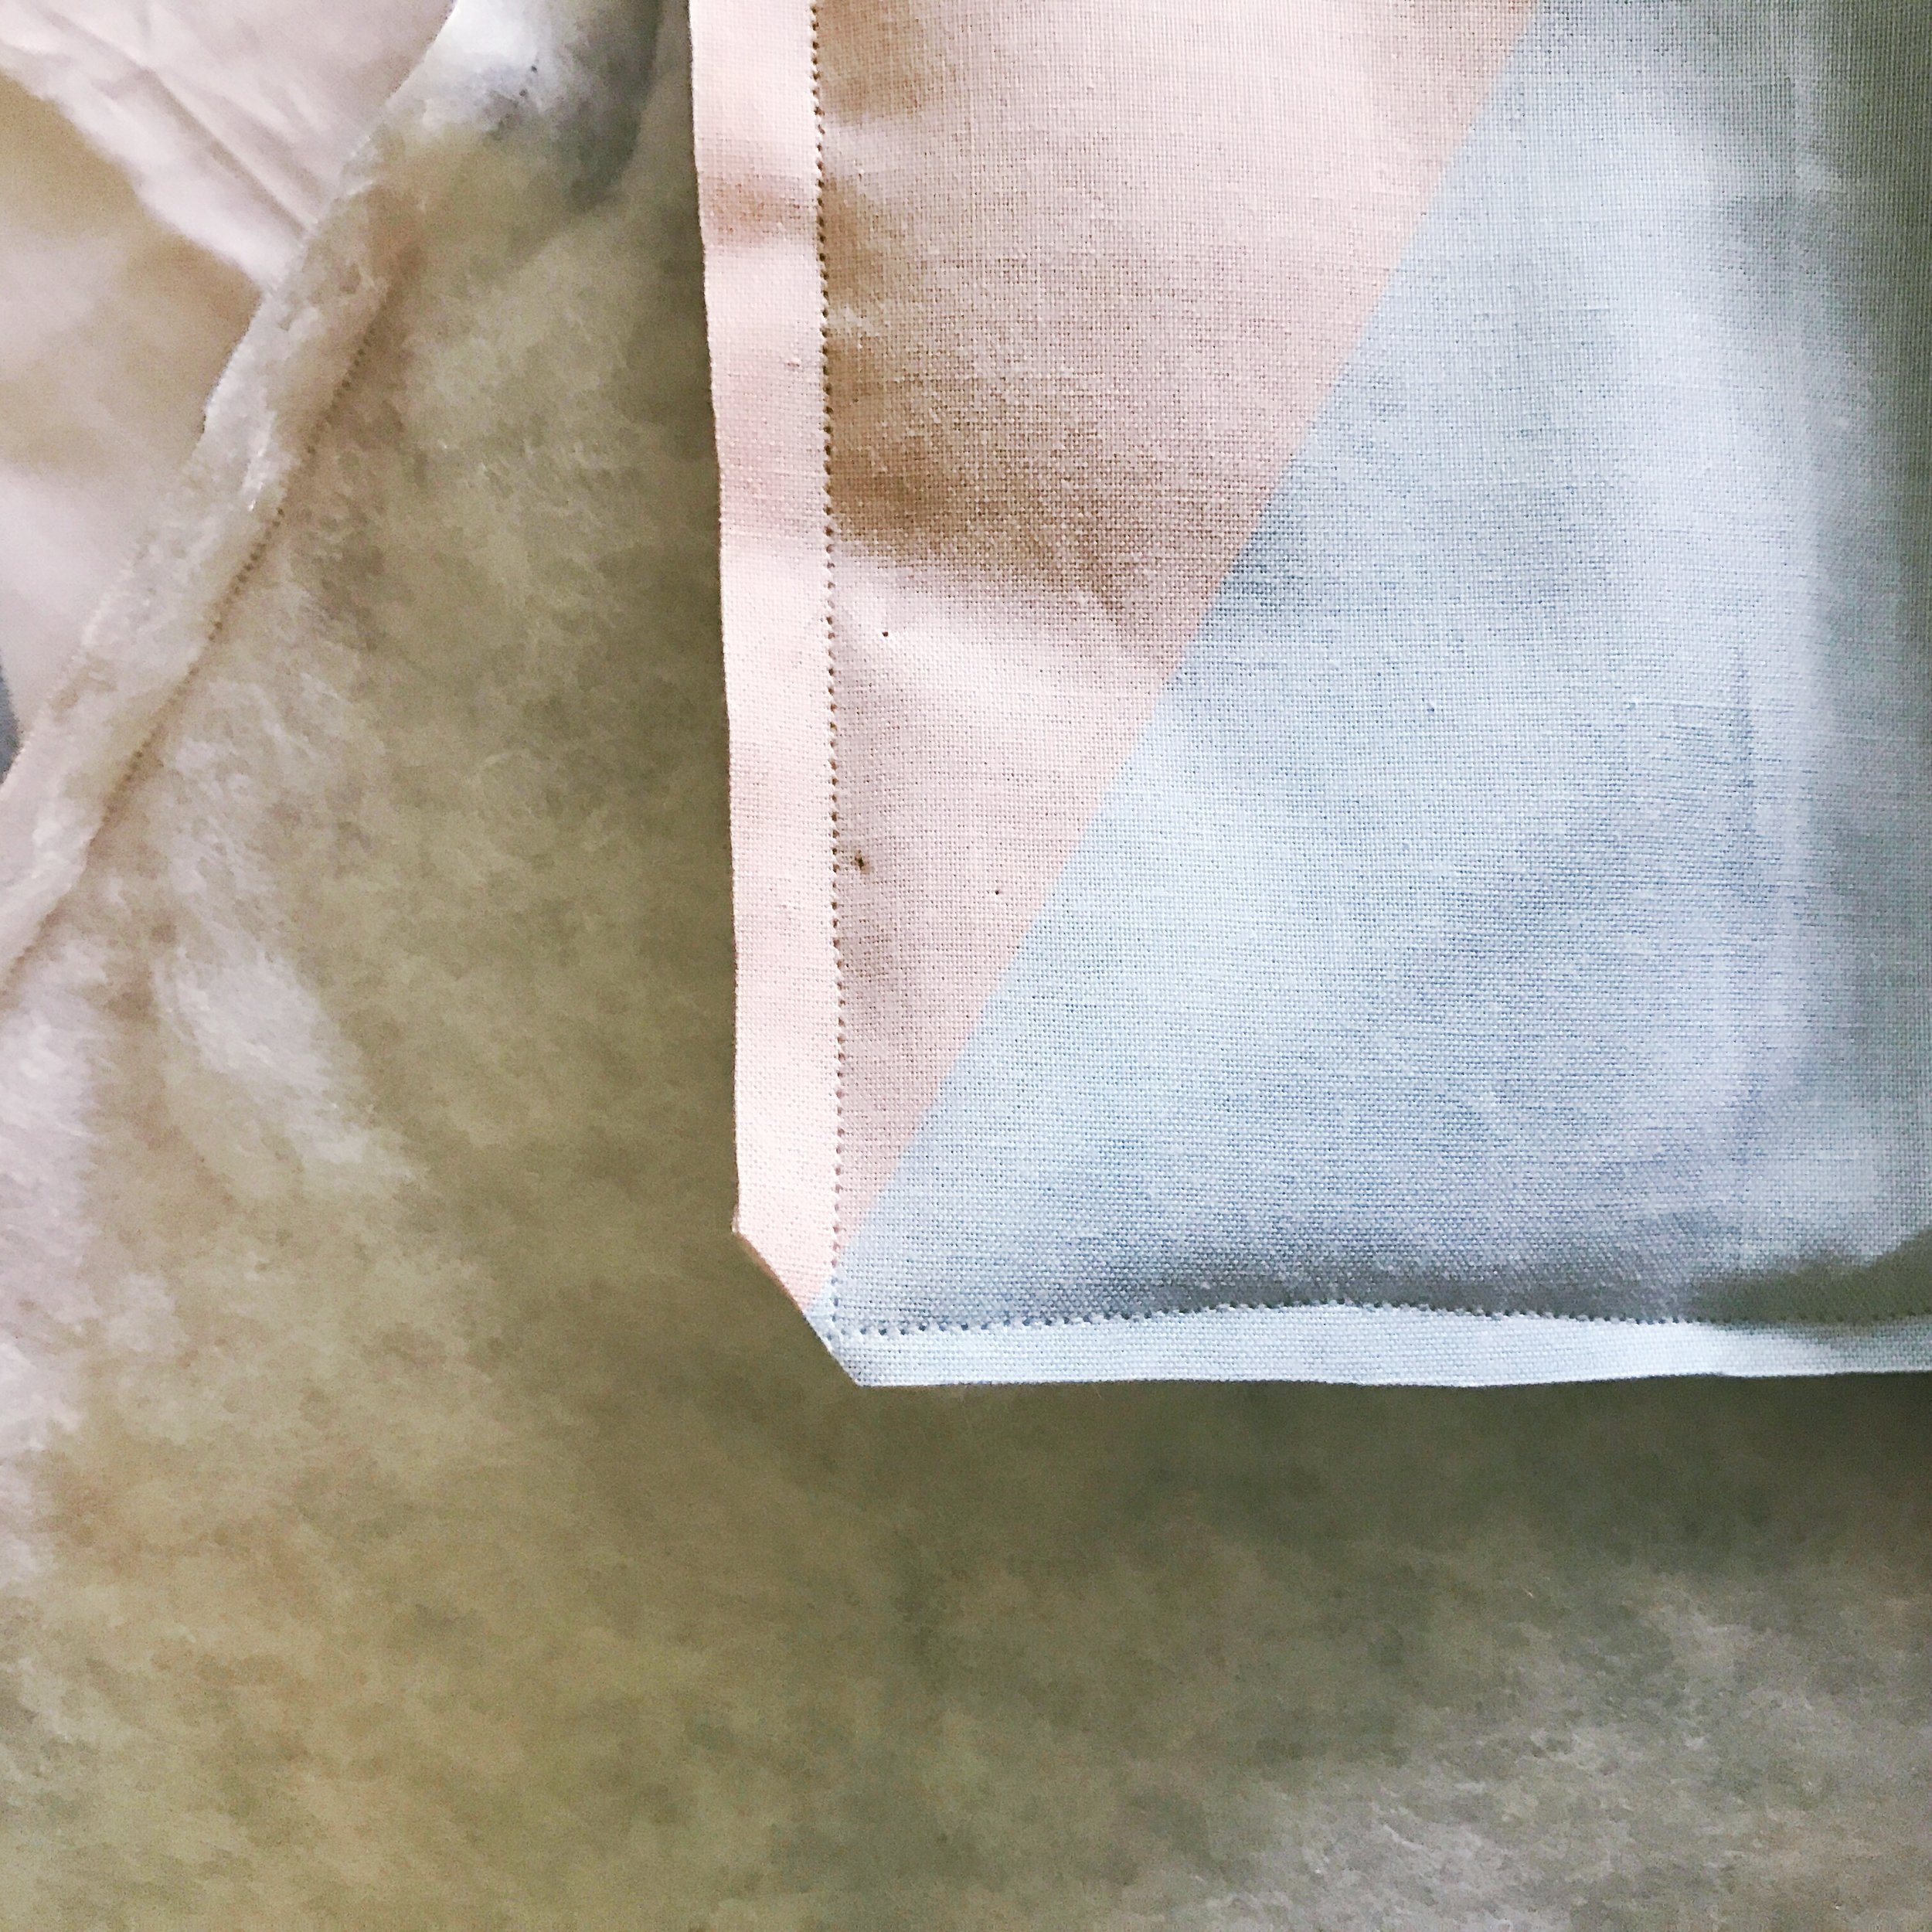
Trim the excess in a margin around the seam, and cut the corners at an angle so you can make a nice point.

IMG_3694.JPG

Turn the piece right side out.

IMG_3695.JPG

Use a hidden stitch to close the hole. Knot your thread, and begin your stitch from the inside. Go through the other side and back out again, and repeat until you've reached the end, occasionally pulling it tightly to bring the sides together smoothly.  Be consistent with the size of your stitches.

IMG_3696.JPG

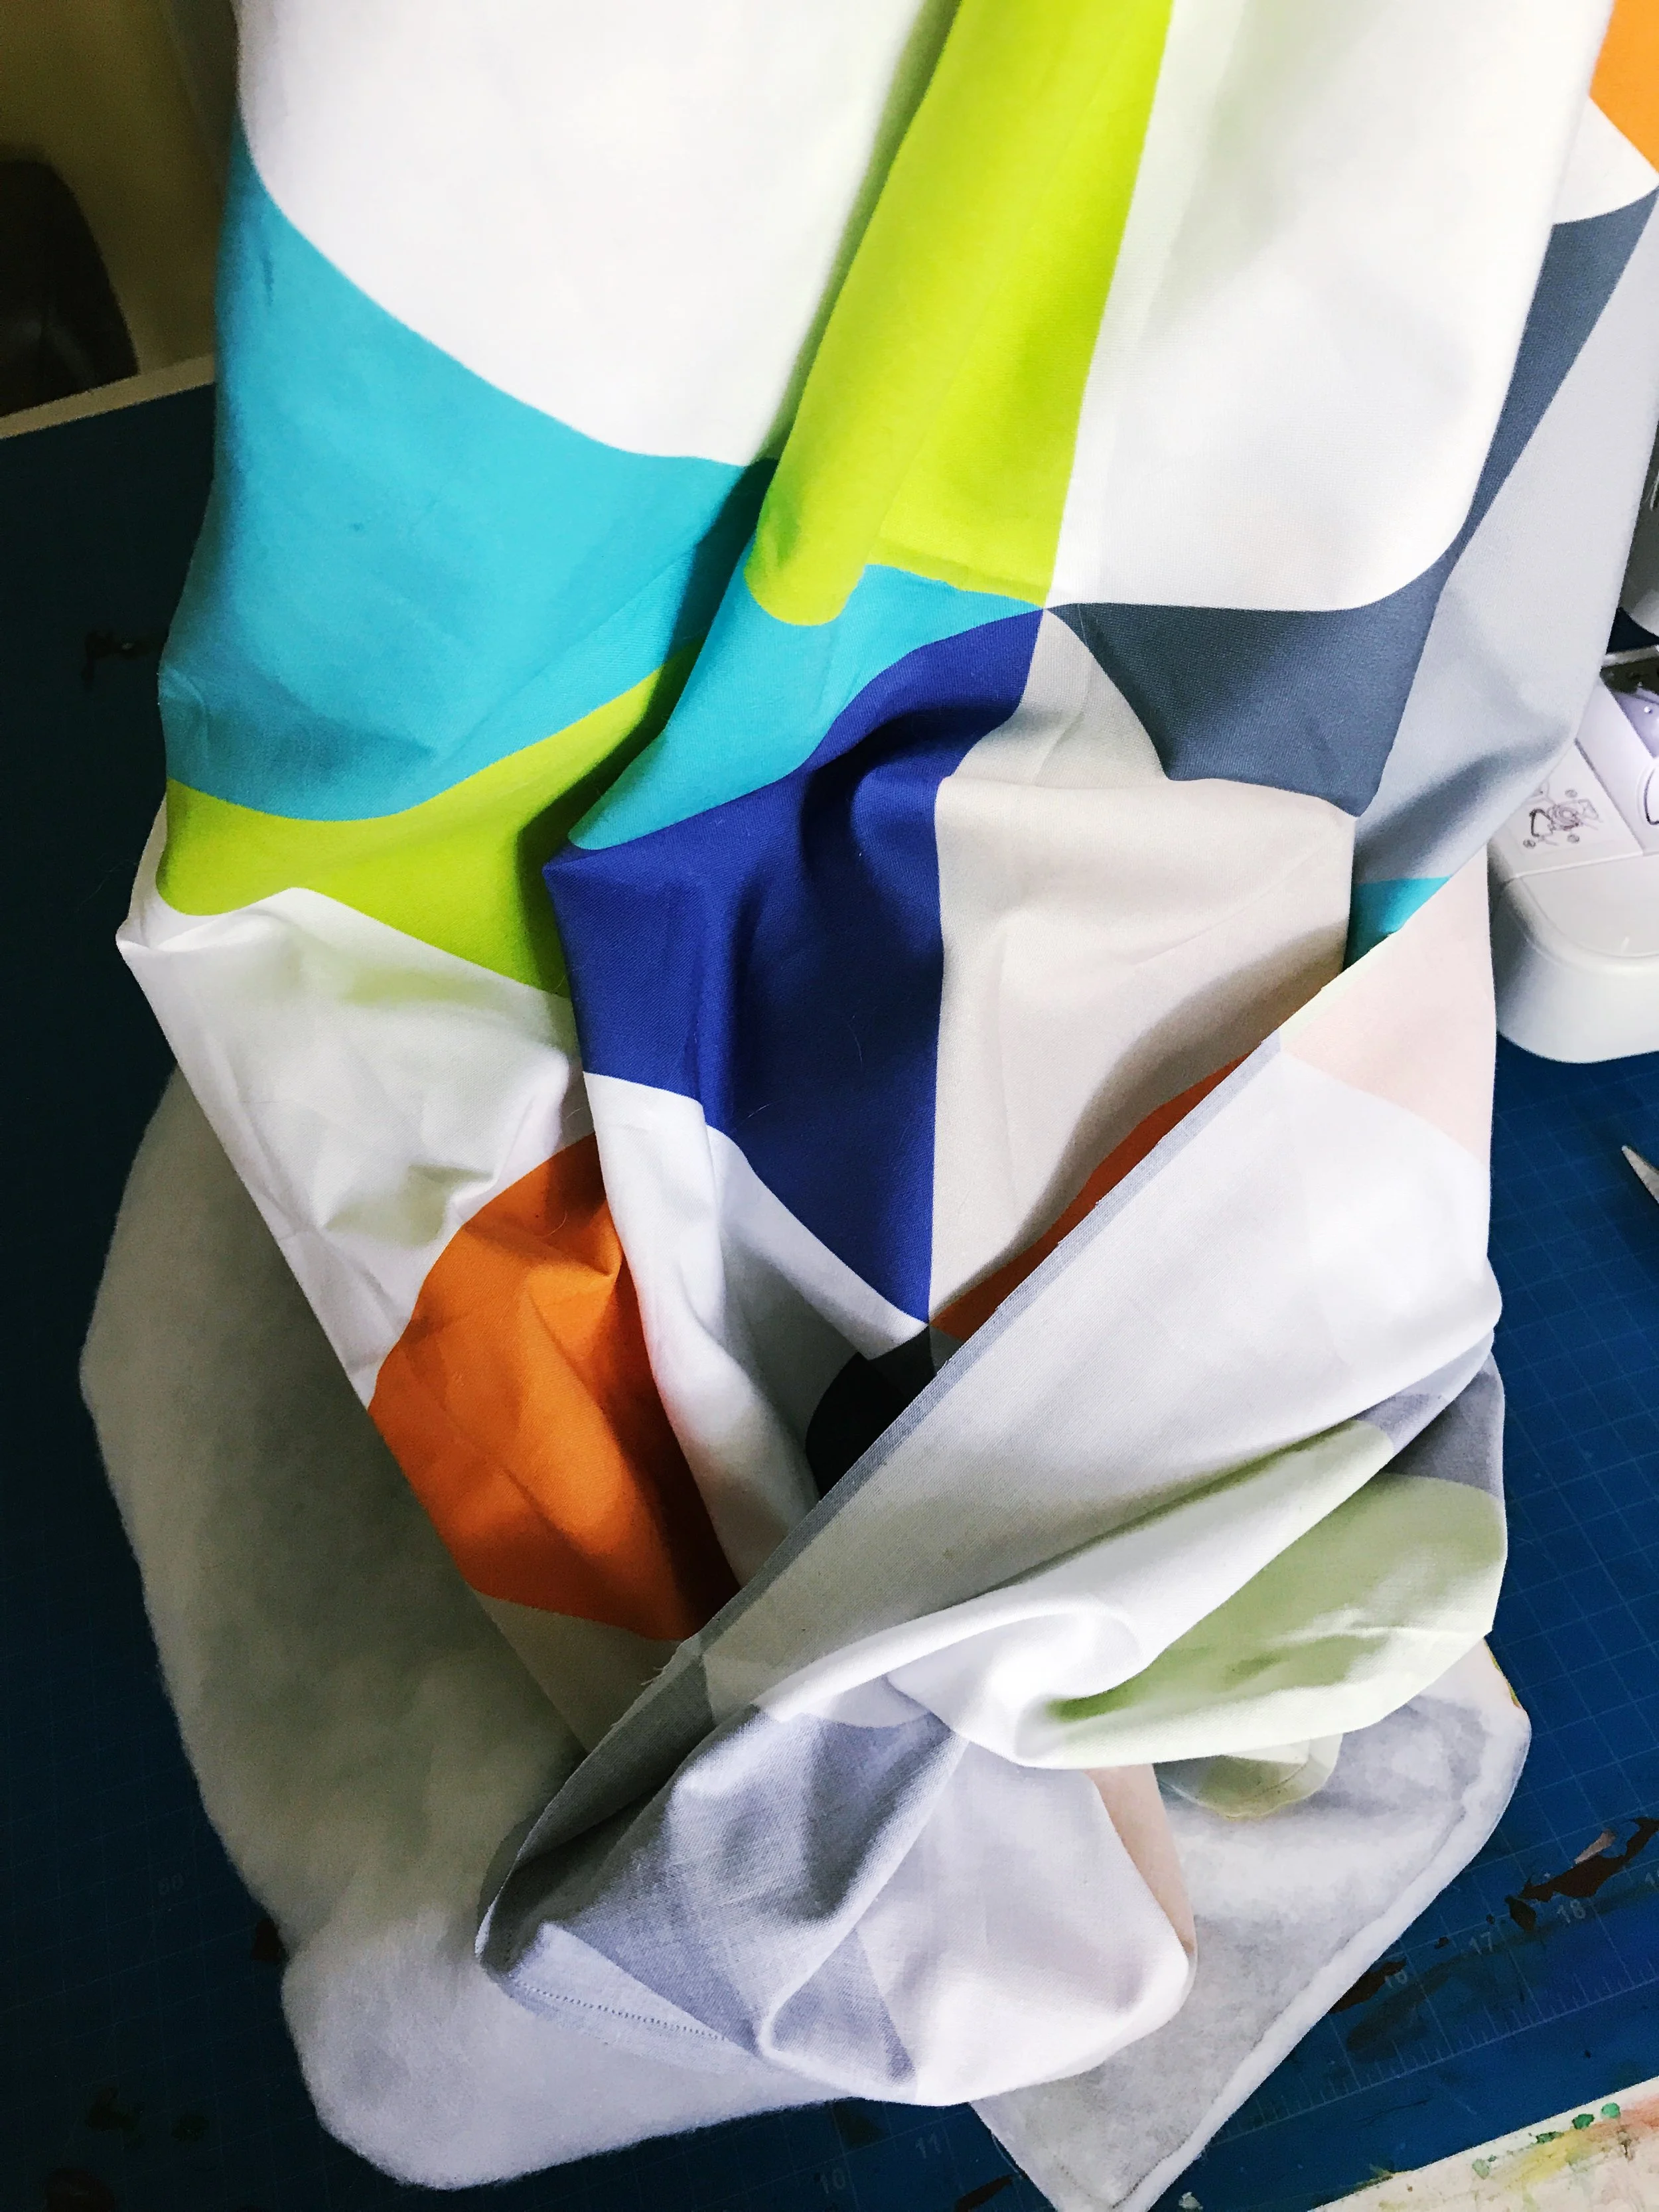
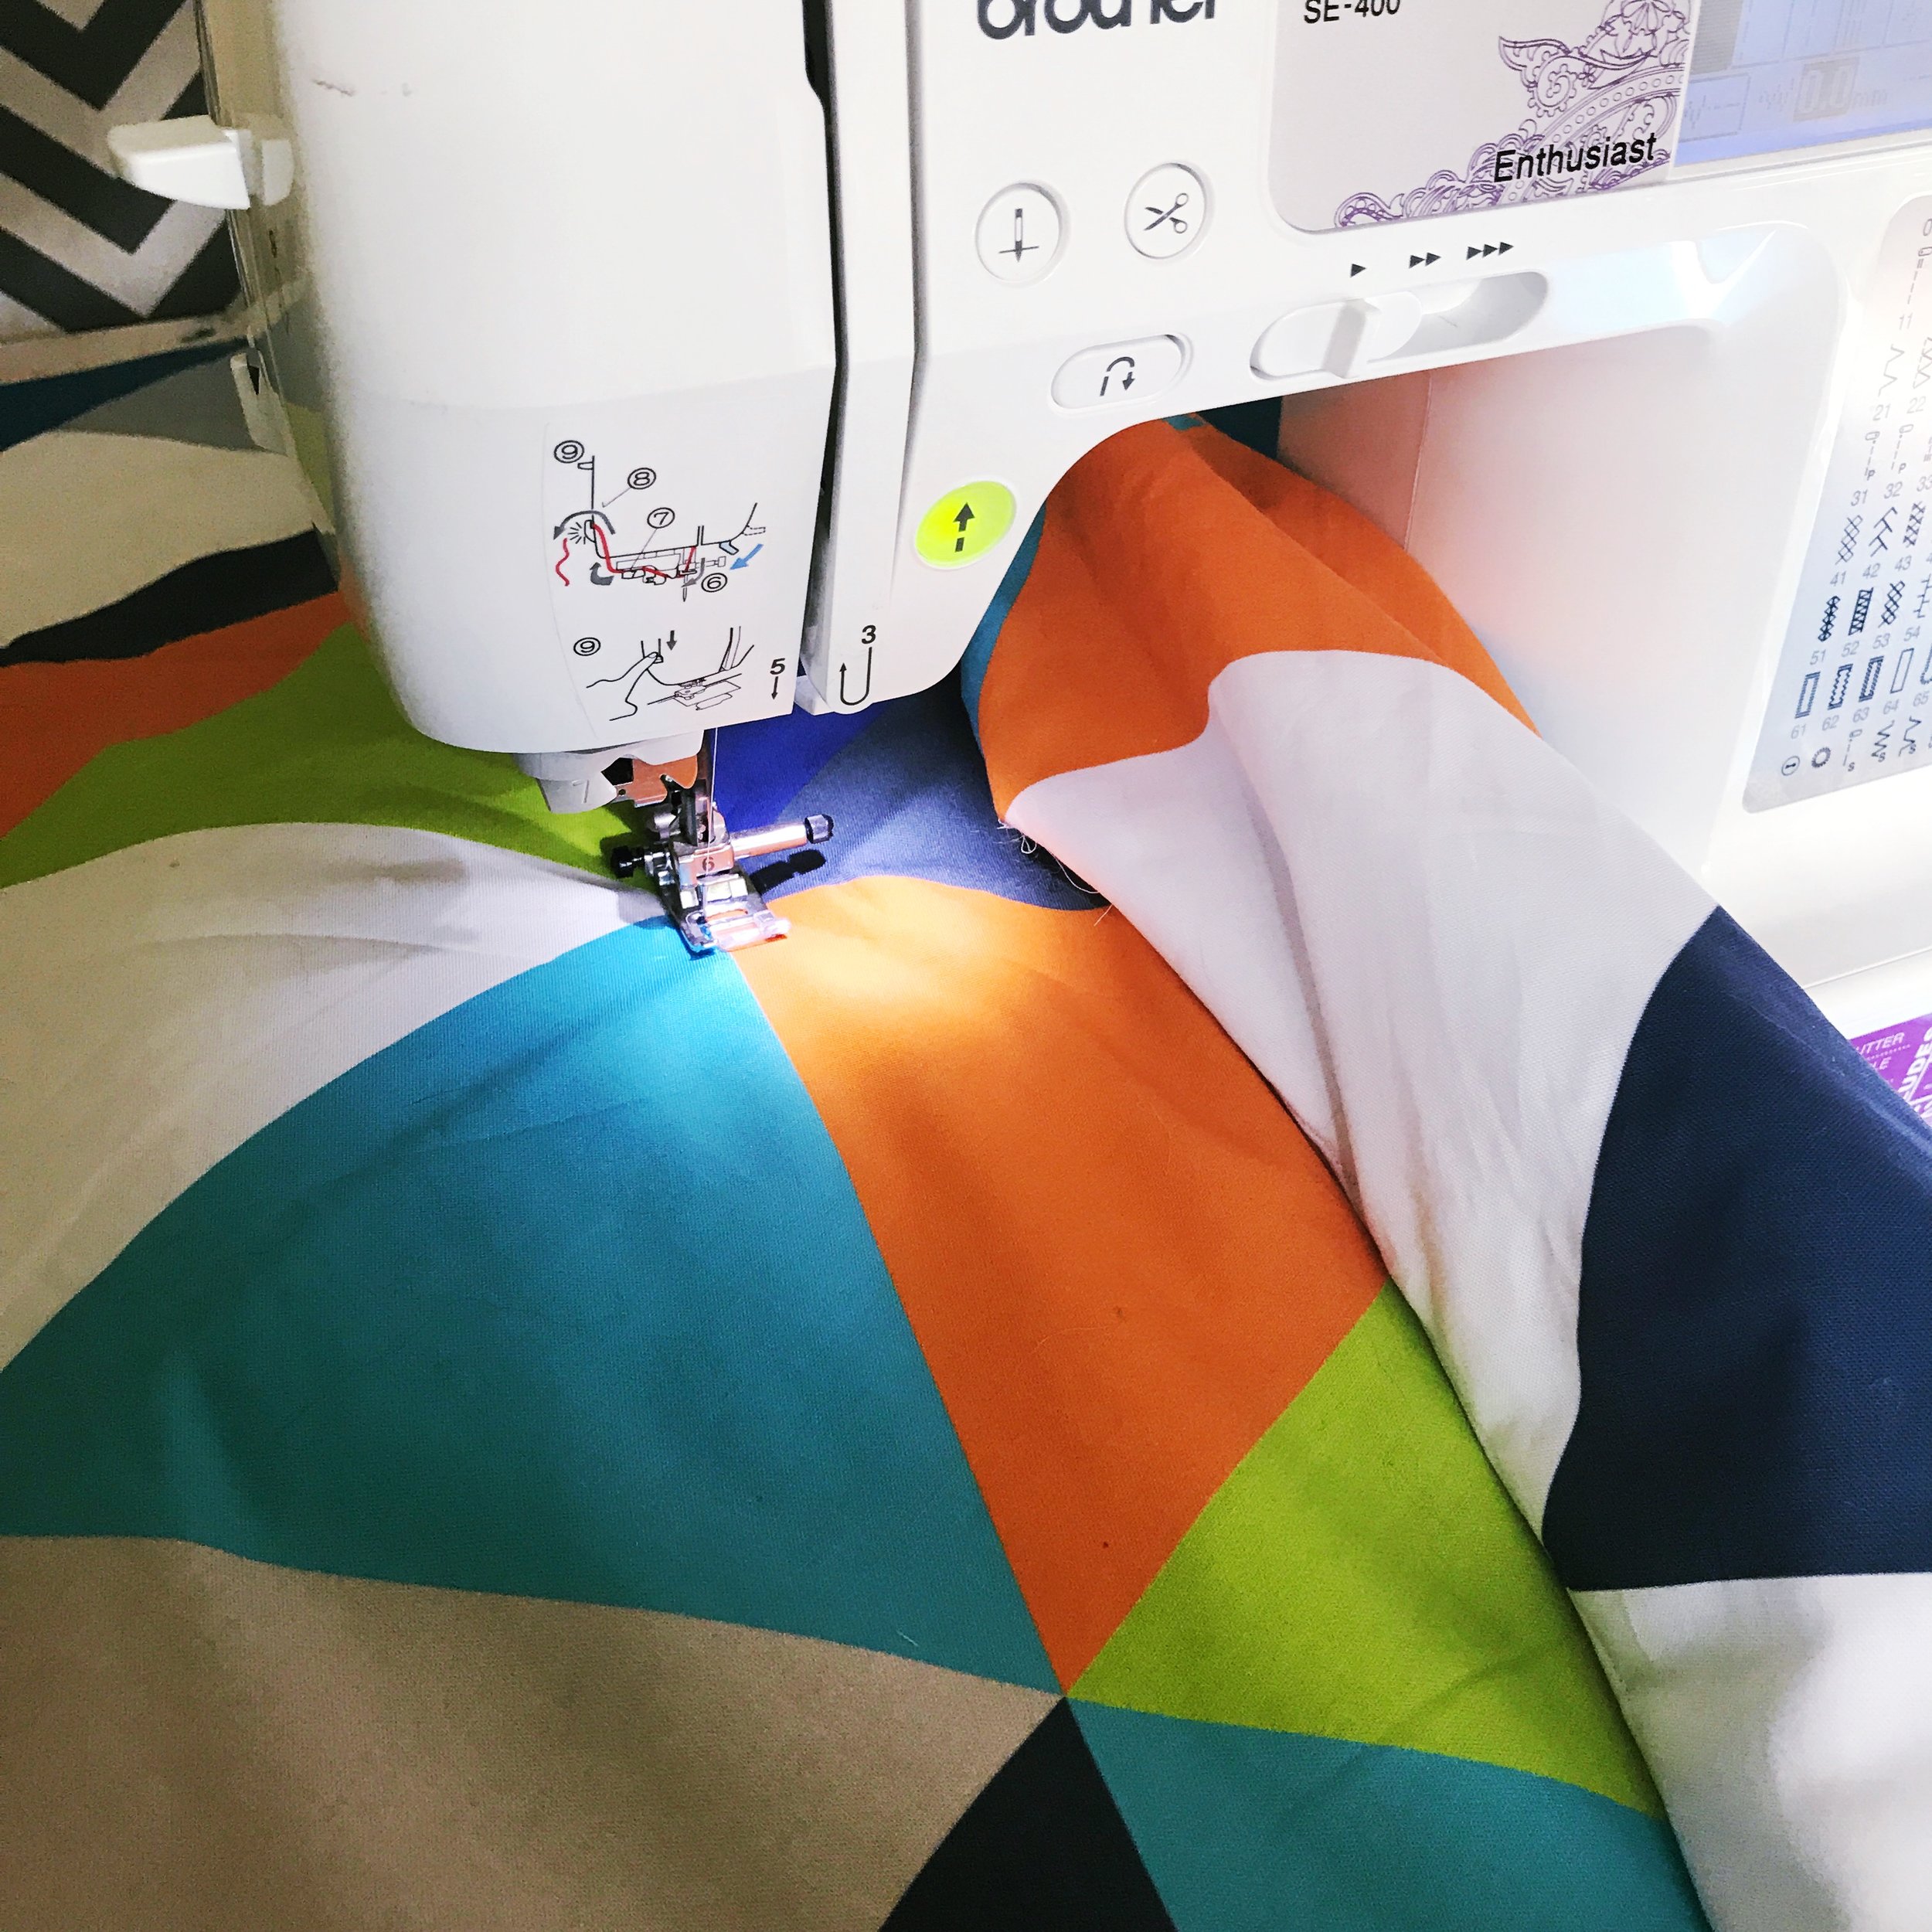
Using the pattern as a guide again, carefully sew straight lines all the way across the quilt. Repeat for the other two sides of the triangles. Roll the quilt as needed to feed it through the machine.

IMG_3697.JPG

Trim any threads, and there you have it!

IMG_3624.JPG
IMG_3623.JPG

Book Review: Water Paper Paint

  Today, I'm sharing a post from my own blog about an art book that my daughter and I have been enjoying.  Check it out!

FullSizeRender.jpg

​My daughter and I are always looking for fun and easy ways to get creative together. She is a five year old with a vision, so teaching her new ways to experiment and blossom is extra rewarding. We YouTube a lot, but there is no better inspiration than words and pictures right in front of us to sound-out and emulate.

IMG_3466.JPG

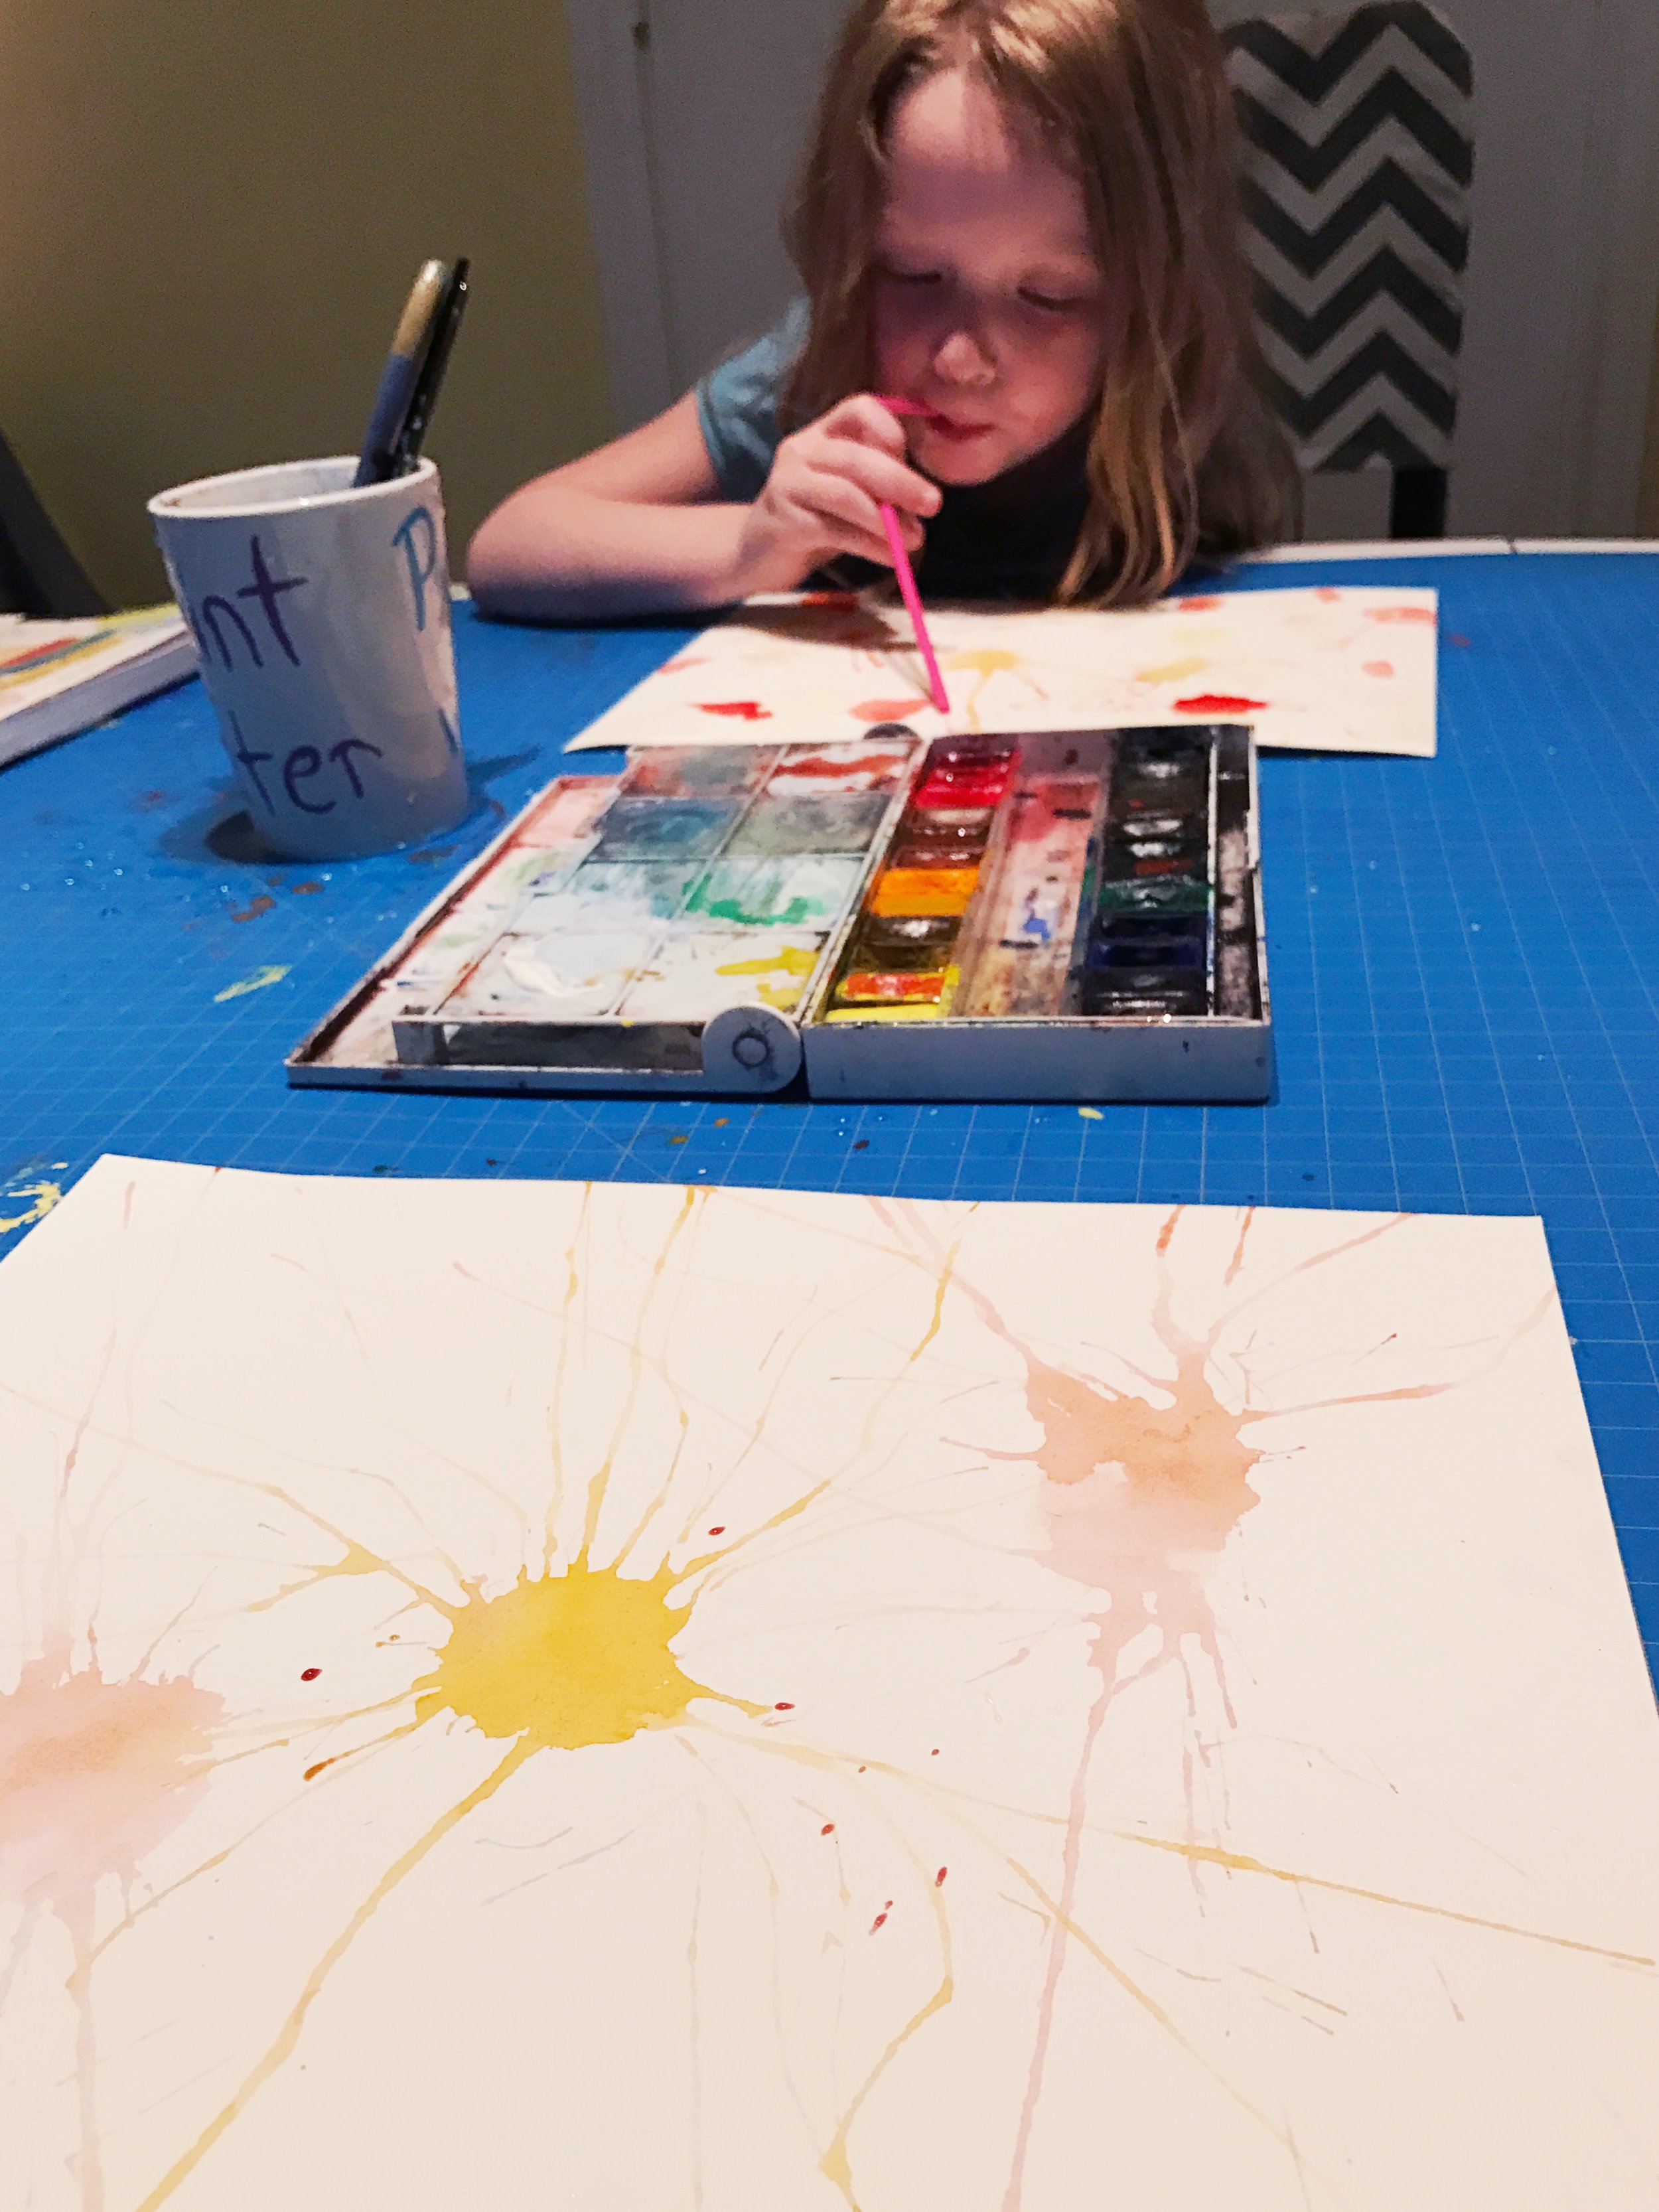
Today, we cracked open the beautifully designed, inspiration of a book, Water Paper Paint by Heather Smith Jones.  Her eyes lit up with possibility page after page until she finally landed on our exciting quick project, creating an abstract painting using straws to blow watercolor around the paper.  This was also an opportunity to teach some basic color theory, as the watercolor inevitably streamed into previous colors.  This is the equivalent of magic to a kid, "Blue and red made purple, Mama!"

IMG_3467.JPG

If you are looking to begin painting with watercolor, this book is a great place to start. I have been painting quite awhile, and even found it to be enjoyable. It reminds me how fun it can be to just sit down and play with a medium. The author's written voice was knowledgeable and approachable. The images are a trove of colors and variety, teaching confidence building techniques with simple instruction. This book would be especially interesting for those who are into art journaling. It is not a serious book with overwhelming words and in depth information. It is a book of watercolor exercises, encouraging success through practice and repetition.

IMG_3474.JPG

Make Kawaii Bunny Charms with Katrina

Hey friends!  Katrina of Rhapsody Letterpress here today to share a fun, easy Spring project that you can do with your kids.  My daughter and I had a blast making these little Kawaii inspired bunny rabbit charms!  Now she wants to make all sorts of little characters!  Check out the tutorial below, and if you try it, show us on Instagram by tagging @etsydallas with #etsydallascrafts.

Purchase oven-bake clay like Sculpey and necklace chains at a craft store, and follow these simple steps.  You can place the hoop on the top behind the ears to have the charm lie flush.

kawaiibunnycharm (4).jpg
kawaiibunnycharm (3).jpg
Bake, then paint with fingernail polish, and dot the eyes and x the nose with a fine tip sharpie.

Bake, then paint with fingernail polish, and dot the eyes and x the nose with a fine tip sharpie.